
A good nut milk maker setup starts with placing your machine on a clean, stable surface and ensuring all parts—like the jar, filter, and lid—are properly assembled and secure. Gather and measure your soaked nuts, water, flavorings, and sweeteners beforehand. Double-check that safety measures, such as tight-fitting lids and secure filters, are in place. Proper preparation and organization lead to smoother blending and better results—keep exploring for more tips to perfect your process.
Key Takeaways
- The machine is placed on a stable, clean surface with all removable parts securely assembled.
- Ingredients are organized, measured accurately, and soaked if required before loading.
- The setup includes proper connection to a compatible power outlet with all safety checks completed.
- The filter, lid, and jar fit snugly, ensuring no leaks or spills during blending.
- Post-use, all parts are promptly cleaned and maintained according to manufacturer instructions.
Are you ready to enjoy fresh, homemade nut milk? The key to a smooth, satisfying experience starts with a good nut milk maker setup. When setting up your nut milk machine, you want to ensure you have all the setup essentials close at hand. First, read the manufacturer’s instructions carefully; understanding how your machine operates will save you time and prevent mishaps. Then, gather the necessary ingredients—your chosen nuts, water, and any flavorings or sweeteners you prefer. Having everything organized beforehand makes the process seamless.
Preparing your nut milk ingredients and reading instructions ensures a smooth, enjoyable homemade nut milk experience.
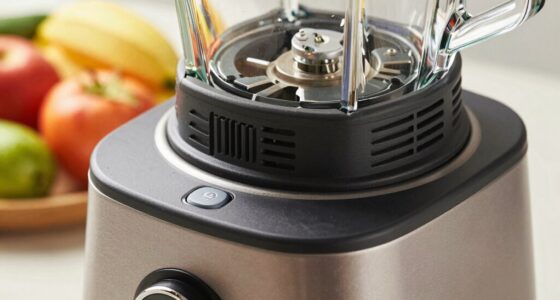
The foundation of a good setup is placing your nut milk machine on a clean, stable surface. You don’t want it wobbling or slipping during operation. Clear space around the machine is essential to avoid spills and to make pouring and cleaning easier. Next, connect the power cord securely to an outlet that provides the correct voltage, ensuring safety and avoiding interruptions during blending. Many nut milk machines also have removable parts such as the blending jar, filter, and lid. Make sure these are clean and properly assembled, following the setup instructions for your specific model. Proper machine assembly is crucial for ensuring safety and optimal performance during the process. Additionally, verifying that all parts are compatible with your machine can prevent potential issues.
Once assembled, check that your filter is securely in place if your machine uses one. Proper fitting ensures the milk is strained correctly and prevents leaks. Before adding nuts and water, double-check that all parts are tightly secured and that the machine’s lid fits snugly. This prevents splashes when blending and helps maintain pressure inside the machine. When it’s time to load the ingredients, measure your nuts and soak them if your recipe calls for it; this softens them and makes blending more efficient. Pour water into the designated container, keeping within the recommended levels to avoid overfilling. Ensuring your setup includes proper assembly will lead to better results and easier cleaning. Additionally, paying attention to quality ingredients can significantly impact the flavor and texture of your nut milk. To ensure safe and effective operation, it’s also beneficial to check that your electric appliance safety measures are in place.
A good nut milk machine setup isn’t just about assembly—it’s about optimizing the process. Ensure your ingredients are prepared and your machine is ready before you start blending. Properly configured, your nut milk maker will operate smoothly, producing fresh, creamy nut milk every time. After blending, promptly clean your setup essentials to maintain hygiene and extend your machine’s lifespan. Proper cleaning and maintenance also help ensure your machine functions efficiently over time. With a well-thought-out setup, you’ll find making homemade nut milk straightforward, enjoyable, and incredibly rewarding. Taking the time to get everything right at the beginning guarantees better results and makes the entire process more efficient and enjoyable.

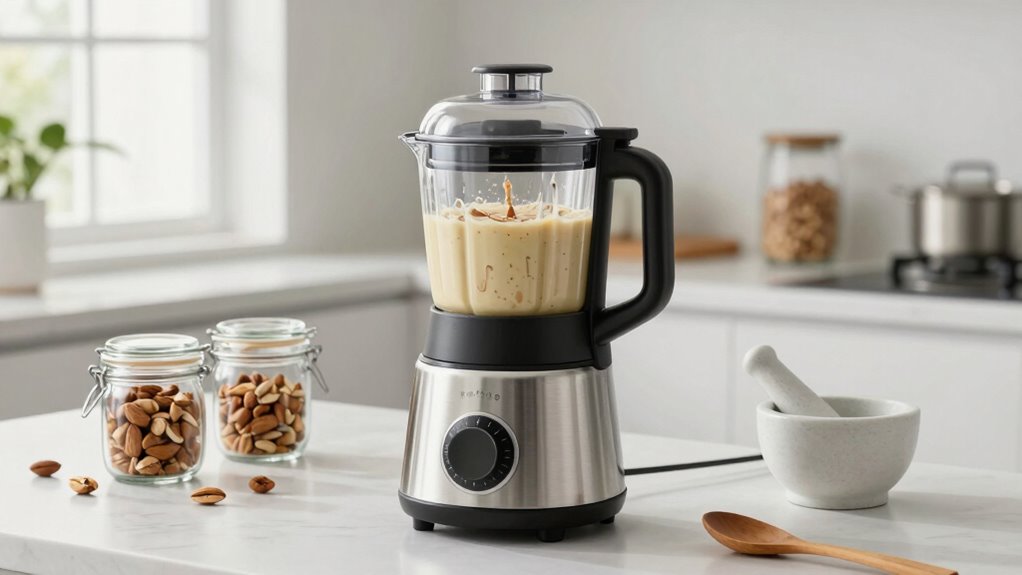
KDV Nut Milk Maker Machine, 8-in-1 Multifunction Soy Milk Maker with Stainless Steel, Homemade Soy, Almond, Oat, Coconut, Plant Based & Non-Dairy Beverages, 24H Delay Start, Keep Warm, Auto Clean
【8-in-1 Versatility】The KDV Nut Milk Maker creates fresh nut milk, soy milk, oat milk, rice milk, smoothies, soups,…
As an affiliate, we earn on qualifying purchases.
As an affiliate, we earn on qualifying purchases.
Frequently Asked Questions
How Often Should I Clean My Nut Milk Maker?
You should clean your nut milk maker after each use to maintain its performance and prevent buildup. A simple cleaning routine involves rinsing all parts with warm water and mild soap, then drying thoroughly. For maintenance tips, regularly check seals and blades for wear, and deep clean weekly with vinegar or baking soda to avoid clogs. Consistent cleaning guarantees your maker stays in top shape and produces fresh, tasty nut milk every time.
Can I Make Other Plant-Based Milks Besides Nuts?
Absolutely, you can make other plant-based milks besides nuts, like soy, oat, or rice milk. Think of your nut milk maker as a versatile artist’s palette—ready to create a spectrum of flavors. Just guarantee proper nut milk storage, especially for fresh soy or oat milk, to keep it fresh. Experimenting broadens your options, making your plant-based milk journey more exciting and sustainable.
What Is the Ideal Space for Storing My Nut Milk Maker?
You should store your nut milk maker in a dedicated spot within your kitchen layout, ideally on a countertop or in a cabinet with easy access. Focus on good storage organization by keeping it near other small appliances or utensils. Make certain the space is dry, cool, and away from direct sunlight to maintain its functionality. This setup keeps your nut milk maker accessible while maintaining an organized, efficient kitchen environment.
Are There Specific Safety Precautions to Consider?
Yes, there are specific safety precautions for your nut milk maker. Always follow the manufacturer’s instructions to guarantee proper use and avoid accidents. Keep the appliance away from water to prevent electrical hazards, and never operate it when damaged. Nut milk safety also involves cleaning the parts thoroughly after each use to prevent mold. By practicing these appliance precautions, you guarantee safe, efficient nut milk making every time.
How Long Does It Take to Make Nut Milk?
Making nut milk typically takes about 20 to 30 minutes, much like a quick chapter in a favorite book. You can explore various nut milk varieties and try alternative recipes, such as adding flavors or sweeteners. The process involves soaking, blending, and straining, which keeps it manageable. Your nut milk maker streamlines this, ensuring you enjoy fresh, homemade nut milk without a lengthy wait.

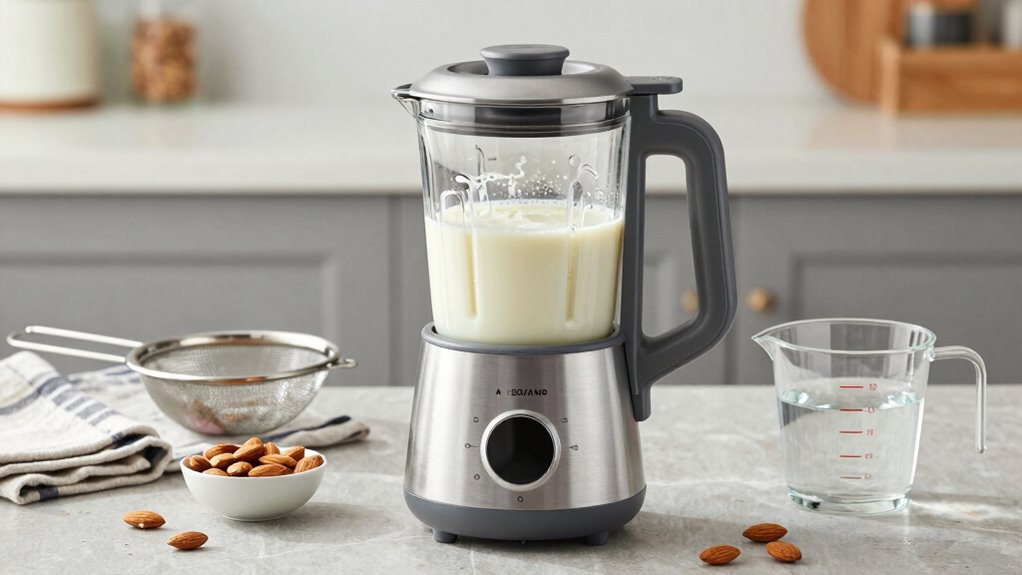
Cayga 40oz Nut Milk Maker Machine Stainless Steel Soy Milk Maker Homemade Almond, Oat, Juice, Coconut, Plant-Based and Non-Dairy Beverages with Self Clean, Boil Water, Delay Start, Keep Warm
【Wake Up to Fresh Nut Milk】Start your day the easy way with the 24-hour smart timer. Prepare almond…
As an affiliate, we earn on qualifying purchases.
As an affiliate, we earn on qualifying purchases.
Conclusion
In your nut milk maker setup, everything should feel seamless and efficient. While some believe that more gadgets mean better milk, simplicity often yields the best results. Trusting the minimalist approach—clean equipment, quality nuts, and proper soaking—can actually produce richer, creamier milk. So, don’t overcomplicate your setup. Instead, focus on a clean, organized space and high-quality ingredients, and you’ll find that the best nut milk often comes from the simplest, most thoughtful setup.
Nut Milk & Greek Yogurt Maker – Reusable & Durable Nut Milk Bag Alternative – Fine Mesh Stainless Steel – Soy/Oat/Almond Milk – All Purpose Food Strainer – (1 Quart Yogurt, 1.5 Quart Nut Milk) (B)
1
As an affiliate, we earn on qualifying purchases.
As an affiliate, we earn on qualifying purchases.

Nut Milk Strainer 304 Stainless Steel or Filter Basket Replacement for Nut Almond Milk Maker – Ultra-Fine Strainer Accessory for Soy Milk Maker, Oat Milk Maker & Vegan Plant-Based Milks
PERFECT REPLACEMENT– Stainless Steel Filter Basket for Nut Milk Maker. It’s the most used accessory in your Almond,…
As an affiliate, we earn on qualifying purchases.
As an affiliate, we earn on qualifying purchases.