You're in for a real treat with berry fruit leather! This healthy snack was enjoyed by ancient civilizations like the Aztecs and Native Americans, who dried berries in the sun to preserve their delicious flavors. Today, you can easily make your own at home by blending berries into a smooth puree, then drying it into a chewy, fruity delight. Feel free to get creative with different berry combinations and add a touch of sweetness. With just a few simple steps, you'll have a wholesome snack that's perfect for satisfying your cravings – and if you keep reading, you'll discover even more about this tasty treat.
Key Takeaways
- Fruit leathers have a long history, with ancient civilizations like the Aztecs and Native Americans developing the technique of drying berries.
- The recipe for berry fruit leather involves pureeing berries, optionally adding sweeteners and lemon juice, and then dehydrating the mixture.
- Homemade berry fruit leather can be stored for up to 2 weeks and provides a healthy, preservative-free snack option.
- The drying process enhances the nutritional value and preserves the flavors of the berries, making fruit leather a health-conscious choice.
- Crafting berry fruit leather at home offers a rewarding experience and allows for experimentation with various berry combinations and sweetness levels.

Propolis Liposomal Vitamin C by Beekeeper's Naturals, 1000mg Vitamin C, Propolis & Honey, Supercharged Immune Support & Increased Bioavailibity for Max Absorption, 12 Ct
SUPERCHARGED IMMUNE SUPPORT: Each dose contains 1000mg of Vitamin C and 100mg of Propolis, which delivers 300+ beneficial...
As an affiliate, we earn on qualifying purchases.
History
Berry fruit leather has been a popular snack for centuries. Ancient civilizations, like the Aztecs and Native Americans, were making tasty fruit leathers long before modern times. They'd take berries, dry them in the sun, and create a chewy, sweet treat. Isn't that cool?
The process of making fruit leather not only preserves the flavors of ripe berries but also enhances their nutritional value, making it a health-conscious choice for snacks like fermented vegetable plates.
As the centuries passed, different cultures put their own spin on fruit leather. The Chinese started making it with mangoes, while Europeans preferred tart cherries. Wherever people lived, they'd use the fruits that grew best in their region.
Fruit leather became a way to enjoy the bounty of summer all year round!
Today, you can find berry fruit leather in grocery stores and online. But you can also make your own at home. Just puree berries, spread the mixture onto a baking sheet, and let it dry.
It's a fun, easy project the whole family can enjoy. So why not give it a try? You might just discover a new favorite snack.

Super Wellness Immune Booster - Quercetin Immunity Support, 25 Vitamins, Herbs, Superfoods, Mushrooms - Vitamins C & E - Selenium - Turmeric - Immune Defense Supplement - 60 Capsules
Super Immune Support with Superfoods, Vitamins, Herbs & Mushrooms is formulated to strengthen your immune system and help...
As an affiliate, we earn on qualifying purchases.
Recipe

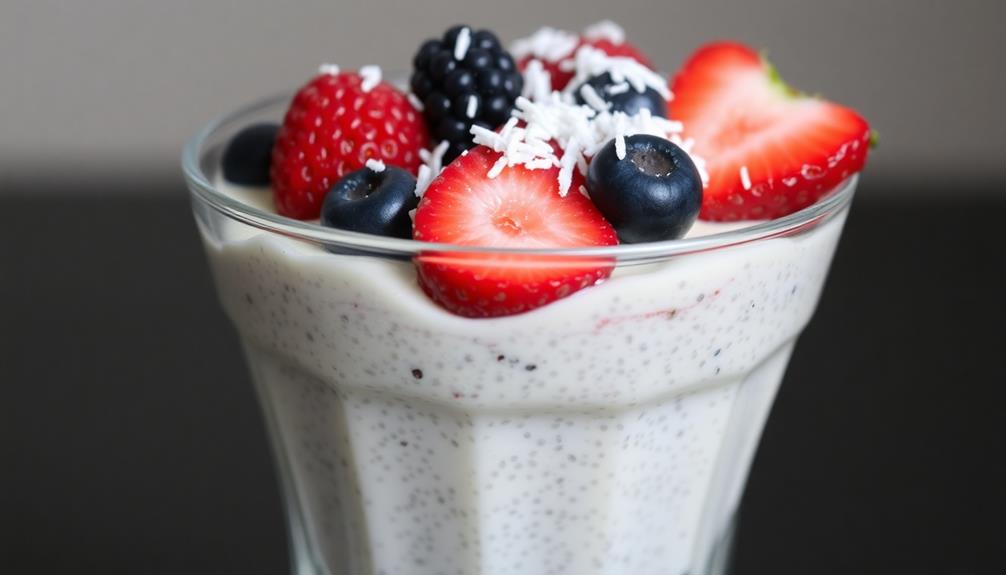
Berry fruit leather is a delightful and nutritious snack that can be easily made at home. This chewy treat is packed with the natural sweetness and vibrant flavors of various berry varieties. The process of making fruit leather is simple and allows you to customize the recipe to your taste preferences. For an added nutritional boost, consider incorporating chia seeds, which can enhance the health benefits of your homemade snack; they're known for their high omega-3 fatty acids and fiber content.
Homemade berry fruit leather is a wonderful way to preserve the bounty of the berry season. It's a great alternative to store-bought snacks, as it contains no artificial additives or preservatives. Additionally, the process of dehydrating the fruit concentrates its natural sugars, making it a healthier option for satisfying your sweet cravings.
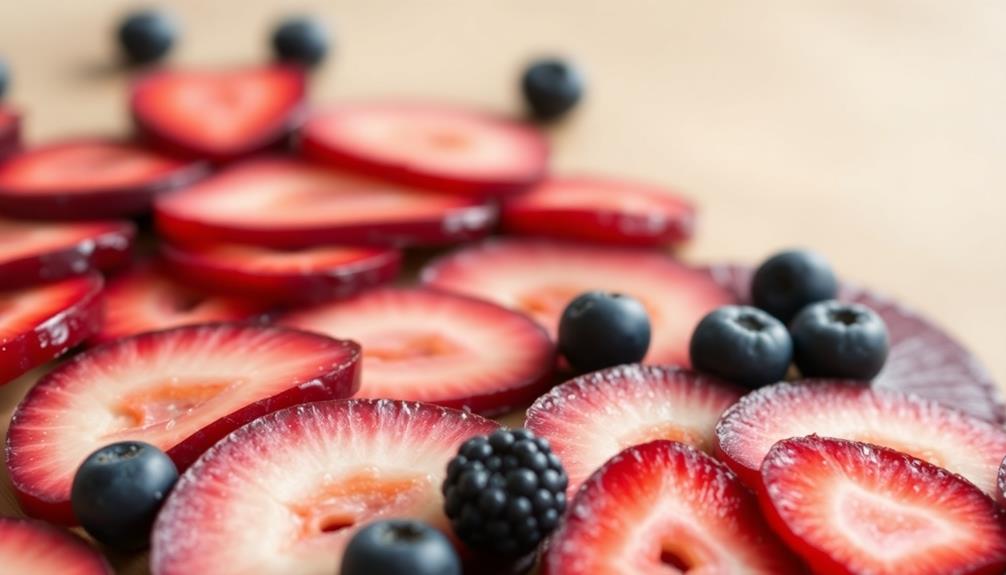
- 2 cups mixed berries (such as strawberries, raspberries, blackberries, and blueberries)
- 2 tablespoons honey or maple syrup (optional)
- 1 tablespoon lemon juice
Preheat your oven to 135°F (55°C) or set your dehydrator to the appropriate temperature. Puree the berries in a blender or food processor until smooth. If desired, stir in the honey or maple syrup and lemon juice.
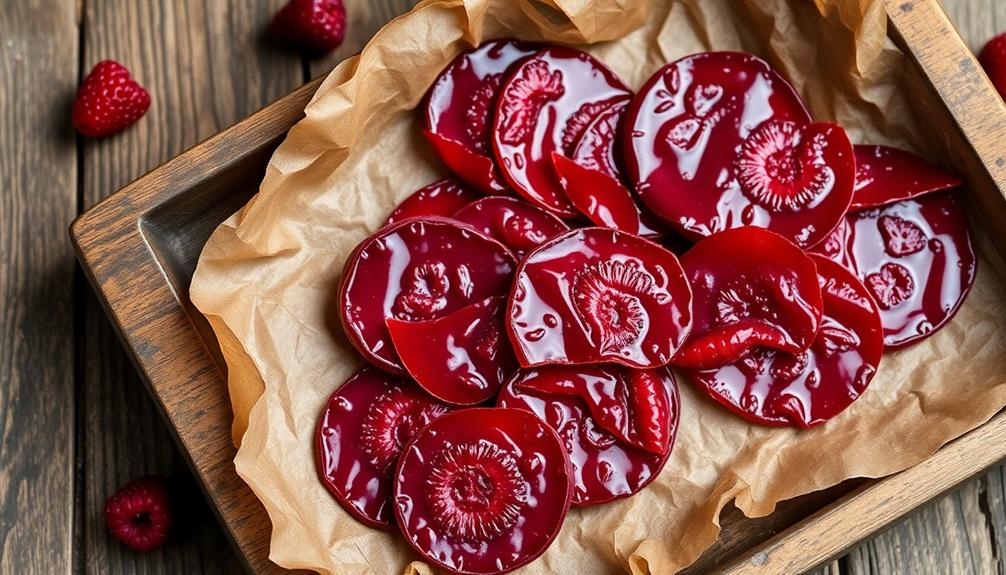
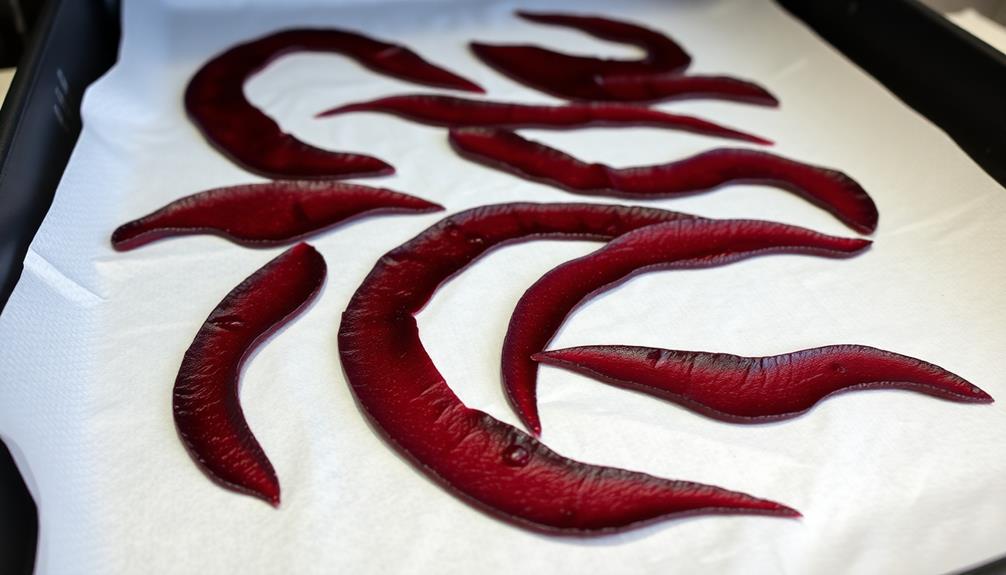
Pour the berry puree onto a parchment-lined baking sheet or dehydrator tray, spreading it evenly to a thickness of approximately 1/4 inch. Dehydrate the fruit leather for 6 to 8 hours, or until it's dry and pliable. Once cooled, peel the fruit leather off the parchment paper and cut or tear it into desired shapes or strips.
Store the berry fruit leather in an airtight container at room temperature for up to 2 weeks.
When making berry fruit leather, be mindful of the ripeness and quality of the berries you use. Ripe, flavorful berries will result in a more delicious and vibrant fruit leather. Experiment with different berry combinations to find your perfect flavor profile. Enjoy your homemade berry fruit leather as a healthy, portable snack or as a fun addition to lunchboxes and picnics.

Further Food Superfood Turmeric Root Powder - Maximum Absorption, Natural Immune Booster, Golden Milk Blend, Sugar Free, Keto, Vegan, Non-GMO, 2.12 Oz
BEST TASTING: Makes the most delicious Golden Milk Turmeric Latte and Turmeric Tea; You’ll LOVE the taste of...
As an affiliate, we earn on qualifying purchases.
Cooking Steps
Alright, let's get started!
First, you'll need to puree your berries in a food processor until they're nice and smooth.
For a nutritious boost, consider adding some high-protein ingredients like ground flaxseed or chia seeds to the mixture.
Next, pour that delicious fruit puree onto a tray and pop it in the oven at 135°F to let it dry out.
Once it's all dried up, gently peel off the parchment paper and store your homemade berry fruit leather in an airtight container. Yum!
Step 1. Puree Berries in Food Processor
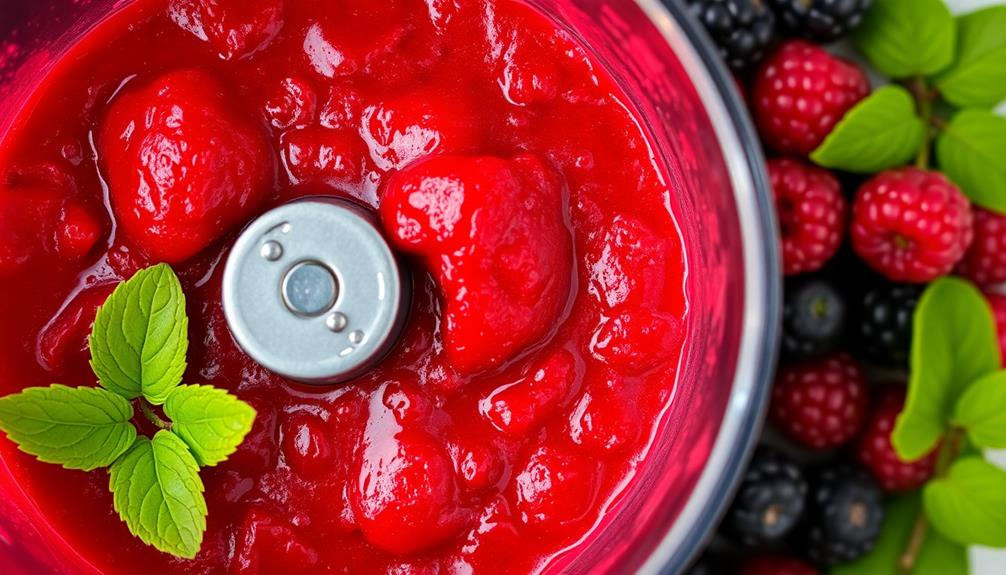
First, place the fresh berries in your food processor. Whether you've picked them yourself or bought them at the market, it's time to turn those juicy, colorful berries into a smooth, flavorful puree.
Select your favorite berry – be it raspberries, blackberries, or a mix of different kinds. Give the machine a few good pulses, letting it whir and whizz until the berries have broken down into a thick, velvety paste.
Don't be afraid to scrape down the sides with a spatula now and then to make sure everything gets evenly blended. In just a minute or two, you'll have a luscious, vibrant berry puree ready to use in your homemade fruit leather.
The key is to get that perfect, spreadable consistency – not too thin and watery, but not too chunky either. With your berry puree prepped, you're one step closer to sweet, chewy fruit leather perfection!
Step 2. Pour Fruit Puree Onto Tray
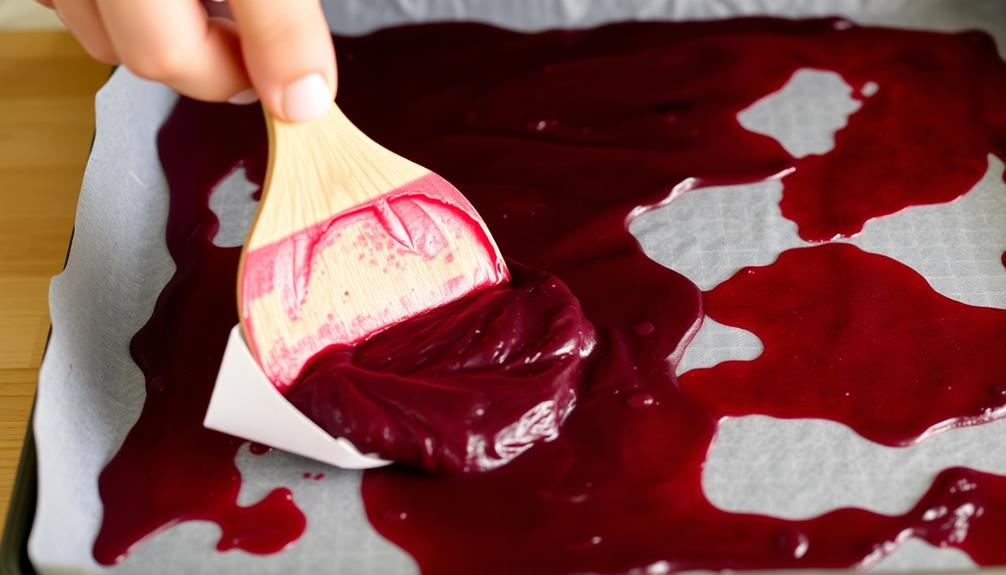
With your berry puree prepped, it's time to pour it onto your drying tray. Grab your tray and find a nice, flat surface to work on. Slowly and carefully, pour the vibrant, jammy puree onto the tray, making sure to spread it out evenly. You want a thin, consistent layer that will dry nicely.
Don't worry if it doesn't look perfect – the final fruit leather will have a lovely, rustic look. Once it's all poured out, use a spoon or spatula to gently smooth the top. This will help it dry into a nice, flat sheet.
Now, slide the tray into your food dehydrator, setting the temperature to around 135°F. Depending on your dehydrator, it may take 8-12 hours for the fruit leather to fully dry. Keep an eye on it, and once the top is no longer tacky, you'll know it's ready.
Peel it off the tray, and enjoy your homemade berry fruit leather!
Step 3. Dry in Oven at 135°F
Once the berry puree is evenly spread across the tray, it's time to dry it in the oven.
You'll want to set your oven temperature to a nice, cozy 135°F. This gentle heat will slowly remove the moisture from the fruit, transforming it into a delicious, chewy fruit leather.
Keep a close eye on the oven, as the drying process can take anywhere from 6 to 12 hours. You'll know it's ready when the fruit leather peels away from the tray easily and has a leathery, pliable texture.
Resist the temptation to crank up the heat – that'll just make the outside crisp while the inside stays wet. Slow and steady wins the race when it comes to making perfect fruit leather!
Once the drying is complete, let the fruit leather cool completely before removing it from the tray.
Then, you can roll it up or cut it into fun shapes for a healthy, homemade snack. Enjoy your tasty berry creation!
Step 4. Peel Parchment Paper From Leather
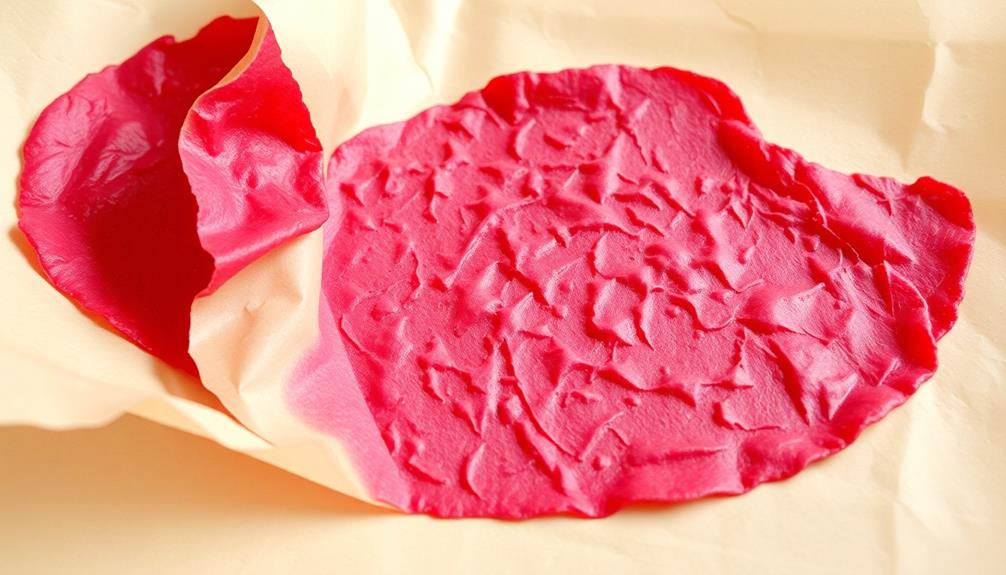
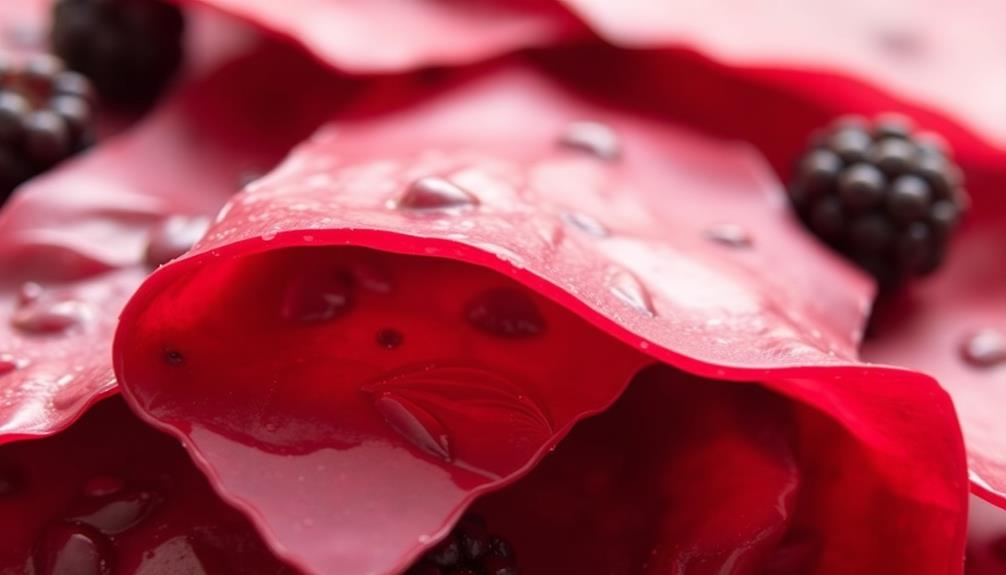
The final step in creating your delectable berry fruit leather is to peel the parchment paper from the dried fruit.
Carefully lift one corner of the parchment paper and slowly start to peel it away from the fruit leather. You'll be amazed at how easily the paper separates, leaving behind a perfectly smooth and pliable fruit leather.
Once the parchment paper is fully removed, you can trim any ragged edges with a sharp knife or scissors. This will give your berry fruit leather a clean, professional look.
Don't be afraid to get a little creative – you can cut it into fun shapes or strips to make it even more enjoyable to eat.
Now that your fruit leather is ready, you can store it in an airtight container or resealable bag.
It'll keep for up to two weeks, so you can enjoy this tasty and healthy snack anytime. Just be careful, because it's so delicious, it mightn't last that long!
Step 5. Store in Airtight Container
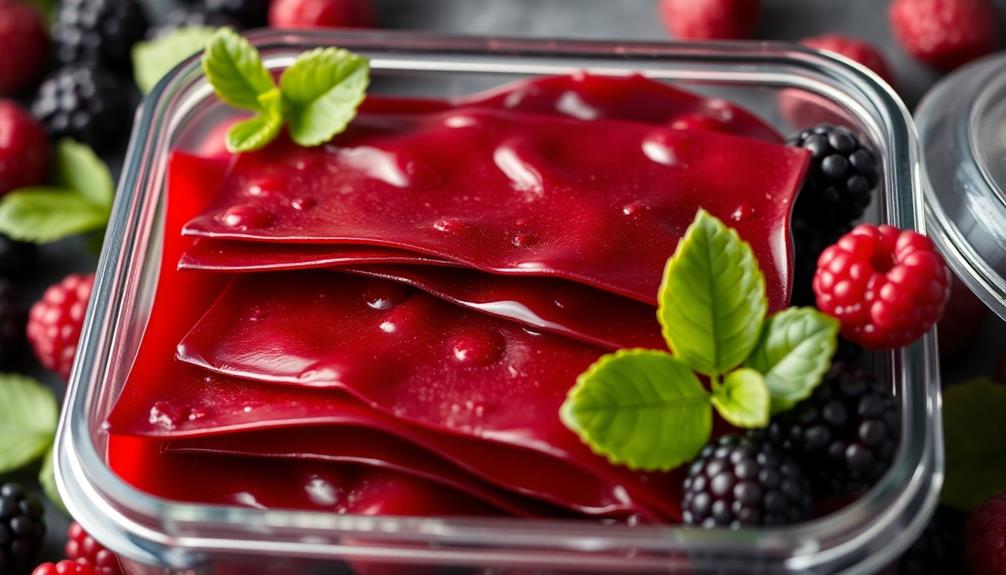
Store your freshly prepared berry fruit leather in an airtight container or resealable bag. This will help lock in the delicious flavors and prevent the leather from drying out.
Be sure to choose a container that's just the right size – you don't want too much extra space, or the leather might get crumbly. If you used parchment paper, you can simply peel it off and pop the leather right into the container.
Once it's all tucked away, you can stash your fruit leather in the pantry for up to a week.
Or, if you want to keep it fresh even longer, put the container in the fridge. The cool temperature will make your berry treat stay soft and supple.
Just remember to let it come back up to room temperature before enjoying – that way, you'll get the full, delightful flavor.
Now get snacking and savor every bite of your homemade fruit leather!

Navitas Organics Superfood+ Immunity Blend (Camu + Orange + Acerola Cherry), 30 Servings — Organic, Non-GMO, Vegan, Gluten-Free, Keto & Paleo, 4.2 Ounce…
Navitas Organics Superfood+ Immunity Blend brings together the three most vitamin C-rich foods on earth, so you can...
As an affiliate, we earn on qualifying purchases.
Final Thoughts
Crafting homemade berry fruit leather can be a rewarding endeavor, allowing you to savor nature's bounty with every bite.
Whether you're whipping up a batch for a healthy snack or a tasty treat, the process of transforming juicy berries into a chewy, flavorful delight is both satisfying and surprisingly simple.
As you embark on your fruit leather-making journey, take pride in the fact that you're creating a wholesome, preservative-free alternative to store-bought options.
Plus, the versatility of this homemade treat means you can experiment with different berry combinations, add a touch of sweetness, or even get creative with shapes and designs.
So, the next time you find yourself craving a burst of fruity goodness, remember the joy of making your own berry fruit leather at home.
With a little time and care, you'll be rewarded with a snack that's as delicious as it's rewarding.
Frequently Asked Questions
How Long Can Berry Fruit Leather Be Stored?
Properly stored, your berry fruit leather can last up to 6 months. Keep it in an airtight container in a cool, dry place, and it'll stay fresh and flavorful. With the right storage, you can enjoy it for quite a while.
Is Berry Fruit Leather Suitable for Vegans?
Yes, berry fruit leather is suitable for vegans. It's made from pureed fruit, without any animal-derived ingredients, making it a tasty and nutritious treat that fits well into a vegan lifestyle.
Can I Use Frozen Berries to Make Fruit Leather?
You can absolutely use frozen berries to make fruit leather! Frozen berries work great and won't affect the texture or flavor. Just be sure to thaw them before blending and preparing your fruit leather mixture.
How Do I Ensure the Fruit Leather Is Not Too Sticky?
To ensure your fruit leather isn't too sticky, use less fruit puree and add a bit of cornstarch or powdered milk. Adjust the drying time and temperature until you achieve the desired texture.
Can I Add Other Fruits to the Berry Fruit Leather?
Yes, you can add other fruits to the fruit leather. Experiment with different combinations to find flavors you enjoy. Just be sure to adjust the recipe accordingly to maintain the right texture and consistency.