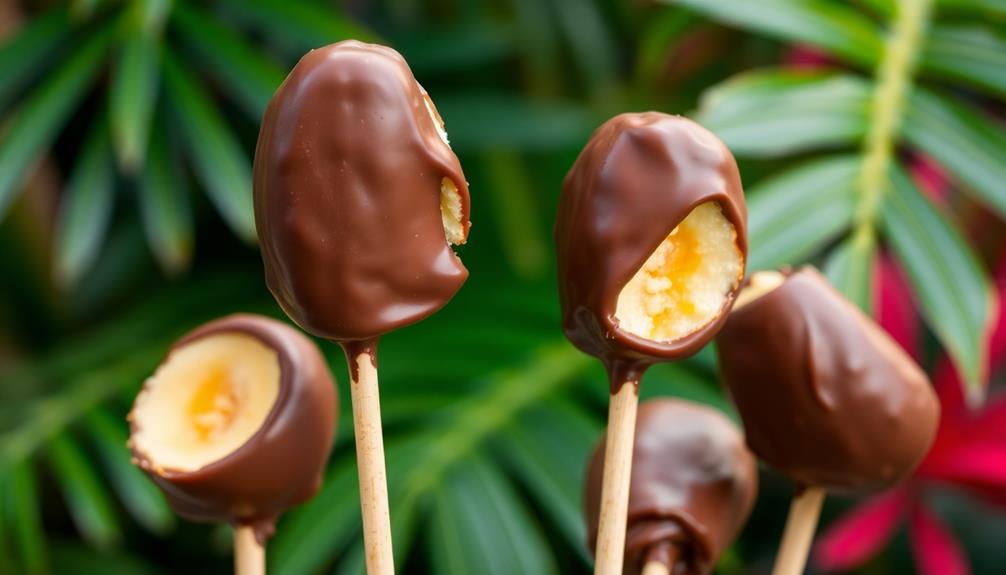
Chocolate-covered banana pops are a fun and healthy snack you'll love! They've been a summertime treat since the early 1900s, when folks would dip fresh, ripe bananas in melted chocolate and freeze them on a stick. Combining the natural sweetness of bananas with rich, glossy chocolate, these pops make a delightful guilt-free indulgence. Just a few simple ingredients – bananas, chocolate, and a little oil – create a frozen treat that's perfect for kids and adults alike. Want to learn more tips and tasty variations? Keep reading to discover how to make these beloved chocolate banana pops at home!
Key Takeaways
- Chocolate-covered banana pops are a classic, beloved summertime treat that combines ripe bananas with rich chocolate for a frozen, healthier dessert option.
- The recipe requires just a few simple ingredients – bananas, chocolate, and oil – and is easy to prepare, making it perfect for snacks, desserts, or special occasions.
- Proper preparation techniques, such as choosing ripe bananas, melting chocolate carefully, and allowing the chocolate to fully harden, are essential for achieving the best texture and flavor.
- Chocolate-covered banana pops offer a guilt-free indulgence, providing natural sweetness from bananas and potential health benefits from dark chocolate.
- The basic recipe can be easily customized with various chocolate types, toppings, and additional flavors to create unique and creative variations for different occasions.
History
The humble chocolate-covered banana pop traces its origins back to the early 1900s, when resourceful American families sought affordable and portable treats during the summertime.
As the hot summer sun blazed, mothers and fathers wanted something that could cool down their little ones without breaking the bank. That's when they stumbled upon the brilliant idea of dipping fresh bananas in rich, melted chocolate and freezing them on a stick.
This creative culinary solution mirrors the innovative approaches used in financial planning for assisted living to meet the needs of families today. Voila! The chocolate-covered banana pop was born.
These delightful pops quickly became a beloved summertime tradition, delighting kids and adults alike with their irresistible blend of creamy banana, smooth chocolate, and icy coldness.
Families would gather on their front porches or in the park, savoring the refreshing treat and enjoying the simple pleasures of summer.
Over the decades, the chocolate-covered banana pop has endured as a timeless classic, a sweet reminder of the carefree days of childhood and the joy of making memories with loved ones.
Recipe
Chocolate-Covered Banana Pops are a delightful frozen treat that combines the sweetness of ripe bananas with the richness of chocolate. This easy-to-make recipe is perfect for a hot summer day or as a fun dessert for the whole family.
When managing your finances, it's important to balance spending on treats like these with your overall budgeting strategy, ensuring that indulgences don't lead to overspending.
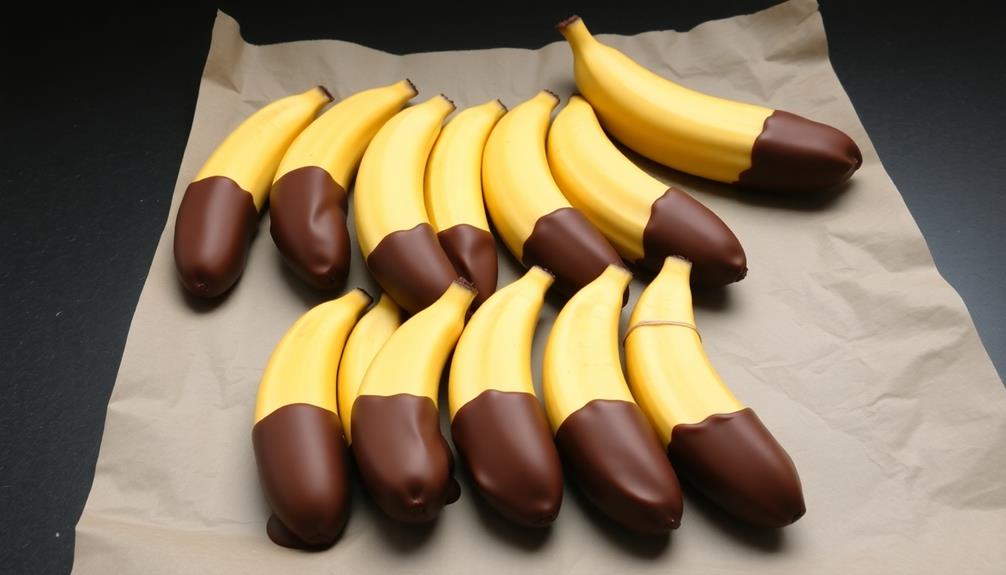
The key to successful Chocolate-Covered Banana Pops is using fresh, ripe bananas. Look for bananas that are slightly soft and have a few brown spots, as they'll be sweeter and more flavorful. Additionally, using high-quality chocolate will ensure a smooth, glossy coating that complements the banana's natural sweetness.
- 4 ripe bananas, peeled and cut into 1-inch chunks
- 12 ounces of semisweet or milk chocolate, chopped
- 2 tablespoons of coconut oil or vegetable oil
- Wooden popsicle sticks or lollipop sticks
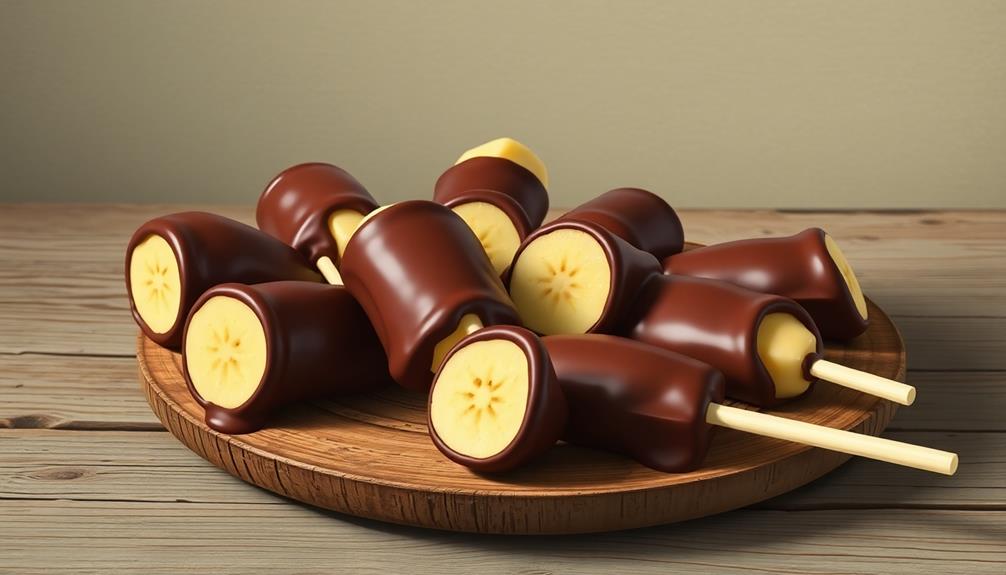
To prepare the Chocolate-Covered Banana Pops, first insert a wooden popsicle stick or lollipop stick into each banana chunk. Next, melt the chocolate and coconut oil together in a double boiler or microwave, stirring occasionally until the mixture is smooth and well-combined.
Dip the banana chunks into the melted chocolate, ensuring they're fully coated. Place the coated banana pops on a baking sheet lined with parchment paper and freeze for at least 2 hours, or until the chocolate is firm.
For best results, enjoy the Chocolate-Covered Banana Pops immediately after removing them from the freezer. The contrast between the frozen banana and the rich chocolate is truly delightful.
If you have any leftover pops, store them in an airtight container in the freezer for up to 1 week.
Cooking Steps
Peel those bananas and cut them into chunks – you've got some tasty treats to make!
Did you know that pairing these chocolate-covered banana pops with a nice cup of tea can elevate your dessert experience? Try complementing them with a cup of green tea for refreshing balance.
Melt the chocolate in a double boiler, then dunk the banana pieces into that rich, melted goodness.
Carefully place the chocolate-coated bananas onto a parchment-lined tray and pop them in the freezer until the chocolate hardens up. Yum!
Step 1. Peel and Cut Bananas Into Chunks
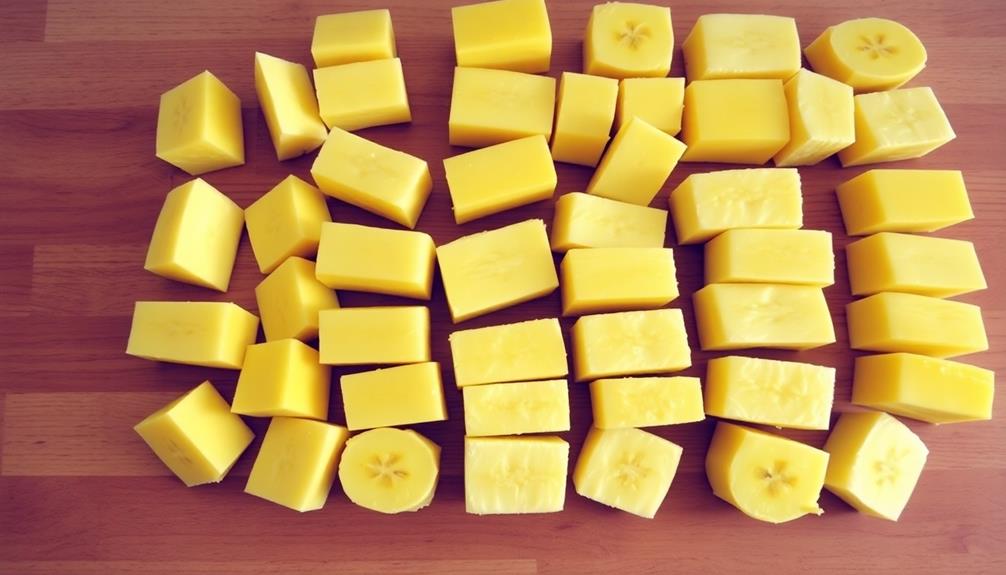
To begin, peel the bananas and cut them into bite-sized chunks. You'll want to slice each banana crosswise into 4 or 5 pieces, making sure they're all about the same size. This will help them cook evenly when you dip them in the chocolate later on.
Don't worry if they're not perfect – the uneven shapes will add to the homemade charm of your chocolate-covered banana pops!
Once you've cut up all the bananas, carefully slide a popsicle stick or lollipop stick into the flat end of each piece. This will give you something to hold onto when it's time to dip them.
Be gentle as you insert the sticks – you don't want to squish the bananas. Now you're ready to move on to the next step: melting the chocolate! Get excited, because the fun part is about to begin.
Step 2. Melt Chocolate in Double Boiler
Next, you'll want to melt the chocolate in a double boiler. A double boiler is a special pot that helps the chocolate melt smoothly without burning.
First, fill the bottom pot with a few inches of water and bring it to a simmer. Then, place the chocolate in the top pot and let it start to melt, stirring occasionally with a wooden spoon.
As the chocolate melts, it will become smooth and glossy. Be careful not to let any water or steam get into the chocolate, as that can cause it to seize up and become lumpy.
Keep stirring until the chocolate is completely melted and has a thick, creamy consistency.
Once the chocolate is ready, you can start dipping the banana chunks into it. Gently lower each piece of banana into the chocolate and use a fork to coat it evenly.
Then, carefully transfer the chocolate-covered banana to the prepared baking sheet to let the chocolate set.
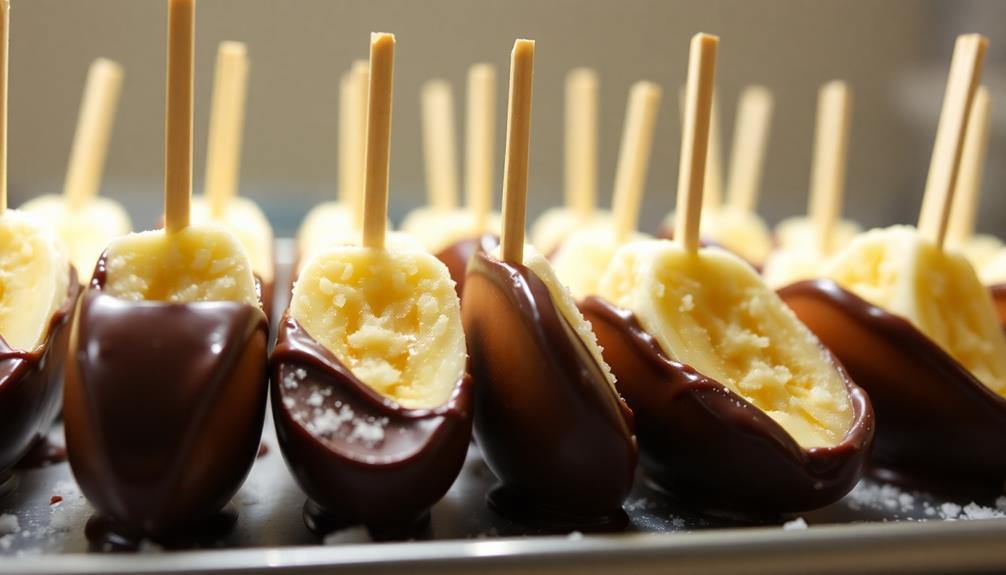
Step 3. Dip Banana Chunks in Chocolate
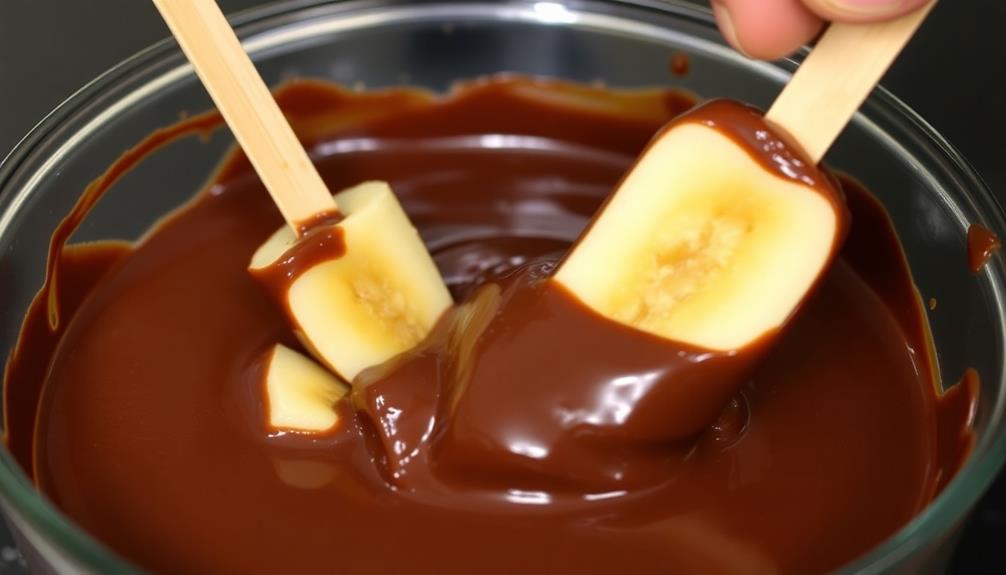
With the chocolate melted to a smooth and glossy consistency, it's time to start dipping the banana chunks.
First, grab a few pieces of banana and skewer them onto wooden sticks. This'll make them super easy to dip and hold.
Gently lower the banana chunks into the warm chocolate, making sure each one is fully coated. Lift them out slowly, letting any excess chocolate drip back into the bowl.
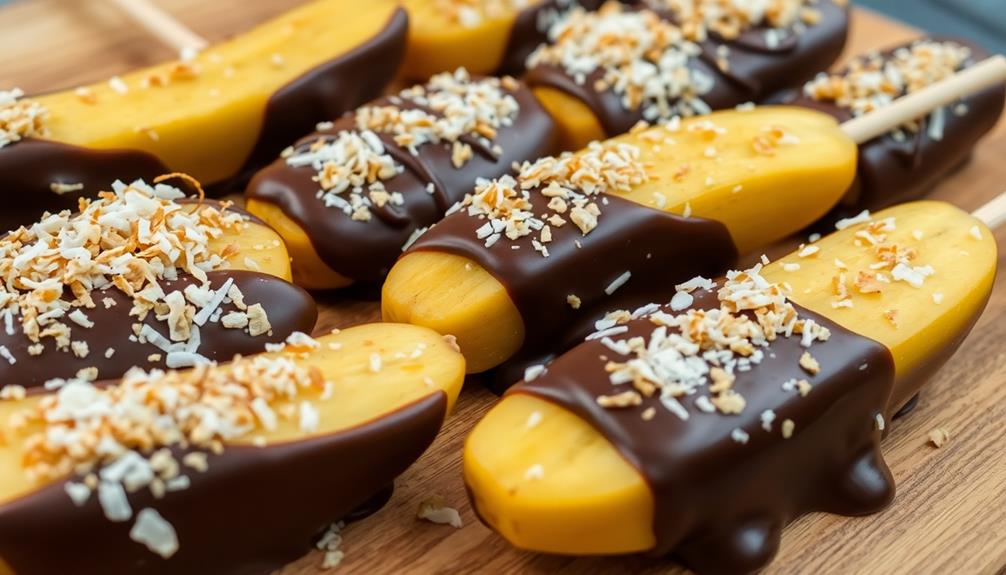
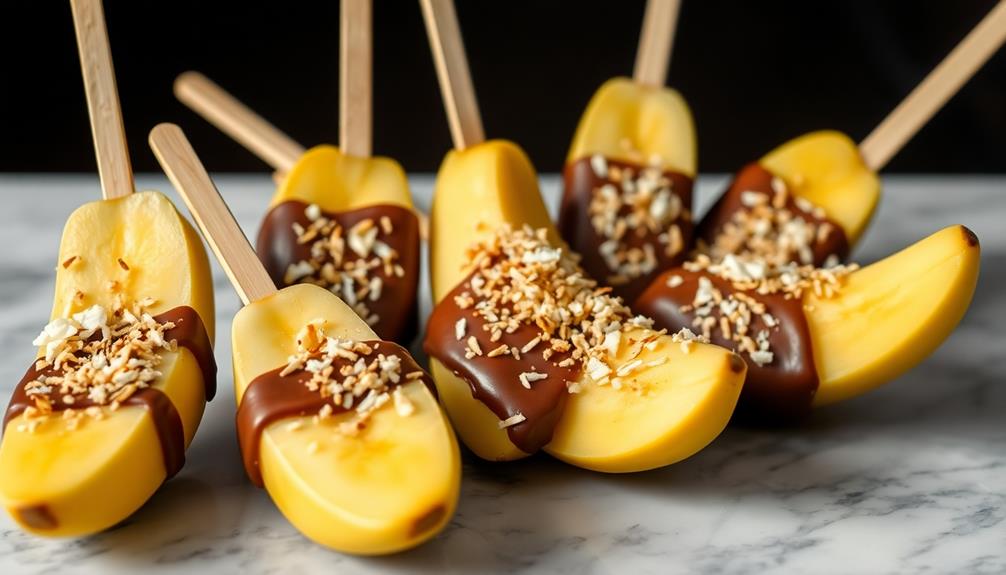
Now, set the chocolate-covered banana pops on a parchment-lined baking sheet to harden. You can even get creative and sprinkle on some crushed nuts, shredded coconut, or colorful sprinkles before the chocolate sets.
Once they're nice and firm, you'll have delicious, homemade chocolate-covered banana pops ready to enjoy. Yum! The sweet banana paired with the rich chocolate is an unbeatable flavor combination.
Plus, it's a fun and easy snack the whole family will love.
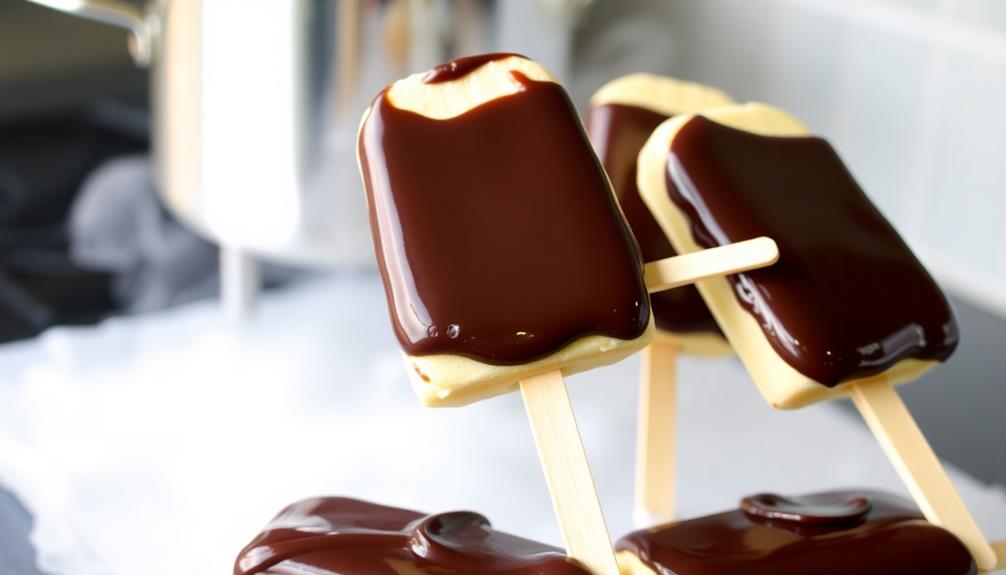
Step 4. Place on Parchment Paper
After dipping the banana chunks in the smooth, glossy chocolate, you'll want to set them on a parchment-lined baking sheet to harden. This parchment paper will prevent the chocolate-covered bananas from sticking to the surface as they cool.
Carefully place each chocolate-dipped banana piece onto the parchment, making sure they're not touching each other. This will allow the chocolate to set properly without the pieces fusing together.
Once all the banana chunks are neatly arranged, slide the baking sheet into the refrigerator. The cool temperature will help the chocolate solidify quickly, in about 15-20 minutes.
You'll know the chocolate has hardened when it's no longer shiny and has a matte, set appearance. Now your delicious chocolate-covered banana pops are ready to be enjoyed!
The parchment paper makes for easy removal and clean-up. Get ready to savor the delightful combination of sweet chocolate and fresh banana.
Step 5. Freeze Until Chocolate Hardens
Slide the baking sheet into the freezer and let the chocolate-covered banana pops chill until the chocolate has completely hardened, about 15-20 minutes.
You don't want to rush this step – the chocolate needs time to set, or it won't hold its shape.
Once the chocolate is nice and firm, you can start planning how you'll enjoy these tasty treats! Maybe you'll share them with friends or family, or maybe you'll keep them all to yourself (we won't judge!).
Either way, they're sure to satisfy your sweet tooth. Remember, the key is letting the chocolate harden fully, so be patient and let them freeze up nice and solid.
Before you know it, you'll have delicious, chocolatey banana pops ready to devour. Mmm, can you already taste the creamy chocolate and the fresh banana?
Get ready for a real flavor explosion!
Final Thoughts
Overall, these chocolate-covered banana pops are a delightful treat that's sure to satisfy your sweet tooth. Not only are they fun to make, but they're also a healthier alternative to traditional ice cream or candy. The combination of creamy banana and rich chocolate is absolutely irresistible.
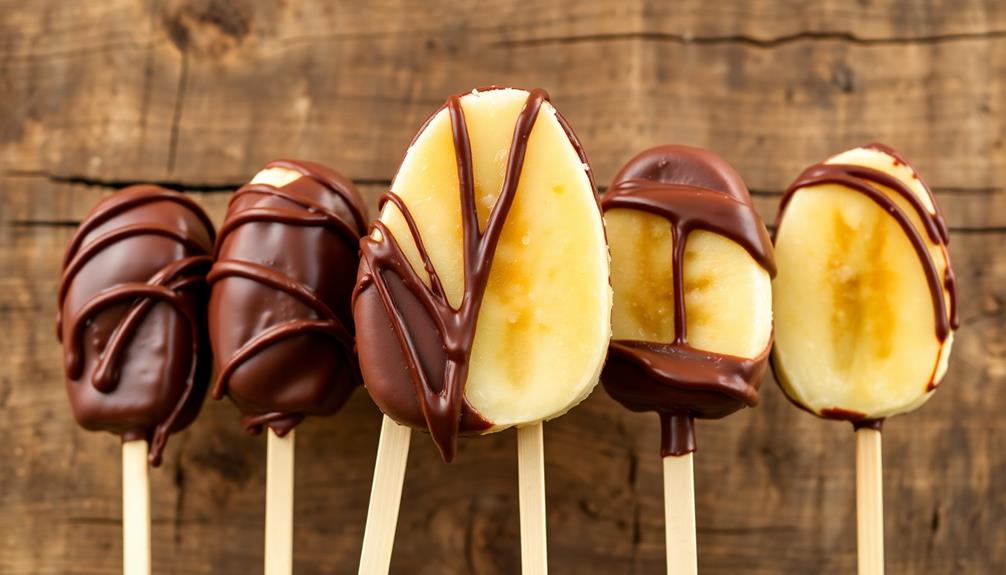
Plus, you can get creative with different toppings and flavors to suit your taste buds. Once you've mastered the basic recipe, don't be afraid to experiment. Try rolling the pops in crushed nuts, sprinkles, or even drizzling them with caramel or white chocolate. The possibilities are endless!
These banana pops make a great snack, dessert, or even a special treat to share with friends and family. So why not give them a try? With just a few simple ingredients and a little bit of time, you can whip up a batch of these delicious, guilt-free pops that everyone will love.
Frequently Asked Questions
Can I Use Any Type of Chocolate for the Coating?
Yes, you can use any type of chocolate for the coating. Dark, milk, or white chocolate – it's entirely up to your personal preference and the flavor profile you're going for.
Do I Need to Freeze the Bananas Before Assembly?
While you don't necessarily need to freeze the bananas before assembling, doing so can help the chocolate coating adhere better. Freezing the bananas firms them up, making the process easier and ensuring a neater final result.
How Long Do the Pops Last in the Refrigerator?
Refrigerator storage can vary, but your pops should last 3-5 days. The key is keeping them well-wrapped to prevent freezer burn. Check them regularly and enjoy while they're fresh for the best texture and flavor.
Can I Substitute Other Fruits for the Bananas?
Absolutely! You can substitute other fruits for the bananas. Try dipping strawberries, apple slices, or even mango cubes in chocolate for a delicious and varied treat. Get creative with your fruit choices – the possibilities are endless!
Is It Necessary to Use Wooden Sticks for the Pops?
You don't necessarily need to use wooden sticks for your pops. You can get creative and try different bases, like toothpicks or even pretzel sticks, depending on the size and shape of your fruit.