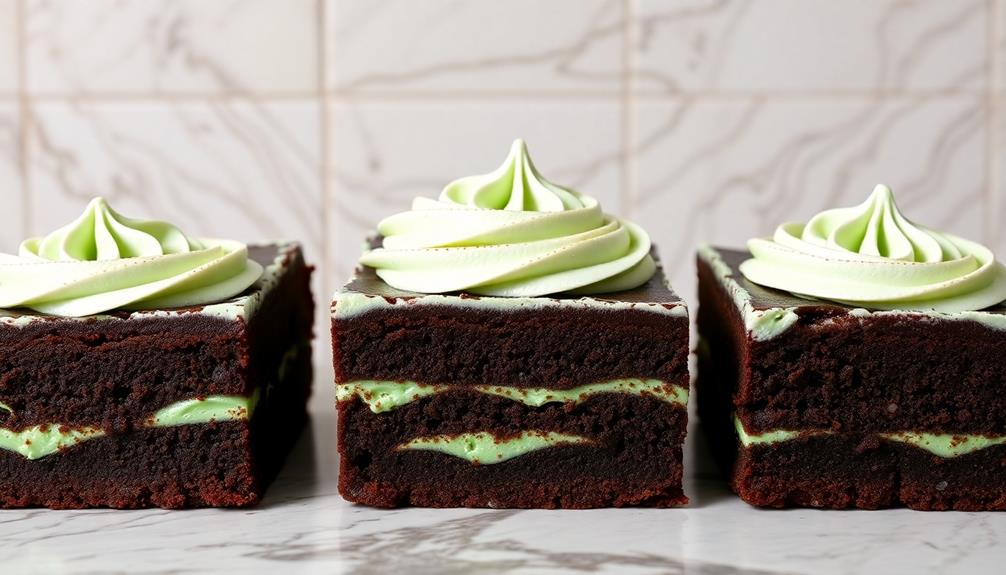
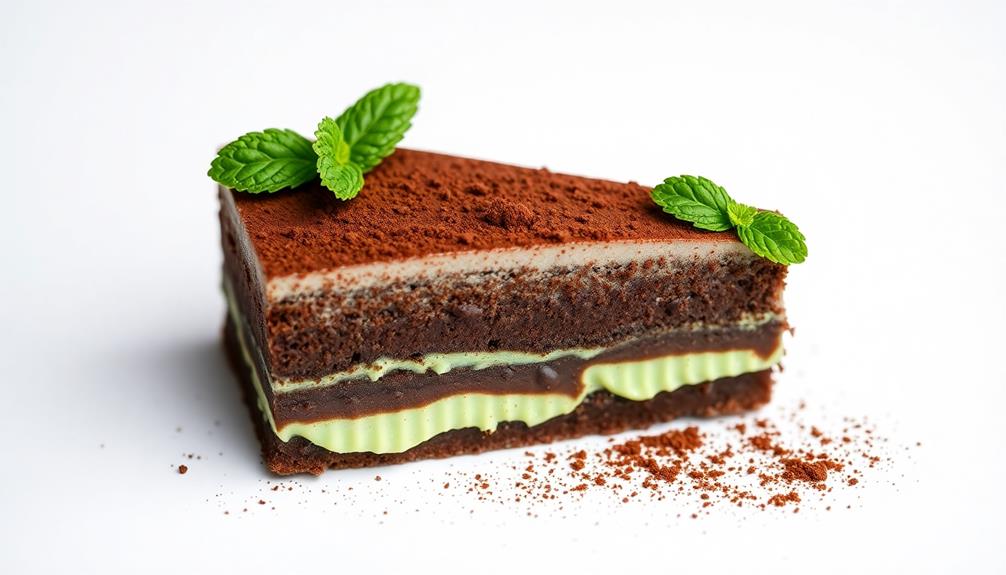
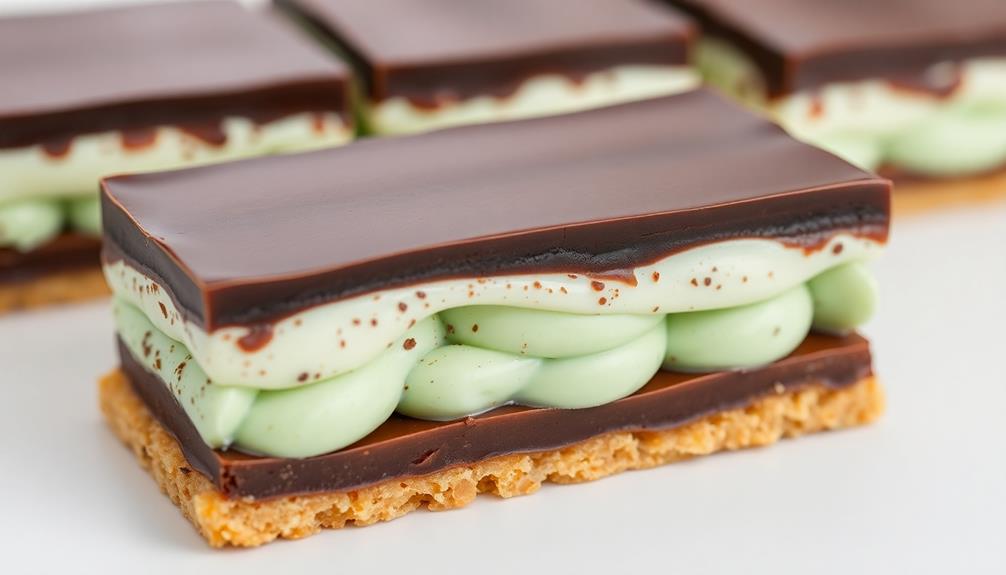
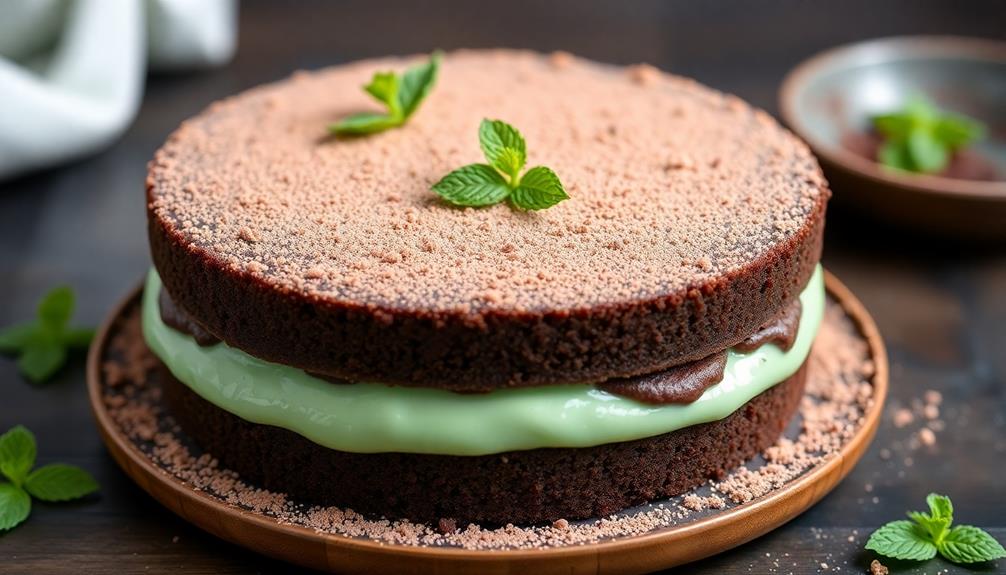
Dive into the delicious world of Chocolate-Mint Slice! This classic treat combines rich chocolate flavors with refreshing mint notes, creating a balance of sweetness and coolness that's simply irresistible. Featuring a fudgy chocolate base, a creamy mint layer, and a smooth chocolate ganache topping, this slice is perfect for impressing guests or satisfying your own sweet cravings. Whether you enjoy it in the comfort of your home or share it with loved ones, the Chocolate-Mint Slice is a timeless delight that's sure to leave you craving more. Keep reading to discover the full recipe and cooking steps for this irresistible treat!
Key Takeaways
- Chocolate-Mint Slice is a classic dessert that combines rich chocolate flavors with refreshing mint notes, originating in the early 20th century.
- The recipe features a fudgy chocolate base, a mint layer, and a smooth chocolate ganache topping, making it suitable for impressing guests.
- The preparation involves melting chocolate and butter, whisking in sugar and eggs, baking the base, and assembling the layers for a balanced flavor profile.
- Chocolate-Mint Slice can be stored in the refrigerator for up to 5 days, making it convenient for sharing with family and friends during gatherings.
- The recipe is relatively simple, with minimal ingredients required, making it suitable for both novice and experienced bakers to satisfy their sweet cravings.
History
The origins of the chocolate-mint slice can be traced back to the early 20th century, when creative home cooks sought to combine the rich flavor of chocolate with the refreshing taste of mint.
These culinary pioneers realized that the two flavors complemented each other perfectly, creating a delightful balance of sweetness and coolness. Additionally, these treats often featured a base of wholesome ingredients, similar to general benefits of vegetarian diets that promote health and well-being.
As the recipe gained popularity, families began sharing their own unique twists, incorporating different types of chocolate and experimenting with various mint varieties. Soon, the chocolate-mint slice became a beloved treat, gracing kitchen counters and dessert tables across the country.
Over the decades, the recipe has evolved, but its core essence remains the same – a delectable fusion of chocolate and mint that delights the senses and brings a smile to the faces of all who indulge.
Today, the chocolate-mint slice continues to be a timeless classic, a testament to the enduring power of creative cooking and the joy of shared culinary traditions.
Recipe
Chocolate-Mint Slice is a delectable treat that combines the rich flavors of chocolate with the refreshing notes of mint. This decadent dessert is perfect for satisfying sweet cravings and impressing guests at any occasion.
The soft, fudgy base is made with a blend of melted chocolate, butter, and sugar, while the vibrant mint layer adds a cool, minty twist. Topped with a smooth chocolate ganache, this slice is a harmonious symphony of textures and flavors.
For those looking to enhance their entertaining experience, consider setting up a cozy home cinema environment to enjoy your dessert while watching a film on a stunning projector, as the right projector type can enhance your viewing experience.
Ingredients:
- 200g dark chocolate, chopped
- 150g unsalted butter
- 1 cup (200g) white sugar
- 3 eggs
- 1 cup (150g) all-purpose flour
- 1/4 cup (60ml) heavy cream
- 1 teaspoon peppermint extract
- Green food coloring (optional)
Directions:
Preheat the oven to 180°C (350°F). Grease and line an 8-inch square baking pan with parchment paper.
In a double boiler or a bowl set over a saucepan of simmering water, melt the chocolate and butter, stirring occasionally until smooth. Remove from heat and let cool slightly.
In a separate bowl, whisk the sugar and eggs until light and fluffy. Fold in the melted chocolate mixture and then the flour until just combined.
Pour the batter into the prepared pan and bake for 25-30 minutes, or until a toothpick inserted into the center comes out clean. Allow the base to cool completely.
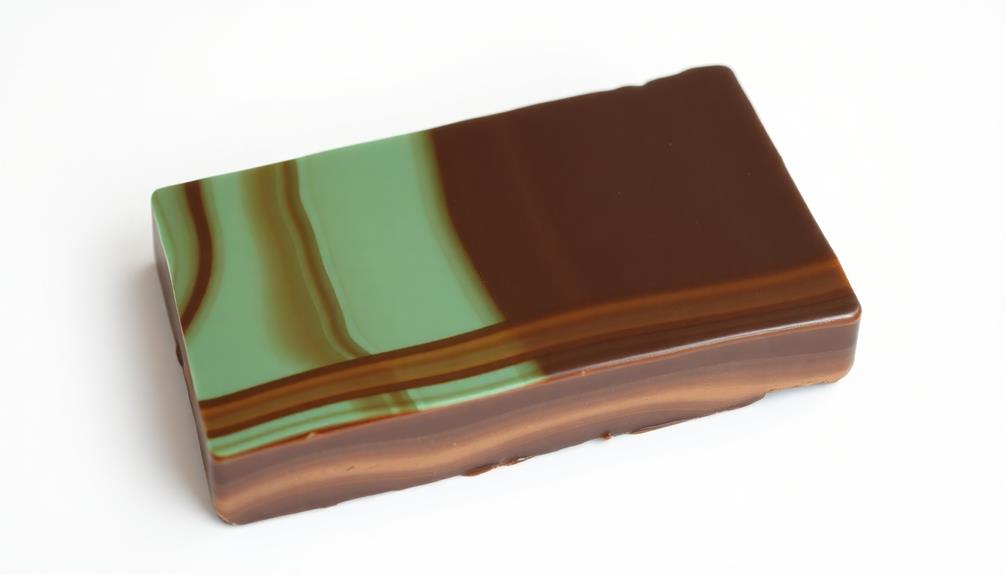
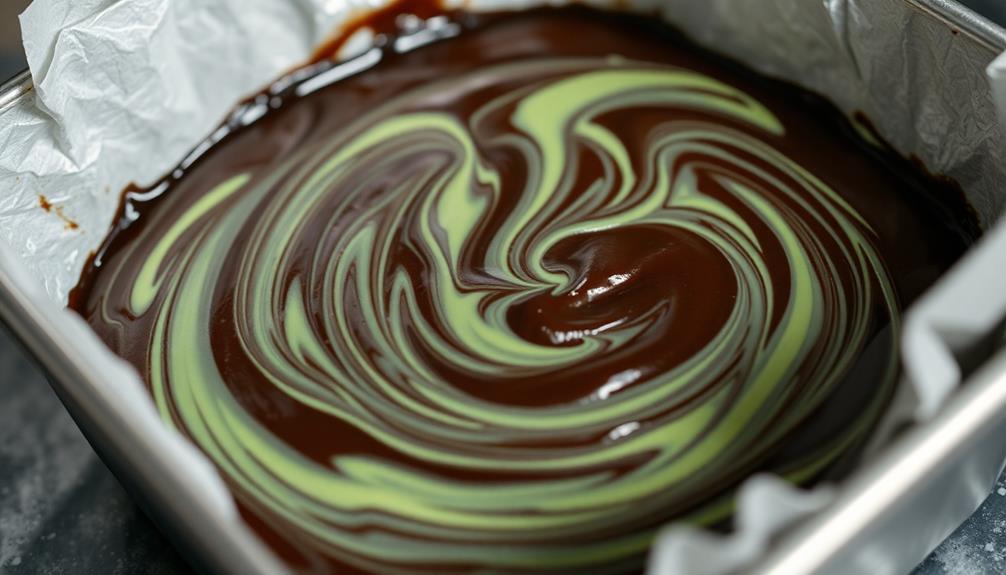
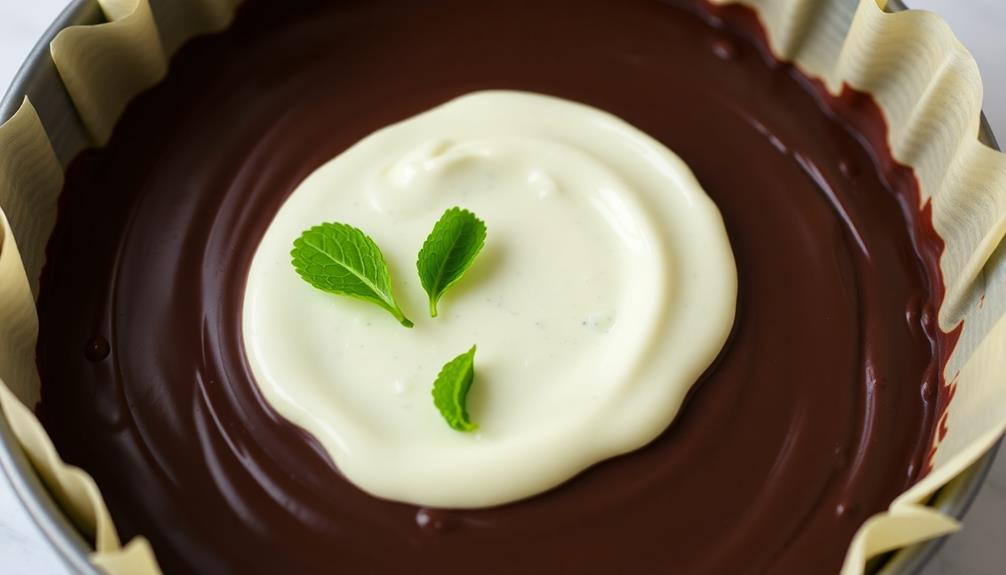
In a small saucepan, heat the heavy cream and peppermint extract until just simmering. Remove from heat and stir in a few drops of green food coloring, if desired.
Pour the mint mixture over the cooled chocolate base and refrigerate for at least 2 hours, or until the mint layer is set.
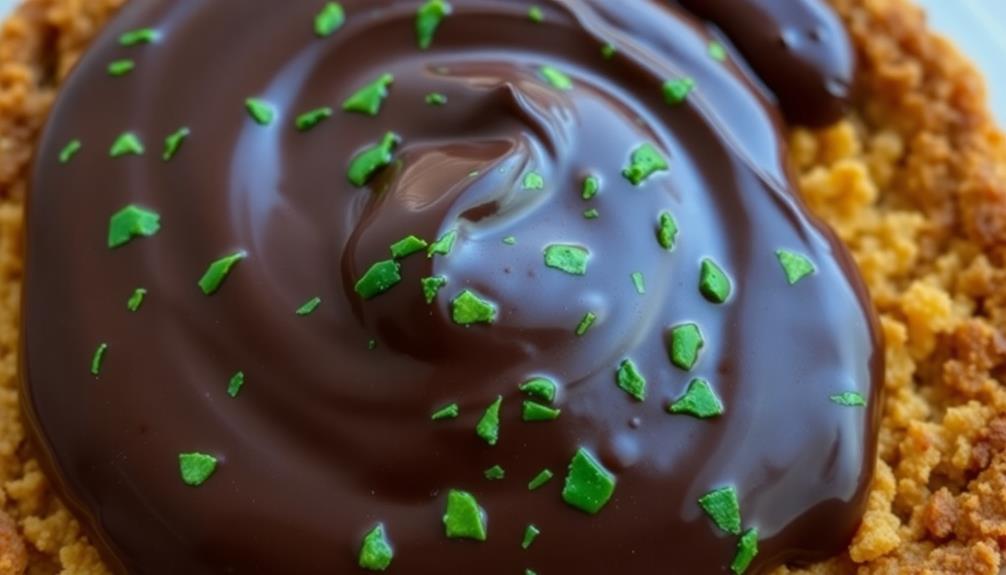
Once set, prepare the chocolate ganache topping by heating the remaining heavy cream in a saucepan until it just begins to simmer. Remove from heat, add the chopped chocolate, and let sit for 2-3 minutes.
Whisk the mixture until smooth and glossy. Pour the ganache over the mint layer, spreading it evenly. Refrigerate the Chocolate-Mint Slice for another 2 hours, or until the ganache is set.
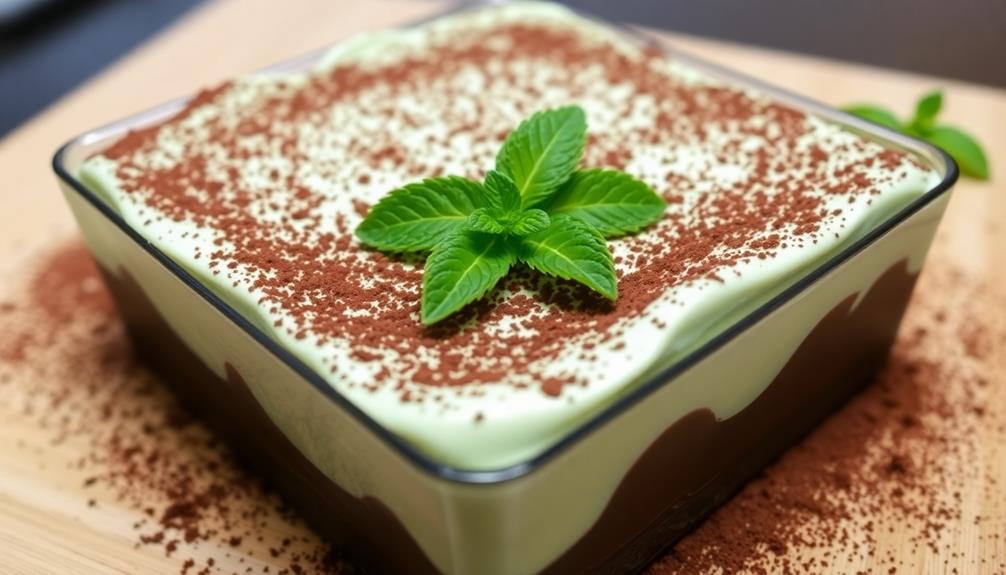
To serve, remove the slice from the pan and cut into desired portions. Enjoy the perfect balance of rich chocolate and refreshing mint in every bite.
This Chocolate-Mint Slice can be stored in the refrigerator for up to 5 days, making it a convenient and delicious dessert option.
Cooking Steps
Grease that baking tin and line it up nicely.
Now, let's get mixing – combine the butter, sugar, and cocoa until they're all cozy together. For an even richer flavor, consider adding a pinch of salt, which enhances the chocolate.
Next, add in the dry ingredients and give it a good stir. This mixture can be reminiscent of a fun and easy dessert like Dirt Cups with its delightful chocolatey goodness.
Spread the scrumptious mixture into the prepared tin and pop it in the oven until it's firm and set – can't wait to see the final result!
Step 1. Grease and Line Baking Tin
Begin by greasing and lining the baking tin you'll be using.
You'll want to make sure it's all nice and ready for the chocolatey goodness to come. Grab some butter or non-stick cooking spray and give the tin a thorough coating – get into all those nooks and crannies! This will help the slice pop right out when it's done baking.
Next, cut a piece of parchment paper to fit the bottom of the tin.
Gently press it in, making sure there are no air bubbles. The parchment will act as a non-stick barrier, making it a cinch to remove the slice later. If you've got a square tin, cut the paper into a square. For a round one, trace the bottom and cut out a nice circle.
Now your tin is all set up and ready to go!
The next step is mixing up the chocolatey mint filling. Get ready for some seriously delicious baking!
Step 2. Combine Butter, Sugar, and Cocoa
In a saucepan, combine the butter, sugar, and cocoa powder. Stir them together over medium heat until the butter has melted and the mixture is smooth and well-blended. This creates a rich, chocolatey base for your delicious chocolate-mint slice.
Next, remove the saucepan from the heat and let the mixture cool slightly. This gives the chocolate a chance to firm up a bit before you add the other ingredients.
While it's cooling, you can start gathering the rest of the items you'll need, like the eggs, flour, and mint.
Once the chocolate mixture has cooled, crack the eggs into the pan and whisk them in thoroughly. This helps bind everything together and gives the slice a nice, fudgy texture.
Sift in the flour and gently fold it in until no dry pockets remain. Finally, stir in the chopped mint, making sure it's evenly distributed throughout the batter.
Your chocolate-mint slice is now ready to be poured into the prepared baking tin and baked to perfection!
Step 3. Add Dry Ingredients
After allowing the chocolate mixture to cool slightly, sift the flour into the pan. Gently shake the sieve back and forth to evenly distribute the flour. Be sure to get every last bit – you don't want any dry pockets in your slice!
Next, add the baking powder and salt. These ingredients will help your creation rise beautifully and add just the right amount of savoriness to balance the sweetness.
Now, give the dry mixture a quick stir to blend everything together. You'll notice the color start to lighten as the flour is incorporated. Isn't that satisfying?
Alright, time to move on to the next step. Grab your minty fresh patty and crumble it over the chocolate base. Sprinkle it evenly across the surface, then gently press down to adhere the pieces. Perfect! Your Chocolate-Mint Slice is really starting to come together now. Just a few more steps and you'll have a delectable dessert ready to share with family and friends.
Step 4. Spread Mixture Into Prepared Tin
With the dry ingredients incorporated, it's time to transfer the chocolate mixture into the prepared tin.
Grab your spatula and scoop out the rich, fudgy batter, spreading it evenly across the bottom of the pan. Don't be shy – make sure to get into all the corners! This chocolatey goodness needs to be spread out so it can bake up into a delicious, uniform layer.
Once the mixture is smoothed out, give the tin a gentle tap on the counter to release any air bubbles. This will help your slice bake up nice and flat.
Now, gently place the tin in the preheated oven and set a timer. As the chocolate base bakes, it'll fill your kitchen with an amazing minty-chocolate aroma.
Just wait until you take that first bite and taste the perfect combination of flavors! Keep an eye on the oven, and soon you'll have a pan of irresistible Chocolate-Mint Slice ready to enjoy.
Step 5. Bake Until Firm and Set
How long will it take for the chocolate base to bake up perfectly? Just 20-25 minutes in the oven should do the trick!
You'll know it's ready when the top is firm and the edges have pulled away from the sides of the tin. Don't open the oven door too often, or you might let out that delicious chocolatey aroma.
Once the base is baked, let it cool completely before adding the mint topping. This will help the layers hold together nicely.
When the base is cool, spread the refreshing mint mixture over the top, making sure to reach all the way to the edges. Then, pop the whole thing back in the fridge to chill and set.
In just a short while, you'll have a wonderfully fudgy, minty treat that's perfect for sharing with friends and family.
The hardest part will be waiting for it to cool and set before diving in!
Final Thoughts
This chocolate-mint slice is a delightful treat that's sure to satisfy your sweet cravings. The combination of rich chocolate and refreshing mint creates a flavor explosion in your mouth.
Whether you're enjoying it as a midday snack or an after-dinner dessert, this slice is guaranteed to put a smile on your face.
One of the best things about this recipe is its versatility. You can customize it to suit your personal preferences, such as adding extra mint for a stronger flavor or using dark chocolate for a richer texture.
And the best part? It's so easy to make, you'll be whipping it up again and again.
Frequently Asked Questions
What Is the Shelf Life of the Chocolate-Mint Slice?
The shelf life of the item depends on several factors, such as the ingredients, storage conditions, and packaging. Typically, you can expect it to last for 3-5 days at room temperature or up to a week when refrigerated.
Can the Chocolate-Mint Slice Be Frozen for Later?
You can definitely freeze the product for later enjoyment. Freezing will help extend its shelf life and allow you to enjoy it at your convenience. Just be sure to wrap it properly to prevent freezer burn.
How Can the Chocolate-Mint Slice Be Stored?
You can store the dessert in an airtight container in the refrigerator for up to 5 days. Alternatively, you can freeze it for longer storage, up to 3 months, ensuring it's well-wrapped to prevent freezer burn.
Is the Chocolate-Mint Slice Suitable for Vegans?
If the recipe is made without any animal-derived ingredients, like butter or cream, then the chocolate-mint slice would be suitable for vegans. You'll need to check the ingredient list to ensure it meets your dietary requirements.
Can the Chocolate-Mint Slice Be Made in Advance?
You can certainly make the chocolate-mint slice in advance. Prepare it a day or two ahead, store it in the fridge, and it'll be ready when you need it. This makes it a convenient and time-saving dessert option.