I have to tell you, there’s something truly special about creating your own chocolate from the beginning. The journey of turning raw cacao beans into a creamy, luxurious chocolate bar is truly a culinary adventure. And let me tell you, it’s a journey that is definitely worth experiencing.
In this article, I’m gonna walk you through the entire chocolate-making process, step by step. We’ll start by understanding the cacao bean and how to source the best quality beans. From there, we’ll dive into the nitty-gritty of harvesting, fermenting, drying, and roasting the beans to perfection. Then, we’ll grind and conch those cacao nibs until they become silky-smooth chocolate.
But we’re not stopping there. Oh no, my friend. We’ll also explore the art of adding sweeteners and flavorings, tempering the chocolate for that irresistibly shiny finish, and even molding it into your favorite shapes. And of course, I’ll share some tips on storing and savoring your homemade chocolate.
So get ready to awaken your inner chocolatier, because we’re about to embark on a deliciously rewarding chocolate-making journey together. Let’s dive in!
Key Takeaways
- Refining texture and enhancing flavors is crucial in chocolate-making.
- Sweeteners and flavorings like organic cane sugar, maple syrup, coconut sugar, and natural flavorings can be added for different tastes.
- Tempering techniques, such as seeding or tabling, are essential for a smooth, glossy finish and a satisfying snap.
- Properly storing homemade chocolate in a cool, dry place and sharing the experience with others enhances the chocolate-making journey.

Orgain Organic Vegan Protein + 50 Superfoods Powder, Vanilla Bean - 21g Plant Based Protein, 8g Prebiotic Fiber, No Lactose Ingredients, Gluten Free, No Added Sugar, Non-GMO, 2.02 lb
- Protein Content: 21g plant-based protein per serving
- Sugar Content: 1g sugar per serving
- Ingredients: Organic pea, rice, chia, superfoods
As an affiliate, we earn on qualifying purchases.
Understanding the Cacao Bean
Now that you’ve got your raw cacao, let’s dive into the fascinating world of the cacao bean and uncover its secrets.
The cacao bean is the foundation of chocolate, and it comes in various varieties, each with its own unique flavor profile. Some popular cacao bean varieties include Criollo, known for its delicate taste, Forastero, which has a more robust flavor, and Trinitario, a hybrid of Criollo and Forastero.
Besides their delicious taste, cacao beans also offer numerous nutritional benefits. They are packed with antioxidants, fiber, and minerals like magnesium and iron. Raw cacao is particularly beneficial as it retains more of its natural nutrients compared to processed cocoa.
So, now that we understand the cacao bean and its nutritional value, let’s explore how to source and select quality cacao beans for our chocolate-making adventure.
Sourcing and Selecting Quality Cacao Beans
When sourcing and selecting quality cacao beans, it’s crucial to choose beans that are rich in flavor and have a smooth texture. Cacao bean cultivation plays a significant role in determining the quality of the beans. The climate, soil conditions, and farming practices all contribute to the flavor profile of the cacao beans. Additionally, the chocolate making techniques used during the fermentation and drying process can greatly impact the final flavor of the chocolate. To give you a visual representation of these ideas, here is a table showcasing the key factors in sourcing and selecting quality cacao beans:
| Factors | Importance |
|---|---|
| Climate | High |
| Soil Conditions | High |
| Farming Practices | High |
| Chocolate Making Techniques | High |
Understanding the importance of these factors helps ensure that the cacao beans chosen will result in a high-quality chocolate. As we move into the next section on harvesting and fermenting the cacao beans, it becomes evident how each step contributes to the overall chocolate-making process.
Harvesting and Fermenting the Cacao Beans
When it comes to harvesting cacao beans, the key is to pick ripe cacao pods. This ensures that the beans inside are at their peak flavor and quality.
The fermentation process is crucial in developing the unique flavors of chocolate, as it breaks down the sugars and transforms the beans. Proper fermentation is of utmost importance as it enhances the chocolate’s aroma, texture, and overall taste, resulting in a truly exquisite chocolate experience.
Picking Ripe Cacao Pods
First, you need to look for cacao pods that are as ripe as a summer peach, with vibrant colors and a slight give when gently squeezed. Picking techniques play a crucial role in ensuring the best quality cacao beans for chocolate making.
When picking ripe cacao pods, it is important to differentiate them from unripe or overripe ones. Ripe pods will have a rich, deep color, such as red, orange, or yellow, depending on the cacao variety. They should feel slightly soft when gently squeezed, indicating that the beans inside are fully developed. Avoid picking pods that are still green or have shriveled skin. These signals indicate that the beans haven’t reached their full potential.
Now that we have picked the perfect cacao pods, let’s move on to the fermentation process.
Fermentation Process
Once you have selected the ripest cacao pods, it’s time to dive into the fascinating process of fermentation. Fermentation is a crucial step in chocolate-making, as it brings out the complex flavors and aromas that we all love. Here are four key points about the fermentation process:
-
Fermentation benefits: During fermentation, natural yeasts and bacteria break down the sugars in the cacao pulp, leading to the development of desirable flavors and reducing the bitterness of the beans.
-
Duration: Fermentation typically takes around 5 to 7 days, depending on factors like temperature and humidity. It is important to monitor the process closely to ensure optimal results.
-
Turning the beans: Every day, the cacao beans need to be turned to ensure even fermentation. This allows for consistent flavor development throughout the batch.
-
Temperature control: Maintaining the right temperature is crucial for successful fermentation. Too high or too low temperatures can affect the quality of the beans.
Proper fermentation is vital to achieving high-quality chocolate. It sets the stage for the subsequent steps in the chocolate-making process, enhancing the final product’s flavor and aroma.
Importance of Proper Fermentation
Proper fermentation is vital for unlocking the rich and complex flavors that tantalize our taste buds. The benefits of fermentation go beyond just taste – it also helps to improve the texture and aroma of the final chocolate product.
During fermentation, the cacao beans undergo a series of chemical reactions that transform the bitter, astringent taste into the familiar chocolate flavor we all love. This process also helps to remove unwanted substances and reduce acidity.
To ensure proper fermentation, there are a few techniques that can be employed. First, the cacao pods must be harvested at the right ripeness. Then, the beans need to be carefully removed and placed in a fermentation box or pile. The temperature and humidity must be controlled throughout the fermentation process, which typically lasts for about 5-7 days. The beans are regularly turned and mixed to ensure even fermentation.
Now that the beans have undergone proper fermentation, the next step is to dry and roast them.
Drying and Roasting the Cacao Beans
To start making chocolate from raw cacao, you’ll need to dry and roast the cacao beans. Proper drying techniques are crucial to ensure the beans are free from excess moisture, which can lead to mold and spoilage.
When it comes to roasting, different temperatures can bring out unique flavors and aromas in the beans. The higher the temperature, the darker and more intense the chocolate will be. This process is where the magic happens, as the beans undergo a transformation, releasing their rich cocoa flavor and developing the familiar chocolaty aroma.
The crackling sound of the beans as they roast, combined with the intoxicating scent wafting through the air, creates an atmosphere filled with anticipation and excitement.
Now that we have perfectly dried and roasted cacao beans, we can move on to the next step of grinding and conching the cacao nibs, where we’ll unlock even more of the chocolate’s potential.
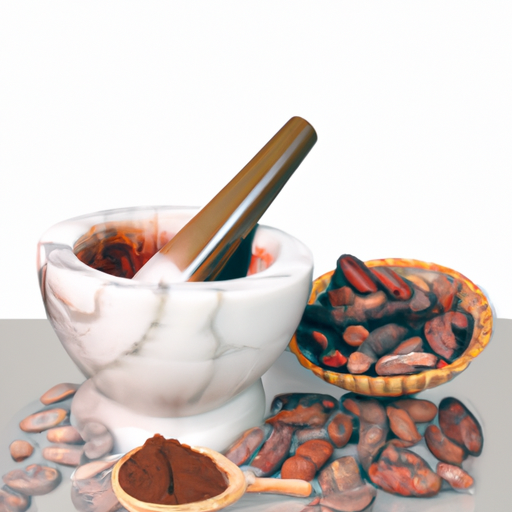
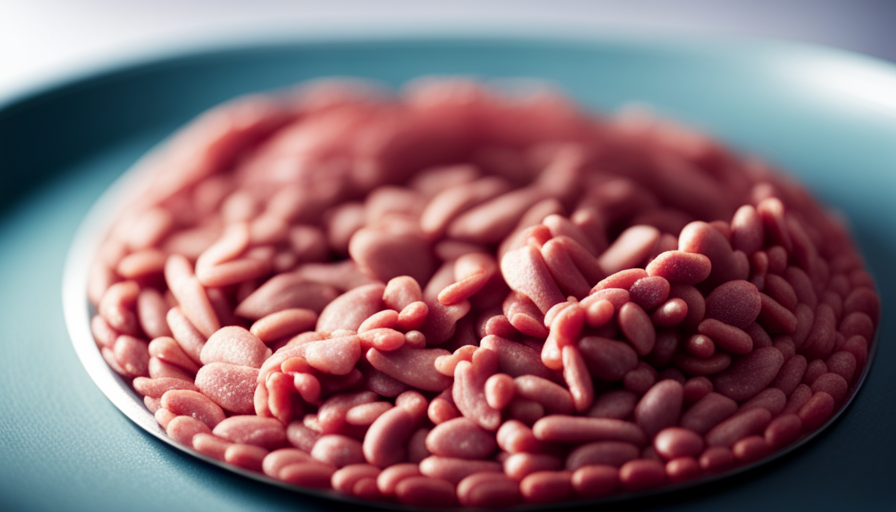
Grinding and Conching the Cacao Nibs
After drying and roasting the cacao beans to perfection, it’s time to move on to the next crucial step in the chocolate-making process: grinding and conching the cacao nibs. This is where the magic happens, as the nibs are transformed into a smooth, velvety chocolate paste.
Grinding the nibs involves using various techniques to break them down into smaller particles. This can be done using a stone grinder, a melanger, or even a food processor. The goal is to create a fine, homogeneous texture that will result in a silky chocolate.
Once the nibs are ground, it’s time for the conching process. Conching involves continuously stirring the chocolate paste for several hours, which helps refine the texture and bring out the complex flavors. This step is crucial for achieving the smoothness and aroma that we all love in chocolate.
Now that the cacao nibs have been transformed into a luscious chocolate paste, it’s time to explore the next step: adding sweeteners and flavorings.
Adding Sweeteners and Flavorings
Once you’ve ground and conched the cacao nibs, it’s time for you to get creative and add your choice of sweeteners and flavorings to enhance the taste of your homemade chocolate.
Here are three options for sweeteners that you can consider:
-
Organic cane sugar: This natural sweetener adds a subtle sweetness to the chocolate without overpowering the rich flavor of the cacao.
-
Maple syrup: If you prefer a more earthy and complex sweetness, maple syrup is a great choice. It also adds a hint of depth to the overall flavor profile.
-
Coconut sugar: For those looking for a healthier alternative, coconut sugar provides a lower glycemic index while still imparting a delicious caramel-like flavor.
When it comes to natural flavorings, the possibilities are endless. You can experiment with ingredients like vanilla extract, cinnamon, sea salt, or even chili powder to add a unique twist to your chocolate.
Once you have added your desired sweeteners and flavorings, you can move on to the next step of tempering and molding the chocolate.
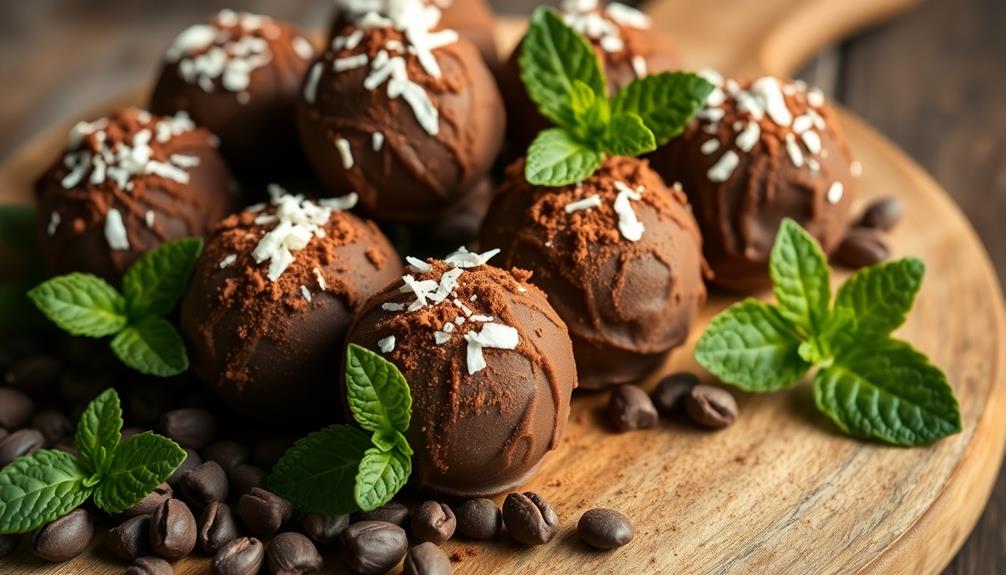
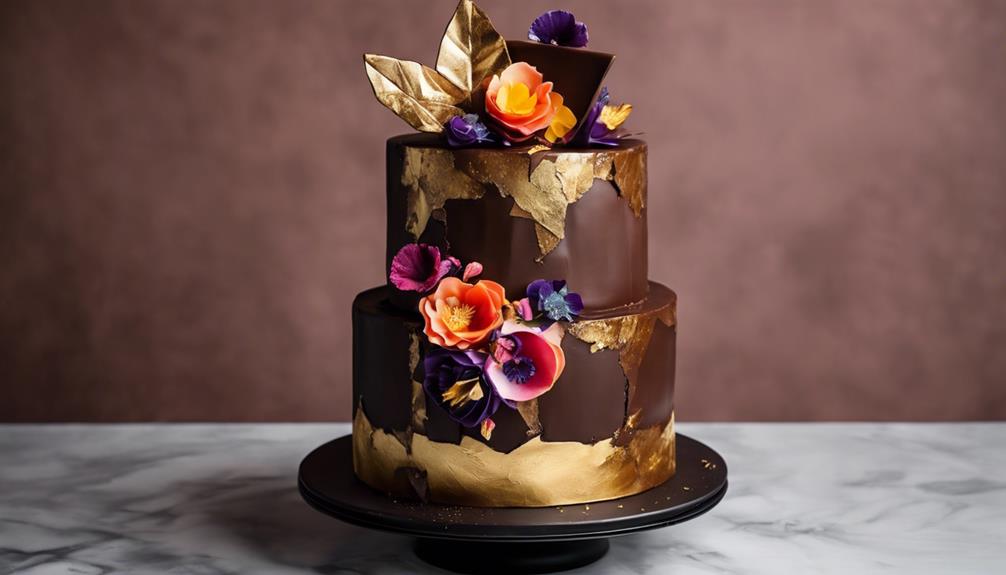
Tempering and Molding the Chocolate
Get ready to elevate your homemade treat to the next level by mastering the art of tempering and molding your luscious, decadent creation.
Tempering is a crucial step in chocolate making that ensures a smooth and glossy finish while also giving the chocolate a satisfying snap when you bite into it. There are various tempering techniques you can use, such as the seeding method or the tabling method. Whichever method you choose, the key is to carefully control the temperature of the chocolate as you melt and cool it.
Once your chocolate is perfectly tempered, it’s time to pour it into your chosen chocolate molds. These molds come in various shapes and sizes, allowing you to create beautiful and professional-looking chocolates.
Now that your chocolates are molded, it’s time to move on to the next step of storing and enjoying your homemade chocolate creation.
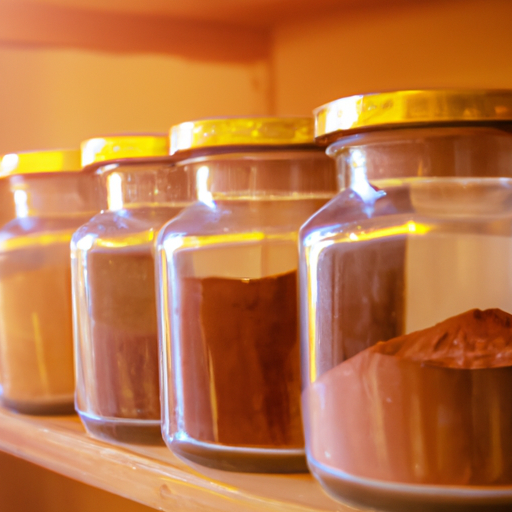
Storing and Enjoying Your Homemade Chocolate
Now that you’ve learned all about tempering and molding your homemade chocolate, it’s time to talk about how to store and enjoy your delicious creation.
Properly storing your chocolate is essential to maintain its texture and flavor. One important technique is to store it in a cool, dry place, away from direct sunlight and strong odors. You can also wrap it tightly in aluminum foil or place it in an airtight container to prevent any moisture from getting in.
As for enjoying your homemade chocolate, the possibilities are endless! You can savor it on its own, use it in baking recipes, or even make hot chocolate with it.
The joy of making your own chocolate is not just in the process, but also in sharing the end result with others. So let’s move on to the next section and discover the joy of sharing your chocolate-making journey.
Sharing Your Chocolate-Making Journey
Sharing your chocolate-making journey with others can be a delightful experience, and did you know that 86% of people feel more connected when they share homemade treats? It’s a wonderful way to create lasting memories and bond with friends and family. Not only can you share the delicious end result, but you can also share your experiences and troubleshooting tips along the way. This allows others to learn from your successes and challenges, and it can make the process even more enjoyable. To make sharing easier, here are a few helpful tips:
| Sharing Experiences | Troubleshooting Tips |
|---|---|
| Share photos and videos on social media | Offer suggestions for ingredient substitutions |
| Host a chocolate-making party | Help troubleshoot tempering issues |
| Write a blog post or create a recipe card | Provide tips for achieving different flavors |
Remember, sharing your chocolate-making journey is not only about the final product, but also about the joy of connecting with others who share your passion. So go ahead, spread the love and share your delicious creations with the world!
Frequently Asked Questions
Can I use any type of cacao bean to make chocolate?
Yes, any type of cacao bean can be used to make chocolate. However, the roasting process is crucial as it enhances the flavor and removes any unwanted bitterness, resulting in a delicious and smooth chocolate.
How long does it take for cacao beans to ferment?
The cacao bean fermentation process is like a delicate dance, influenced by factors such as temperature, humidity, and bean size. It usually takes around 5-7 days for cacao beans to fully ferment, resulting in their rich and complex flavors.
What is the best method for drying cacao beans?
The best method for drying cacao beans is to spread them out in a single layer and expose them to temperatures between 45-50°C. There are different drying methods like sun drying, mechanical drying, and solar drying.
Can I use a regular coffee grinder to grind cacao nibs?
Yes, you can use a regular coffee grinder to grind cacao nibs. However, using stone grinders is highly recommended for the best results. Stone grinders preserve the delicate flavors and textures of the cacao, resulting in a more refined and delicious chocolate.
How long does it take for homemade chocolate to set and become firm?
I’ve experimented with homemade chocolate and found that it takes about 2-4 hours to set and become firm. The setting time may vary depending on factors like temperature and the desired consistency of the chocolate.
Is the Process for Making Dark Chocolate with Raw Cacao the Same as Making Chocolate from Raw Cacao?
Yes, the process for making dark chocolate from raw cacao is essentially the same as making chocolate from raw cacao. The key difference lies in the amount of sugar and fat added to the mixture. Making dark chocolate raw cacao involves less sugar and no milk, resulting in a richer, more intense flavor.
Conclusion
In conclusion, making chocolate from raw cacao is a truly rewarding experience. It allows you to understand and appreciate the journey from bean to bar.
As I took each step, sourcing the finest cacao beans, fermenting and roasting them to perfection, and adding my own personal touch with sweeteners and flavorings, I couldn’t help but feel like a true chocolatier.
And now, as I savor the rich, creamy taste of my homemade chocolate, I can’t help but feel a sense of accomplishment and joy.
So go ahead, embark on this delicious adventure and share your homemade chocolate with loved ones. They’ll be in awe of your chocolate-making prowess!