To avoid regrets with your first high-speed blender, start by preparing your kitchen and carefully assembling the parts according to the manual. Make certain everything is secure, from the blades to the lid, and run a test cycle without ingredients. Clean and maintain your blender regularly, and always follow safety guidelines during use. Getting support and warranties offers peace of mind. Keep these steps in mind, and you’ll get consistent, smooth results every time—more tips are ahead to help you succeed.
Key Takeaways
- Thoroughly read and follow the manufacturer’s instructions for proper setup and calibration.
- Ensure all parts, especially blades and jars, are securely assembled and locked to prevent leaks and wobbling.
- Prepare your workspace by clearing clutter and keeping cleaning supplies nearby for quick maintenance.
- Start with low-speed tests to check noise, operation, and blade sharpness before blending tougher ingredients.
- Perform regular mechanical checks, clean components after each use, and store parts properly to maintain optimal performance.
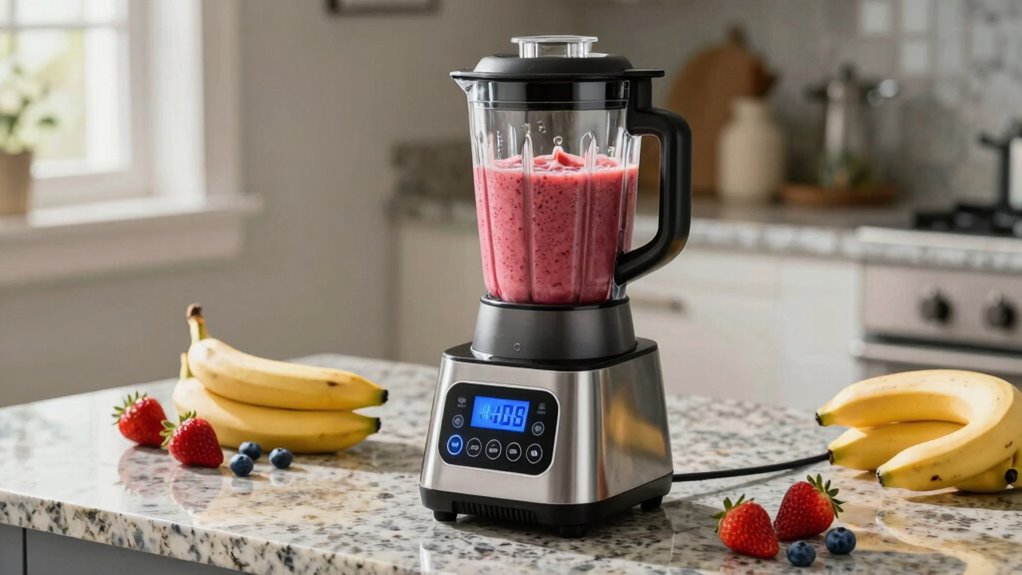
Prepare Your Kitchen for Your New High-Speed Blender
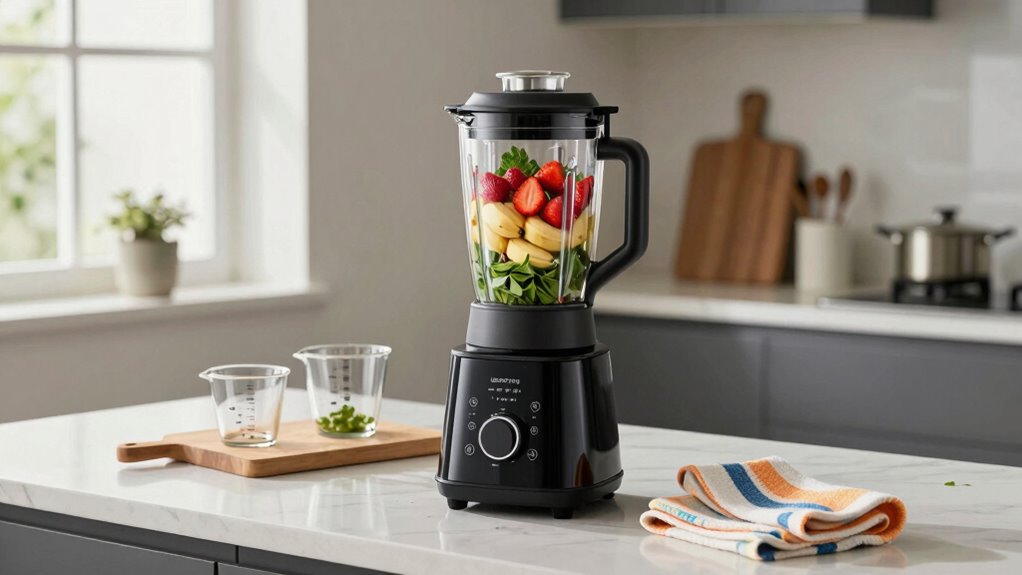
Before you start using your new high-speed blender, it’s important to prepare your kitchen to guarantee safety and efficiency. First, verify your workspace is clear and organized, so you have easy access to your blender and ingredients. Proper kitchen organization prevents accidents and makes blending smoother. Check that your countertop is stable and free of clutter, reducing the risk of spills or falls. Familiarize yourself with your blender’s safety features, like lock mechanisms and lid securement, to avoid mishaps. Keep cleaning supplies nearby for quick cleanup after use. By setting up your space thoughtfully and prioritizing blender safety, you create an environment that’s both safe and efficient, helping you enjoy your new appliance without worries. Additionally, ensuring your workspace has adequate countertop stability is crucial for safe operation and optimal blending performance. Being aware of your small appliance safety features can further prevent accidents and enhance your user experience. Recognizing the importance of energy-efficient appliances can also contribute to sustainable kitchen practices. It’s also wise to consider proper storage for your blender and accessories to maintain their longevity and safety. Taking the time to organize your kitchen tools can streamline your cooking process and reduce clutter, making your blending sessions more enjoyable.
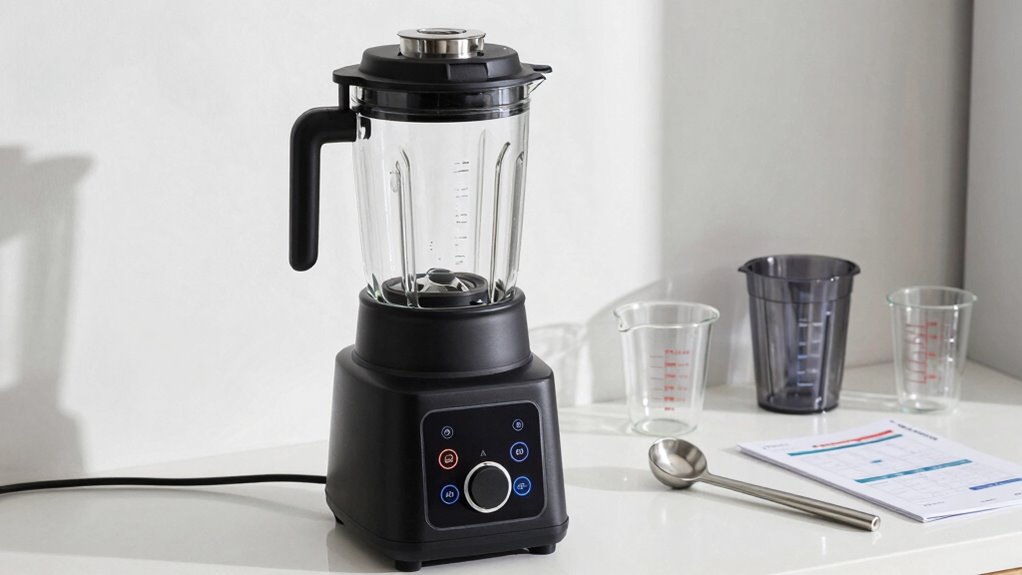
Follow These Steps to Set Up Your Blender for First Use
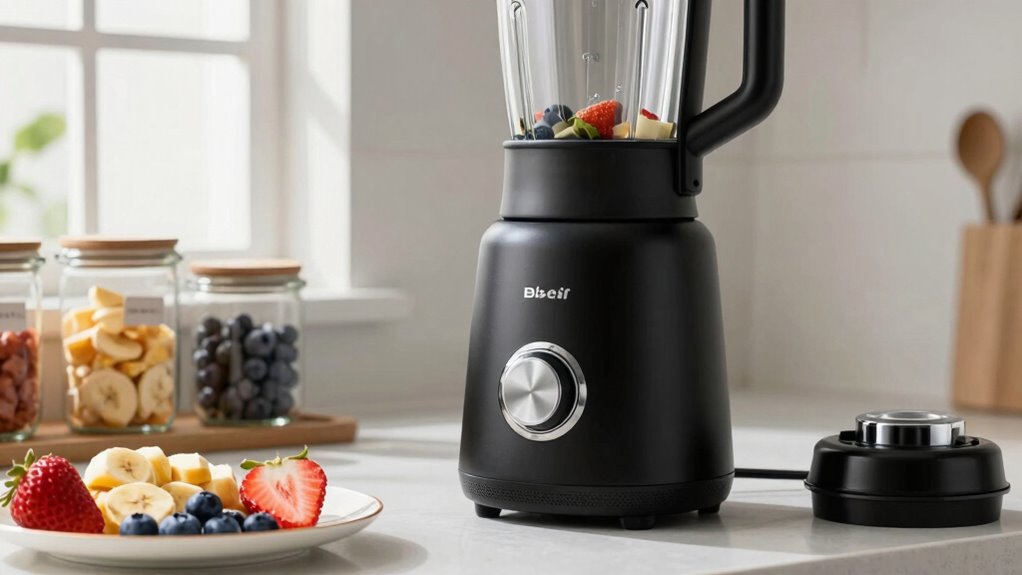
To guarantee your blender is ready for its first use, start by reading the manufacturer’s instructions thoroughly. Next, check the blade assembly for durability; sturdy blades ensure longevity and efficient blending. To minimize blender noise during operation, place a damp cloth under the base. Before starting, ensure the jar is securely attached and that the lid fits tightly. Use the following table to familiarize yourself with key setup steps:
| Step | Tip |
|---|---|
| Power connection | Use a grounded outlet for safety |
| Initial blend test | Run at low speed to check noise levels |
| Blade inspection | Confirm blades are sharp and secure |
| Sealing and assembly | Ensure all parts fit snugly |
Proper setup prevents damage and guarantees smooth operation from the start. Additionally, understanding the fundamentals of craftsmanship can help you troubleshoot and maintain your blender effectively over time, reducing the risk of instant regret caused by improper setup or operation. Being aware of the electrical safety considerations is also essential when setting up any appliance to prevent potential hazards.
Assemble and Calibrate Your Blender Correctly
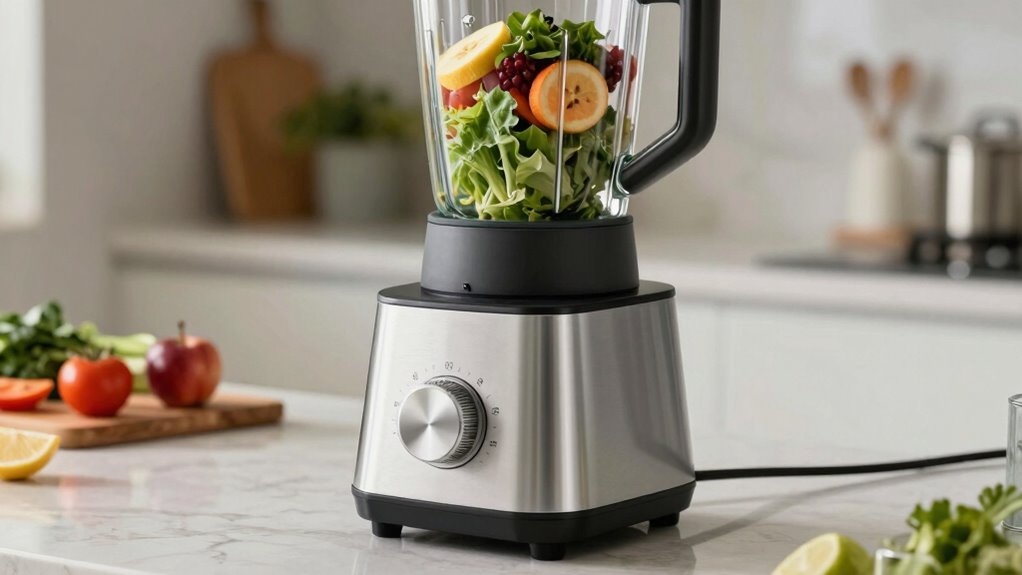
Assembling and calibrating your blender correctly is essential for safe and efficient operation. Start by attaching the blade assembly securely to the jar, ensuring it clicks into place. Check that the blade is tight and properly aligned, as a loose or misaligned blade can cause uneven blending or damage the motor. When attaching the jar to the blender base, make sure it locks into position to prevent leaks or accidents. Once assembled, verify that the blender motor is functioning smoothly by running a short test cycle without ingredients. Listen for unusual noises or vibrations, which could indicate improper assembly. Proper calibration guarantees the blade spins correctly at high speeds, maximizing blending efficiency and prolonging your blender’s lifespan. Ensuring all components are properly assembled and calibrated helps prevent common issues like leaks, motor strain, or uneven blending. Additionally, consulting your blender’s user manual can provide specific calibration instructions to optimize performance. Taking the time to check alignment and tightness during assembly can save you from costly repairs or replacements later on. Regularly inspecting the wear and tear of components will help you maintain your blender over time.
How to Clean and Maintain Your Blender for Longevity
Keeping your blender in top shape starts with regular cleaning and proper storage. Make it a habit to check for any mechanical issues to prevent future problems. When you care for your blender consistently, it’ll last longer and perform better.
Regular Cleaning Routines
Regularly cleaning your blender is essential to keep it running smoothly and extend its lifespan. After each use, rinse the blender jar thoroughly to remove residue, and wash it with warm, soapy water. Pay attention to blender accessories like lids and seals—these can trap food particles, so clean them thoroughly. Maintaining a clean blender prevents buildup that could impact performance or cause odors. Incorporate your blender into your kitchen organization by designating a specific spot for it and its accessories, making cleanup easier and more efficient. Regular maintenance also helps identify any worn-out parts early, saving you money and hassle later. Keep your blender in top shape by establishing a routine that combines immediate rinsing and weekly deep cleaning. Additionally, understanding Filter Maintenance concepts can help you optimize your kitchen space for more efficient appliance use.
Proper Storage Practices
Proper storage is key to preserving your blender’s performance and extending its lifespan. To keep it in top shape, follow simple storage tips like thoroughly drying all parts after cleaning to prevent mold and corrosion. When storing, guarantee the container organization is streamlined—store the blender with the lid off or loosely placed to allow airflow, preventing mustiness. Keep the blades covered or detached if possible, avoiding damage or dulling. Avoid clutter around your storage area to prevent accidental knocks or scratches. Also, store the blender upright on a stable surface to prevent tipping. Proper storage isn’t just about keeping it out of sight; it’s about protecting its components and ensuring it’s ready for your next use, saving you time and maintaining peak performance. Additionally, understanding the importance of cleaning and maintenance helps ensure your blender remains reliable and long-lasting. Regularly inspecting your blender’s parts and performing preventative upkeep can further extend its lifespan and keep it operating efficiently. Incorporating proper storage practices into your routine can significantly reduce the risk of damage and ensure your blender stays in excellent condition over time. Being aware of the market reputation of brands can also guide you in choosing durable and reliable appliances for your kitchen. For added longevity, consider exploring sound healing science techniques that promote harmony in your home environment, indirectly supporting your appliance care.
Routine Mechanical Checks
To guarantee your blender lasts and performs at its best, performing routine mechanical checks is essential. Regularly listen for increased blender noise, which can indicate worn bearings or buildup. Check for unusual sounds during operation, as they may signal a problem. Inspect the motor vents to ensure they’re free of dust and debris, preventing motor overheating. Overheating can reduce performance and damage internal components. Clean the blades and seals after each use to avoid residue buildup that can strain the motor. Also, verify that the container is securely attached and the lid fits snugly. Additionally, referring to interior design basics can inspire effective organization that keeps your appliance accessible and well-maintained. By staying attentive to these mechanical aspects, you help extend your blender’s lifespan and maintain consistent, quiet operation. Quick, regular checks save you from costly repairs and performance issues down the line.
Test Your Blender’s Controls and Performance
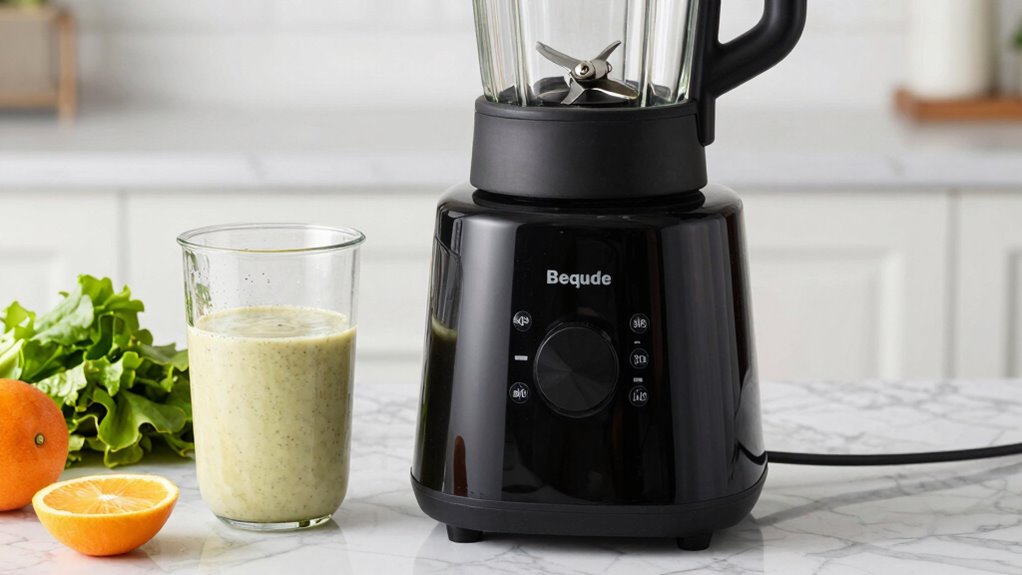
Before you start blending your favorite ingredients, it’s important to verify your blender’s controls and performance. Turn it on and try different speed settings to ensure smooth operation. Pay attention to the blender noise—loud or uneven sounds can indicate issues with motor stability or blade balance. Next, test the blade sharpness by blending simple ingredients like soft fruits or liquids. Sharp blades will crush ingredients quickly without excessive noise or strain. If the blender struggles or sounds off, it may need adjustment or cleaning. This test helps you confirm that the controls respond properly and that the performance meets your expectations. Taking these steps now prevents surprises when you blend tougher ingredients later. It’s a quick, essential check to ensure your high-speed blender works flawlessly from the start.
Troubleshoot Common Setup and Usage Issues
If your blender isn’t working properly, start by checking that it’s assembled correctly and all parts are securely in place. Make sure you’re using the right speed settings for your ingredients, and avoid overloading the jar, which can cause stalls or motor issues. Addressing these common setup and usage mistakes can quickly get your blender running smoothly. Additionally, consulting your blender’s user manual can help identify specific troubleshooting steps for your model. Ensuring your blender has proper suction power can prevent issues related to motor strain or inefficient blending. To optimize performance, regularly inspect blade sharpness and clean any buildup that might hinder blending efficiency. Maintaining consistent testing procedures can help identify intermittent problems that may arise during use, especially when dealing with high-speed motors that can be sensitive to electrical fluctuations.
Proper Blender Assembly Techniques
Getting your high-speed blender assembled correctly is crucial to guarantee smooth operation and prevent common issues. Poor assembly can lead to excessive blender noise, damage to blade durability, or uneven blending. To ensure a proper setup, follow these steps:
- Confirm the blade assembly is securely attached, preventing wobbling or leaks.
- Make sure the jar is tightly locked onto the base to avoid excessive noise during operation.
- Check that the lid is properly seated, so ingredients don’t spill and the blades stay engaged.
Taking these precautions not only reduces noise but also prolongs blade life. Proper assembly minimizes the risk of jamming or damage, giving you peace of mind and consistent results every time you blend.
Correct Speed Settings Usage
Using the correct speed settings is vital for achieving the best blending results and avoiding common issues like splattering or uneven textures. Start by calibrating your blender’s speed settings accurately; many high-speed models have multiple modes for different textures. Proper blade maintenance is also essential—dull blades can cause uneven blending or strain the motor. Before blending, clean and inspect the blades to guarantee they’re sharp and free of debris. Use lower speeds initially to gently break down ingredients, then gradually increase to higher speeds for a smooth blend. Avoid rushing to maximum speed without preparation, as this can lead to splatters or motor overload. Regular speed calibration and blade upkeep help you maintain peak performance and consistent results every time.
Avoiding Common Overloading Mistakes
Overloading your blender is a common mistake that can cause motor strain, uneven blending, or even damage to the appliance. When you pack in too much or hard ingredients, you risk increased blender noise and motor overheating. To prevent this:
- Always follow the maximum fill line—overloading pushes the motor beyond its limits.
- Pulse in short bursts instead of continuous blending, giving the motor time to cool.
- Pause periodically to check texture and allow the motor to rest, reducing overheating risks.
Ensure Safety and Proper Usage During Blending
To guarantee safety and proper usage during blending, always read the manufacturer’s instructions before operating your high-speed blender. Pay close attention to blade safety by ensuring the lid is securely in place before starting, preventing splashes or accidents. Proper power management is essential—start with low speeds and gradually increase to avoid overloading the motor, which can cause damage or safety hazards. Never remove the lid during blending, especially when processing hot or dense ingredients. Keep hands and utensils away from the blades while the blender is on, and unplug it immediately after use. Regularly inspect the blades and seals for wear, replacing them if necessary. Following these safety tips helps you blend effectively while minimizing risks.
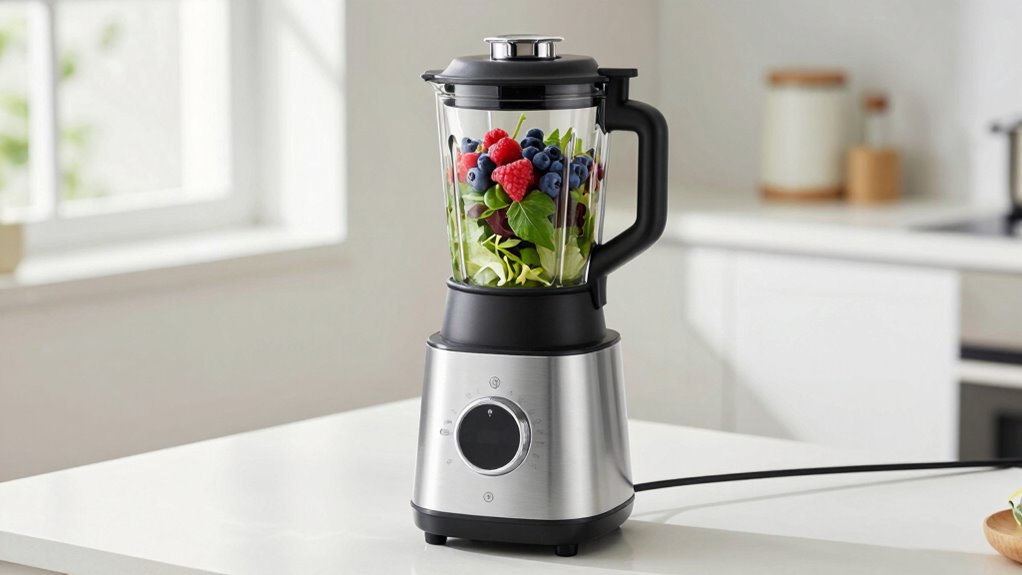
Choose Recipes That Maximize Your Blender’s Power
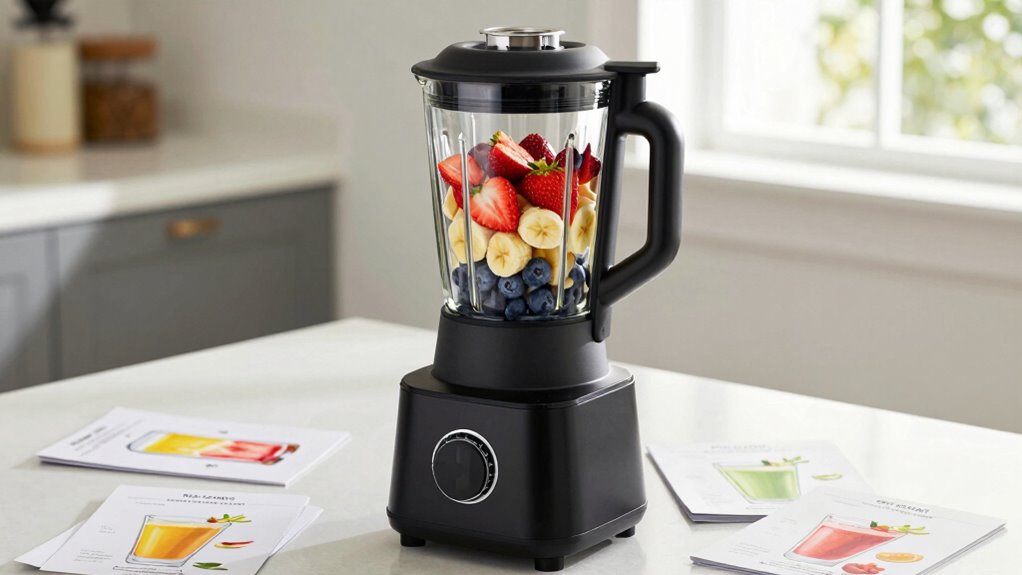
Choosing recipes that match your blender’s power guarantees smooth, efficient results every time. When selecting recipes, focus on those that don’t overload your blender or cause excessive blender noise. Proper ingredient prep is key—chop fruits and vegetables into manageable pieces to avoid strain. Here are three ways to maximize your blender’s potential:
- Use smaller ingredient pieces to reduce noise and prevent motor overload.
- Opt for recipes with softer ingredients initially to build confidence.
- Combine ingredients strategically, layering harder items at the bottom for easier blending.
Maintain Your Blender Regularly for Smooth Blends
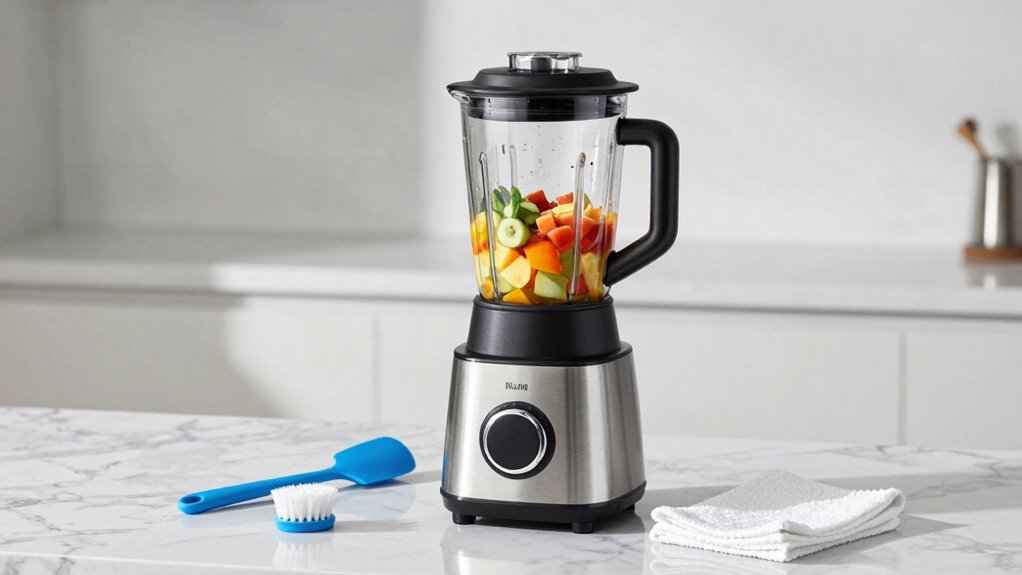
Regularly maintaining your blender is essential to keep it running smoothly and guarantee your blends stay consistent. Start by inspecting and cleaning the blades after each use to prevent buildup that can hinder performance. Blade maintenance involves removing residue and ensuring they’re sharp for efficient blending. Additionally, check the motor vents and clean them to prevent overheating, which can affect motor longevity. Avoid exposing your blender to moisture or harsh chemicals that may damage internal components. Proper upkeep assures your high-speed blender stays powerful and reliable over time. By staying attentive to blade maintenance and keeping the motor in good shape, you’ll enjoy smooth, even blends and extend your device’s lifespan. Regular maintenance is your key to consistent performance and longevity.
Get Support and Warranties to Protect Your Investment
Making sure you have solid warranty coverage can save you headaches if your blender breaks down. Check what’s included in the support services and how easy it is to access help when needed. Consider extended protection options to keep your investment safe for the long run.
Warranty Coverage Details
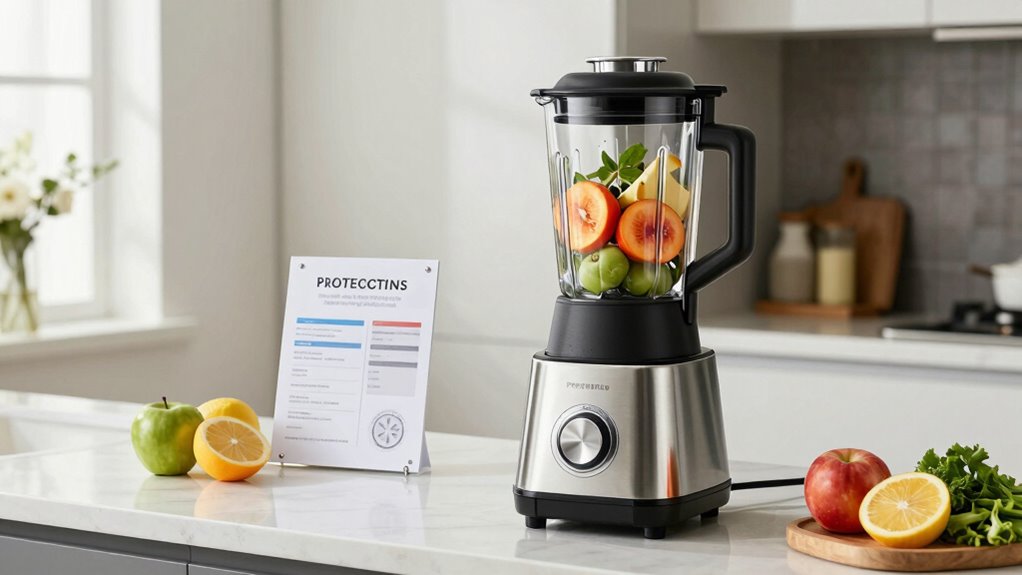
Your high-speed blender comes with warranty coverage designed to protect your investment and give you peace of mind. Understanding the blender warranty and coverage details helps you feel confident in your purchase. Typically, the warranty offers:
- Protection against manufacturing defects, so you’re covered if your blender stops working unexpectedly.
- Limited coverage on parts and labor, ensuring repairs won’t break your budget.
- Length of coverage, giving you years of安心 knowing your investment is secure.
Knowing these coverage details means you won’t be caught off guard if issues arise. You can rest assured that your warranty supports you through repairs or replacements, making your high-speed blender a reliable, long-term addition to your kitchen.
Support Service Accessibility
Accessing support services for your high-speed blender is straightforward, ensuring you can get help whenever needed. If you encounter issues like excessive blender noise or other operational concerns, reaching out is simple with a reliable support hotline. Most manufacturers offer quick responses and clear guidance, whether you need troubleshooting tips or warranty assistance. Keep your model number handy, and don’t hesitate to call if the noise level seems abnormal or if you suspect a mechanical problem. Many brands also provide online chat or email support for convenience. Having easy access to support means you’re never left guessing, and you can resolve issues promptly, protecting your investment and ensuring your blender performs at its best for years to come.
Extended Protection Options
To guarantee your high-speed blender stays in top condition and continues to meet your needs, considering extended protection options is essential. Warranties and support plans give you peace of mind, especially when exploring new blending techniques or investing in versatile blender accessories. With extended coverage, you can avoid unexpected costs and ensure quick repairs when issues arise. Think about these benefits:
- Confidence in your blender’s durability during daily use and experimentation.
- Access to expert support for troubleshooting blender accessories and perfecting blending techniques.
- Longevity of your investment, keeping your blender performing like new.
These options help prevent frustration and protect your culinary journey. By choosing the right support, you ensure your high-speed blender remains a reliable tool for creating nutritious, delicious recipes.
Frequently Asked Questions
What Accessories Should I Consider Buying With My New Blender?
When you get your new blender, consider buying blender replacement parts like extra blades or seals to keep it running smoothly. Also, invest in a good brush or cleaning tools for blender cleaning tips to maintain its performance. These accessories ensure longevity and convenience, helping you avoid downtime. By keeping your blender in top shape, you’ll enjoy every blend and prevent frustration, making your new appliance even more worth it.
How Do I Adjust the Speed Settings for Different Recipes?
You adjust the speed settings by turning the control dial or pressing the buttons, depending on your blender model. For recipe customization, start with a lower speed for gentle mixing, then increase gradually for blending tougher ingredients or achieving a smoother texture. Experiment with different speeds to find the perfect consistency. Always monitor your ingredients and adjust the speed adjustment accordingly to guarantee ideal results for each recipe.
Can I Use My Blender for Hot Liquids Safely?
Yes, you can use your blender for hot liquids safely if you follow blender safety tips. Always start with small amounts of hot liquid and leave space for steam to escape, preventing pressure buildup. Use a vented lid or cover loosely to avoid splatters. Make sure your blender is rated for hot liquids, and blend in short bursts. These hot liquid tips keep you safe and prevent accidents.
What Should I Do if My Blender Makes Unusual Noises?
If your blender makes unusual noises, stop it immediately to prevent damage. Check for debris or stuck ingredients as part of your blender maintenance routine, and troubleshoot the noise by inspecting the blades and motor. Sometimes, overloading or misaligned parts cause trouble. Regular cleaning and proper ingredient placement help avoid future issues. If problems persist, consult the manufacturer’s troubleshooting guide or consider professional repair to guarantee safety and longevity.
How Do I Store My Blender When Not in Use?
Did you know that nearly 60% of blender owners forget to properly store their devices, leading to faster wear? To avoid this, store your blender in a cool, dry place away from direct sunlight. Use blender storage tips like keeping the base and jar separate to prevent dust and damage. Regularly clean and inspect accessories, ensuring they stay in top shape, so your blender remains ready whenever you need it.
Conclusion
Getting your high-speed blender set up is like planting a seed—you’ll enjoy the fruits of your effort with smooth, delicious blends. By preparing your kitchen, assembling it properly, and following maintenance tips, you’ll maximize its power and longevity. Remember to test it thoroughly and follow safety guidelines. With a little care, your new blender will become a trusty tool, turning everyday ingredients into culinary masterpieces just as effortlessly as a painter colors a canvas.