
Starting with a food dehydrator is a fun way to preserve produce and create tasty snacks. First, learn to prepare fruits and vegetables by washing, slicing, and arranging them evenly on trays. Try simple projects like making fruit leather, apple chips, or dried herbs. Troubleshoot common issues like uneven drying or stickiness to improve results. If you keep exploring, you’ll discover more techniques to expand your dehydrating skills and create even more delicious creations.
Key Takeaways
- Start with simple projects like drying herbs or making fruit leather to learn basic dehydrator operation.
- Choose evenly sliced fruits and vegetables for consistent results and easy troubleshooting.
- Use adjustable temperature settings to prevent over-drying and preserve flavors during initial projects.
- Experiment with different produce to understand drying times and optimal techniques for various foods.
- Keep the dehydrator clean and organized to ensure efficient operation and high-quality dried snacks.

Complete Dehydrator Cookbook: How to Dehydrate Fruit, Vegetables, Meat & More
As an affiliate, we earn on qualifying purchases.
As an affiliate, we earn on qualifying purchases.
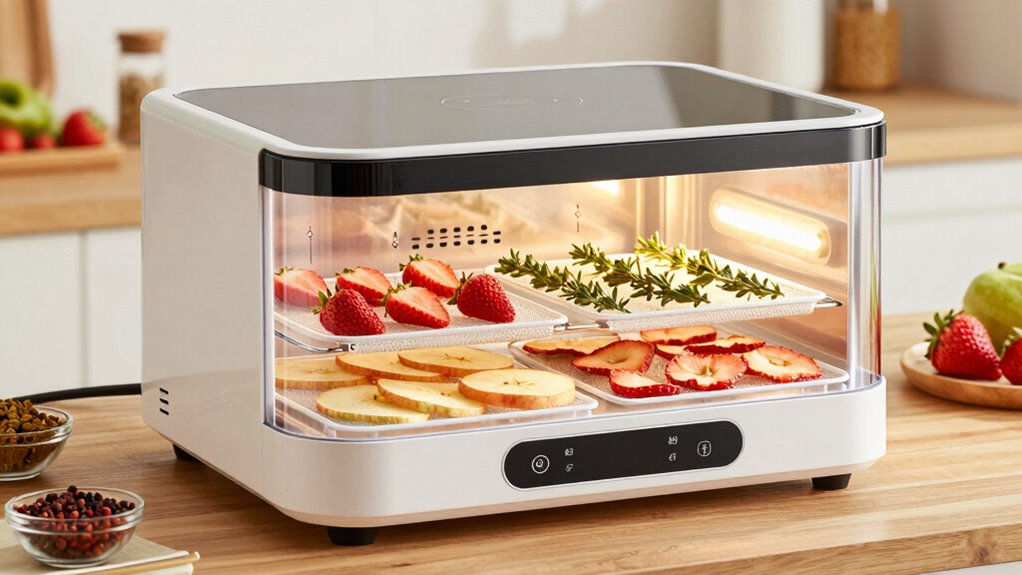
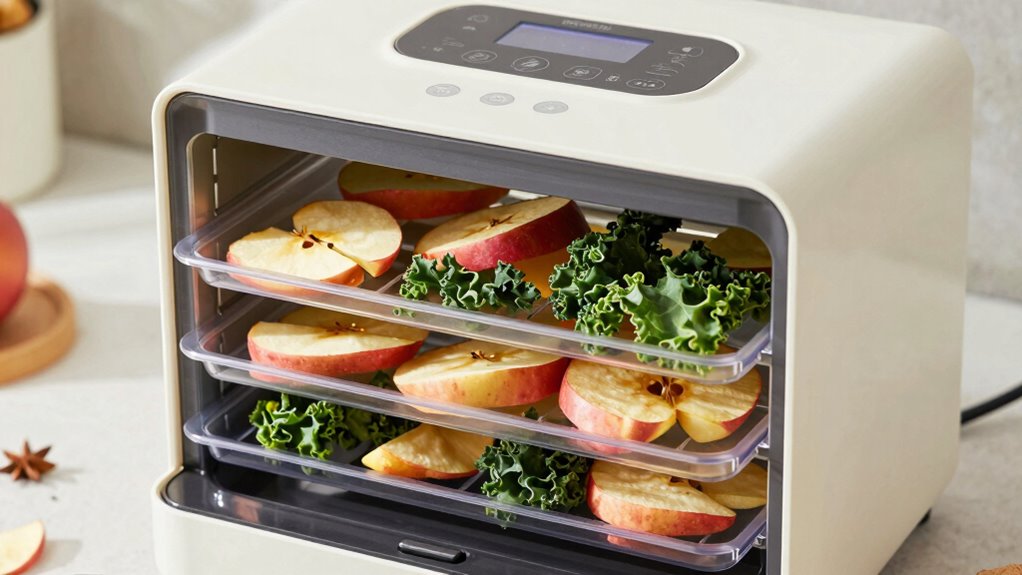
What Is a Food Dehydrator and How Does It Work?
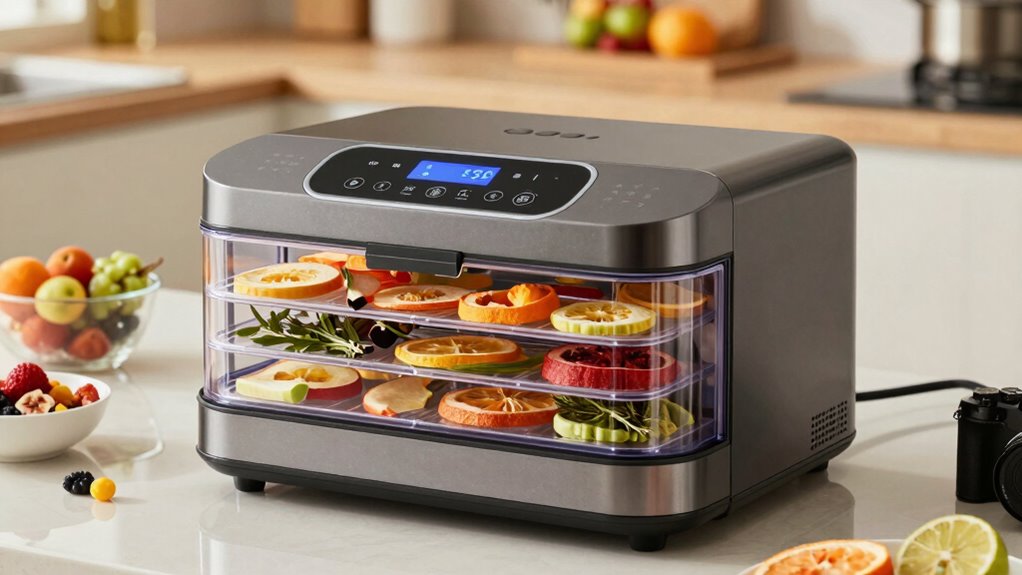
A food dehydrator is a device that removes moisture from fruits, vegetables, meats, and herbs to preserve them for longer periods. It works by circulating warm air evenly around your food, slowly drying out it out without cooking it. This process enhances food preservation, allowing you to store your homemade snacks or ingredients for months. There are different dehydrator types, including vertical and horizontal models. Vertical dehydrators use a fan at the top, which can cause uneven drying, while horizontal models often have trays that promote more consistent results. Some dehydrators are compact and affordable, ideal for beginners, while others are larger with adjustable temperature controls. Understanding these types helps you pick the right dehydrator to suit your needs and skill level.
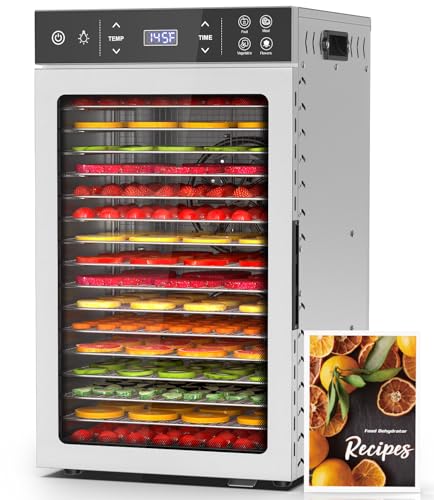
HOPERAN Food Dehydrator Stainless Steel – 800W Electric Dehydrator Machine with 4 Presets, Adjustable Timer, Temperature Control, Digital Food Dryer for Herb, Dog Treats,Meats & Veggies (16 Trays)
Professional 16-Tray Stainless Steel Design – Crafted with 100% food-grade stainless steel, this dehydrator features 16 large trays…
As an affiliate, we earn on qualifying purchases.
As an affiliate, we earn on qualifying purchases.
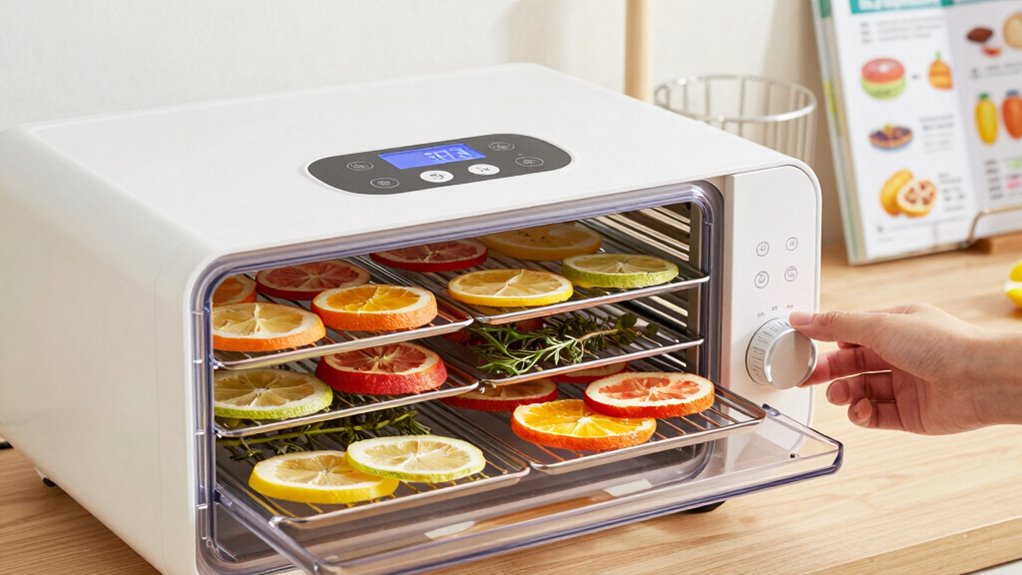
How to Choose the Best Dehydrator for Beginners (Features and Budget Tips)
Choosing the right dehydrator as a beginner involves balancing features with your budget to find a model that fits your needs. Look for essential features like adjustable temperature controls, even heat distribution, and easy-to-clean trays. A budget-friendly option might have fewer bells and whistles but still does the job well. Consider future dehydrator maintenance; models with removable parts are easier to clean. Also, think about dehydrator storage; compact designs save space. For long-term use, evaluating the total-cost clarity of different models can help prevent unexpected expenses. Additionally, reading reviews and user feedback can provide insights into the reliability and performance of various dehydrators. When choosing a dehydrator, it’s helpful to understand the market options available and how they compare in features and price. Understanding the energy efficiency of different models can also contribute to ongoing savings and environmentally friendly operation. Being aware of long-term operating costs can help you pick a more sustainable choice. Here’s a quick comparison:
| Feature | Budget-Friendly | Mid-Range | High-End |
|---|---|---|---|
| Temperature Control | Manual | Digital | Precise, programmable |
| Size & Storage | Compact, space-saving | Moderate, easy to store | Larger, professional-grade |
| Ease of Maintenance | Easy-to-clean trays | Removable parts for cleaning | |
| Price | Lower cost | Moderate investment | Higher price |
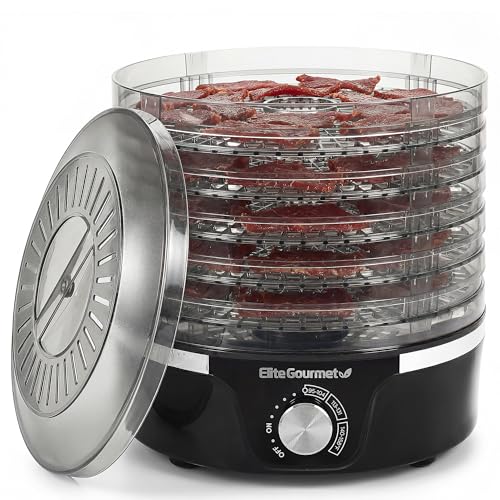
Elite Gourmet EFD319 Food Dehydrator, 5 BPA-Free 11.4" Trays Adjustable Temperature Controls, Jerky, Herbs, Fruit, Veggies, Dried Snacks, Black
CUSTOM TEMPERATURE CONTROL FOR PERFECT RESULTS: Adjustable temperature range from 95°F–158°F lets you dry fruits, vegetables, herbs, mushrooms…
As an affiliate, we earn on qualifying purchases.
As an affiliate, we earn on qualifying purchases.
How to Prepare Fruits and Vegetables for Dehydrating?

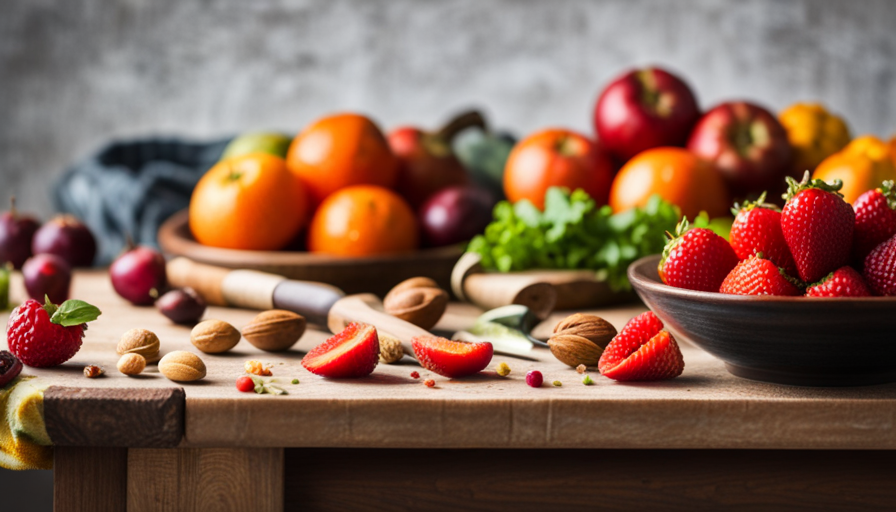
Preparing fruits and vegetables properly is essential to guarantee your dehydrated snacks turn out tasty and shelf-stable. Start with careful fruit selection by choosing ripe, firm produce free of bruises or mold. Wash your fruits thoroughly to remove dirt and pesticides, then peel or core as needed. Slice fruits evenly to ensure uniform drying; thin slices work best. For vegetables, wash and trim away any damaged parts, then chop into uniform pieces or thin strips to promote consistent dehydration. Proper vegetable preparation involves blanching some vegetables to preserve color and texture, but for most, plain washing and slicing suffice. Additionally, using proper dehydration techniques can help maintain the quality and safety of your snacks. Paying attention to fruit and vegetable preparation ensures even drying and optimal flavor. To further improve your results, consider pre-treatment methods that can enhance flavor and shelf life. By paying attention to fruit selection and vegetable preparation, you’ll set the stage for successful dehydration and delicious, long-lasting snacks.
Elite Gourmet EFD319 Food Dehydrator, 5 BPA-Free 11.4" Trays Adjustable Temperature Controls, Jerky, Herbs, Fruit, Veggies, Dried Snacks, Black
CUSTOM TEMPERATURE CONTROL FOR PERFECT RESULTS: Adjustable temperature range from 95°F–158°F lets you dry fruits, vegetables, herbs, mushrooms…
As an affiliate, we earn on qualifying purchases.
As an affiliate, we earn on qualifying purchases.
Easy Projects: Making Dried Snacks and Herbs at Home
Getting started with drying snacks and herbs at home is simple and rewarding. You can create a variety of snack ideas like fruit leather, apple chips, or banana chips, perfect for healthy munching. Drying herbs such as basil, thyme, or oregano preserves their flavor and makes herbal infusions easier to prepare. Simply slice your produce thinly, arrange it on the dehydrator trays, and set the temperature according to the ingredient. With minimal effort, you’ll have flavorful snacks and aromatic herbs ready to use anytime. Experimenting with different combinations can inspire new snack ideas or spice up your cooking. Plus, drying herbs enhances their shelf life and intensifies their taste, making your herbal infusions even more flavorful. It’s a straightforward project that yields delicious, long-lasting results.
Troubleshooting Common Dehydrating Problems and Next Steps
Even with careful attention, you might encounter common issues when dehydrating, such as uneven drying, excess stickiness, or unpleasant odors. Moisture issues are often the culprit behind these problems. To fix uneven drying, try rearranging the slices for better airflow or adjusting the temperature. If your items are too sticky, reduce the humidity or extend the drying time. Unpleasant odors may indicate bacteria or mold; verify your dehydrator is clean and dry before use. Proper European cloud innovation and technology can also enhance your dehydrating process by providing more precise temperature controls. Ensuring proper air circulation is essential for consistent results. – Check for proper airflow and spacing of items. – Adjust temperature or drying time as needed. – Clean and maintain your dehydrator regularly to prevent moisture buildup. Additionally, optimizing dehydrator design can improve airflow and drying efficiency. Implementing modern dehydration techniques can further streamline the process and improve consistency. Incorporating advanced airflow management can help achieve more uniform dehydration across all items.
Frequently Asked Questions
Can I Dehydrate Cooked Foods or Only Raw Ingredients?
Yes, you can dehydrate cooked foods, but you should consider food safety and your preferred cooking methods. Dehydrating cooked foods like soups or stews requires thorough cooling and proper handling to prevent bacteria growth. Raw ingredients are generally safer for dehydration, but cooked foods can work if properly prepared. Always follow food safety guidelines and ensure your dehydrator reaches the right temperature to kill bacteria and preserve your foods effectively.
How Long Do Dehydrated Foods Typically Last?
Think of dehydrated foods as your pantry’s magic, lasting anywhere from 6 months to 1 year if stored properly. To maximize food shelf life, follow preservation tips like airtight containers and cool, dark storage. Dehydrating extends freshness, but always check for signs of spoilage before consuming. Properly dried and stored foods become a reliable backup, giving you tasty, homemade snacks and ingredients whenever you need them.
Is It Safe to Dehydrate Meats at Home?
Yes, it’s safe to dehydrate meats at home if you follow proper meat safety and dehydration techniques. Make certain you use a reliable dehydrator set to the correct temperature, typically around 160°F, to eliminate bacteria. Slice meats thinly, pre-treat if needed, and dry them thoroughly. Proper storage afterward prevents spoilage. By adhering to these steps, you can enjoy safe, homemade dried meats without health risks.
What Are Beginner-Friendly Recipes to Try First?
A stitch in time saves nine, so start simple with beginner-friendly recipes. Try making fruit leather by blending your favorite fruits and spreading the puree on trays; it’s fun and easy. Veggie chips are another great choice—thinly slice vegetables like zucchini or sweet potatoes, season, and dehydrate until crispy. These projects teach you the basics of dehydration and taste delicious, giving you confidence for more complex recipes ahead.
How Do I Store My Dried Foods Properly?
To store your dried foods properly, focus on food storage with airtight containers to keep moisture out. Store in a cool, dark place to prevent spoilage and maintain flavor. Use desiccant packs or oxygen absorbers if necessary to further regulate moisture. Label your containers clearly, and check periodically for signs of humidity or mold. Proper moisture control ensures your dried foods stay fresh and delicious for longer.
Conclusion
Getting started with a food dehydrator is easier than you think—over 80% of home chefs find it a fun way to preserve seasonal produce. With just a few simple projects, you’ll master drying fruits, herbs, and snacks in no time. Remember, choosing the right dehydrator and following basic prep tips make all the difference. So, jump in and enjoy creating healthy, homemade treats that save money and reduce waste!