If your nut milk has gone gritty, the most important step is to blend it again briefly with an immersion blender or regular blender. This quick action helps reincorporate separation, blending fats and solids for a smoother, creamier texture. Make sure to do this gently to avoid introducing foam or flavor changes. Stick around, and you’ll discover more tips to perfect your nut milk and keep it perfectly smooth every time.
Key Takeaways
- Ensure thorough soaking of nuts for 8-12 hours to soften them and reduce grit.
- Blend nuts longer and more thoroughly to fully breakdown particles before straining.
- Use a fine mesh nut milk bag or cheesecloth for effective straining and remove residual solids.
- Rinse equipment well after each use to prevent residue buildup that causes grit.
- Re-blend the strained milk briefly with a blender or immersion blender to improve smoothness.

KOIOS Immersion Blender, 1000W Anti-scratch 3-in-1 Hand Blender, Upgraded 12 Speed Stainless Steel Blade Stick Blenders with Turbo Mode, Whisk and Milk Frother, Non-BPA
1000W Motor & 304 Stainless Steel 4-tip Blade: Compared with other 300-500W motors, upgraded KOIOS handheld blender is…
As an affiliate, we earn on qualifying purchases.
As an affiliate, we earn on qualifying purchases.
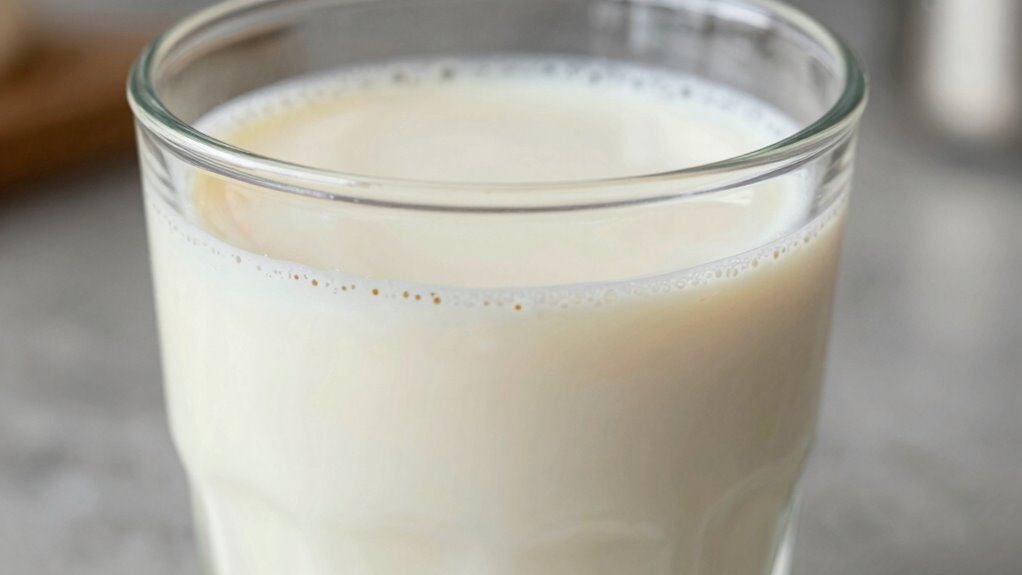
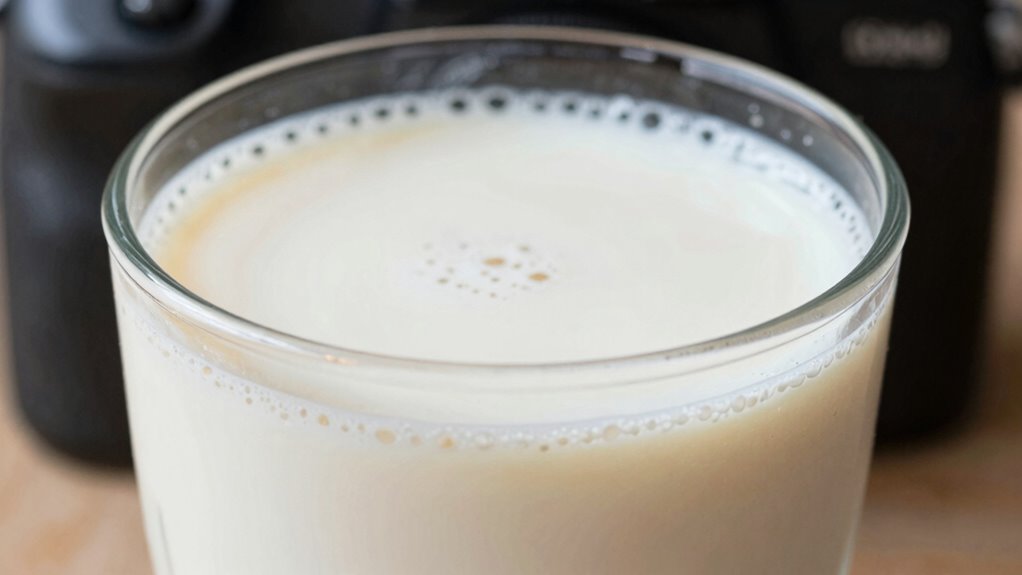
Why Does Nut Milk Get Gritty and How Can You Fix It?
Nut milk often becomes gritty because the nuts aren’t fully blended or strained, leaving tiny particles suspended in the liquid. This affects the nut milk texture, making it feel coarse or grainy when you drink it. Gritty nut milk happens if you don’t blend long enough or skip proper straining. To fix this, blend the nuts thoroughly until they’re smooth and creamy. Use a high-powered blender if possible, as it breaks down particles more effectively. Strain the milk through a fine nut milk bag or cheesecloth to remove any remaining solids. Ensuring proper blending and straining will give your nut milk a silky, smooth consistency, preventing that undesirable gritty texture. Proper equipment can make a significant difference in achieving a flawless texture. Additionally, paying attention to technique during blending can help break down particles more effectively and improve the final product. Incorporating a straining method that suits your setup can further enhance the smoothness of your nut milk. Using the right cleaning methods for your equipment will also prevent residue buildup that could contribute to an uneven texture. Regularly cleaning your equipment ensures no residual particles cause clogging or texture issues.
Bellamei Nut Milk Bag Reusable 3 Pack Food Strainer Nut Bags for Straining Almond/Soy Milk Greek Yogurt Professional for Cold Brew Coffee Tea Beer Celery Juice Fine Nylon Mesh(8"x12"/10"x12"/13"x13")
Kind Reminder: We specializes in producing this high quality and super fine nut milk bag, please carefully identify…
As an affiliate, we earn on qualifying purchases.
As an affiliate, we earn on qualifying purchases.
How Can You Check if Your Nut Milk Needs Rescue?
After blending and straining your nut milk, it’s important to check whether it’s truly ready to enjoy. To assess nut milk freshness, consider these steps:
- Smell it—foul or sour odors indicate spoilage.
- Observe the color and consistency—any separation or discoloration suggests it needs rescue.
- Taste a small sip—off flavors signal it’s past its prime.
- Check storage tips—keep nut milk refrigerated in a sealed container and consume within 3-4 days to maintain freshness.
- Be aware of energy-efficient storage, which can help preserve your nut milk longer and reduce waste. Proper storage techniques, such as airtight containers and optimal refrigeration, further enhance freshness and safety. Additionally, understanding expiration guidelines ensures you enjoy your nut milk at its best quality. Regularly inspecting your storage area for humidity and temperature control can further prevent spoilage and extend shelf life. Using proper storage containers is also essential to prevent contamination and maintain flavor integrity.
If your nut milk shows signs of spoilage or off-flavors, it’s time for a rescue. Proper storage tips help prevent this and keep your nut milk fresh longer, reducing the need for rescue later.

Glass Blenders for Kitchen – Stainless Steel Professional Blender for Smoothies 1500W Motor, Nut Milk Maker Machine 9 Adjustable Speeds, 14 Preset Programs, BPA-Free Glass Jar blender, Soy Milk, Soups
【New Tamper for Perfect Results】Now upgraded with a professional tamper (stirring rod), making it easier to push down…
As an affiliate, we earn on qualifying purchases.
As an affiliate, we earn on qualifying purchases.
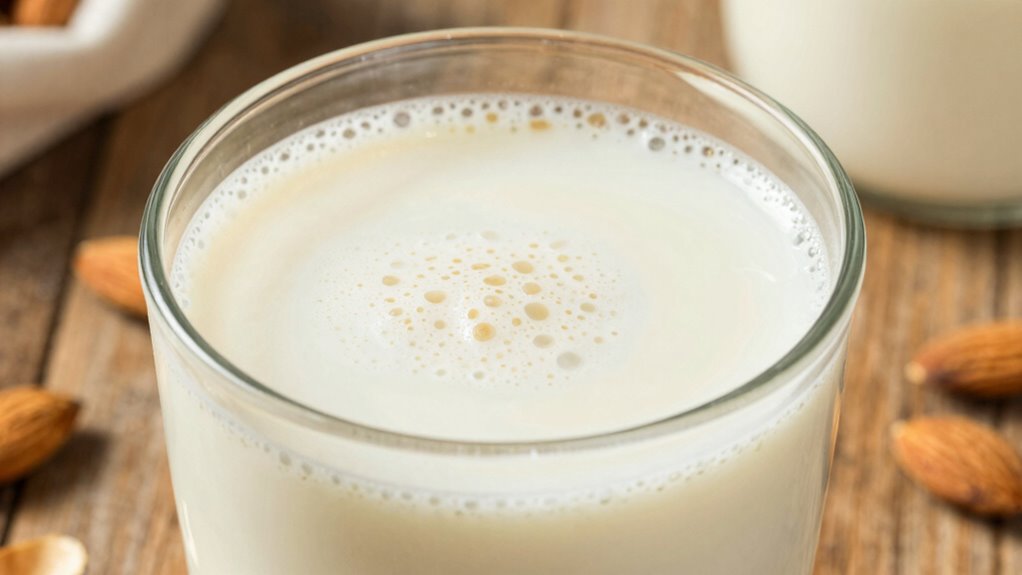
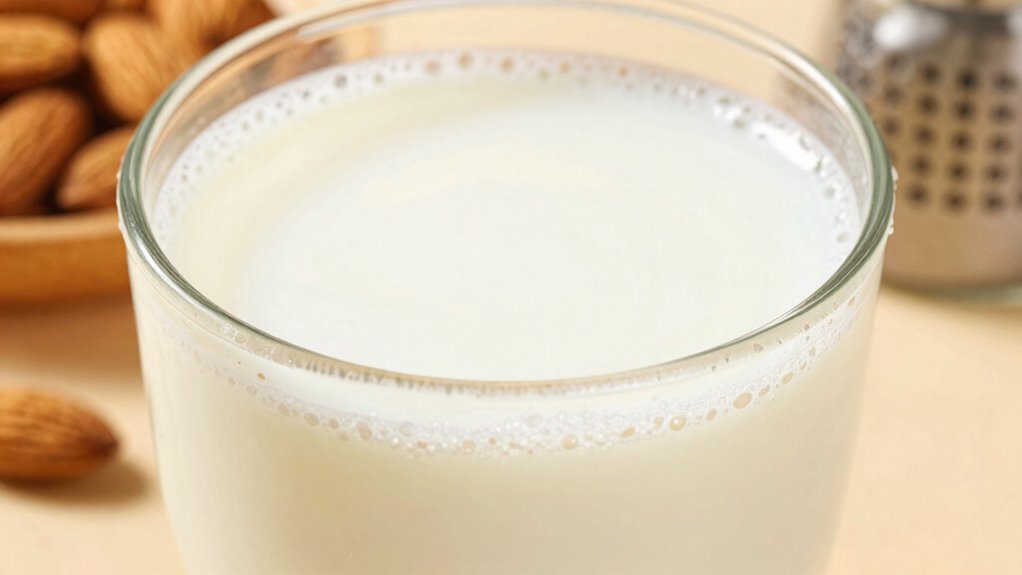
How to Make Your Nut Milk Smooth Again in Just One Step
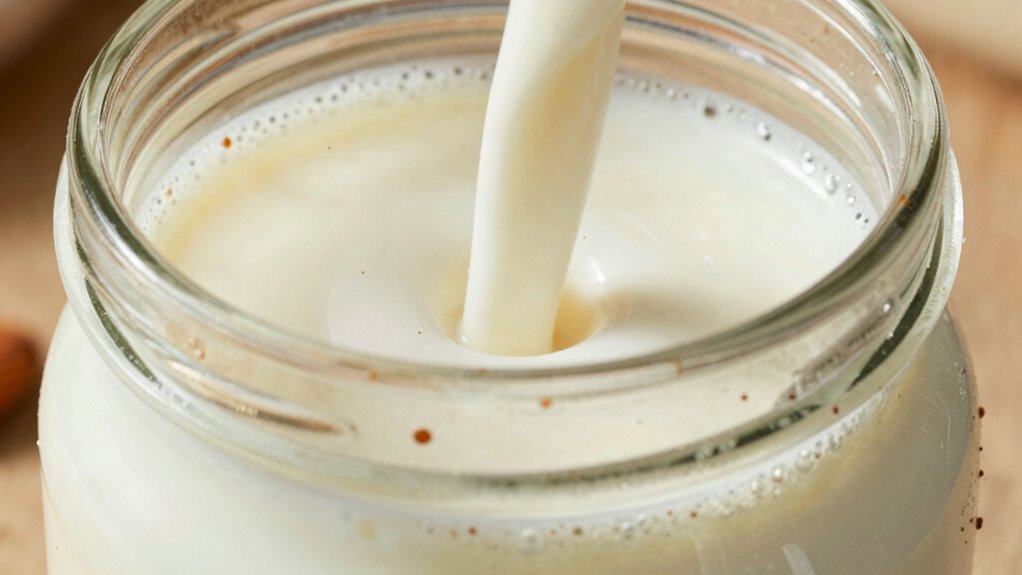
If your nut milk has become grainy or separated, don’t worry—there’s an easy way to restore its smoothness. Simply blend the nut milk briefly with a blender or immersion blender. This quick step helps reincorporate the fats and solids that may have separated, improving the nut milk texture. For dairy alternatives, maintaining a smooth consistency is key to enjoying the drink as intended. Blending for just a few seconds creates a uniform, creamy consistency, removing grit and separation. Avoid over-blending, which can alter the flavor or create foam. Once blended, pour the milk back into your container and give it a gentle shake if needed. This one simple step can make your nut milk as smooth and enjoyable as when you first made it. Understanding food separation can help you better manage texture issues in homemade or store-bought nut milks. Additionally, practicing proper storage can reduce separation and preserve the quality of your nut milk over time, especially when you understand the role of stabilizers. Being aware of how emulsification processes work can further help in maintaining a smooth consistency in your nut milk. Knowing how homemade stabilizers can improve the texture may also be beneficial in preventing separation from occurring in the first place.

2 Pack Glass Milk Bottle with 2 Dispenser Caps, 100% Airtight Heavy Duty Screw Lid. 32 Oz Reusable Glass Water Jug with 3 Lids! Breast Milk Pitcher, Buttermilk, Nut, Juice, Syrup, Coffee Creamer
Solid and durable, keep milk colder: Glass water bottles are more durable and make the milk colder compared…
As an affiliate, we earn on qualifying purchases.
As an affiliate, we earn on qualifying purchases.
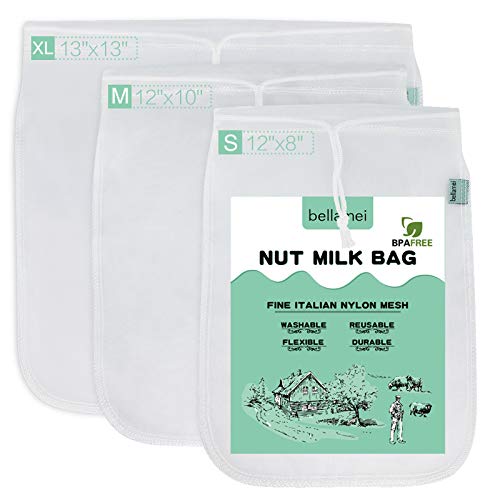
How Proper Straining and Filtering Prevent Gritty Nut Milk
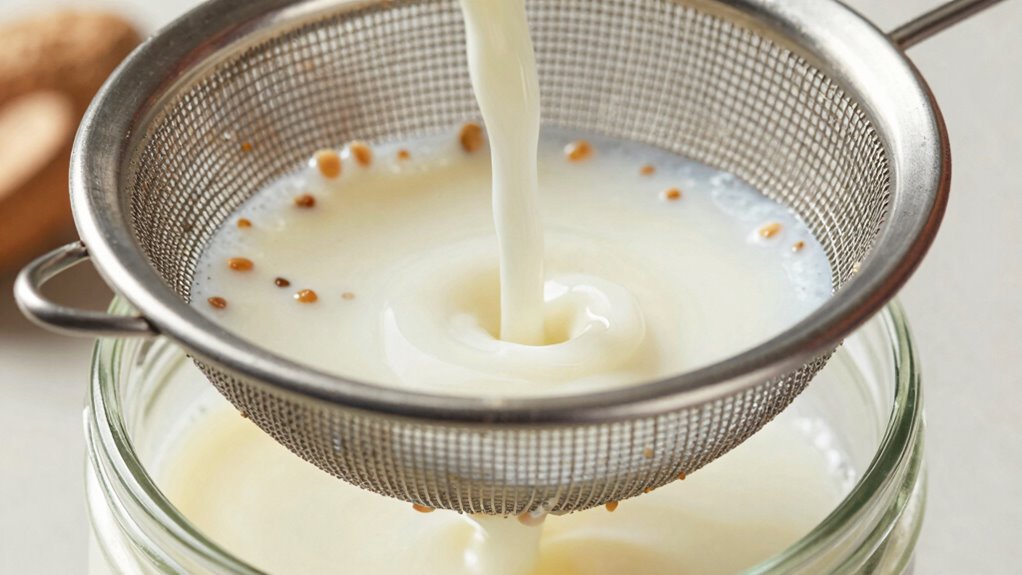
Using proper straining techniques guarantees your nut milk stays smooth and free of grit. Choosing quality filtration methods, like fine mesh or nut milk bags, captures tiny particles effectively. When you prioritize these steps, you’ll enjoy creamy, grit-free nut milk every time. To ensure your nut milk remains smooth, consider using an online detection tool to identify and eliminate any residual grit. Additionally, employing filtration techniques that target microscopic particles can further improve the texture. Incorporating proper filtration into your process is essential for achieving consistently smooth results.
Proper Straining Techniques
Proper straining is essential to achieving smooth, grit-free nut milk. Your goal is to enhance the nut milk texture by effectively removing insoluble particles. To do this, focus on these filtering techniques:
- Use a fine-mesh nut milk bag or cheesecloth to trap smaller grit particles.
- Fold the cloth multiple times for an extra layer of filtration.
- Apply gentle, consistent pressure to extract liquid without forcing grit through.
- Rinse your straining tool afterward to prevent residual particles from contaminating future batches.
Following these steps ensures your nut milk remains silky and free of grit. Proper straining not only improves texture but also guarantees a cleaner, more refined final product. Precision in filtering techniques makes all the difference in achieving the perfect nut milk.
Quality Filtration Methods
Effective filtration techniques go beyond just choosing the right tools; they directly impact the smoothness of your nut milk. High-quality filtration guarantees you remove tiny particles that cause grit, preserving the nut quality. Use fine mesh bags or nut milk bags designed for filtration, and consider double straining for extra smoothness. Proper techniques prevent residual grit, making your milk creamier and more enjoyable. Here’s a quick guide:
| Filtration Method | Tool Needed | Result |
|---|---|---|
| Fine Mesh Strainer | Fine mesh or nut bag | Removes small particles |
| Cheesecloth | Multiple layers | Extra smooth texture |
| Coffee Filter | Paper filter | Ultra-fine filtration |
Choosing the right filtration technique is key to achieving silky, grit-free nut milk. Additionally, understanding the importance of net worth can inspire you to invest in quality filtering tools that elevate your homemade nut milk experience.
Best Ways to Store Nut Milk to Keep It Creamy
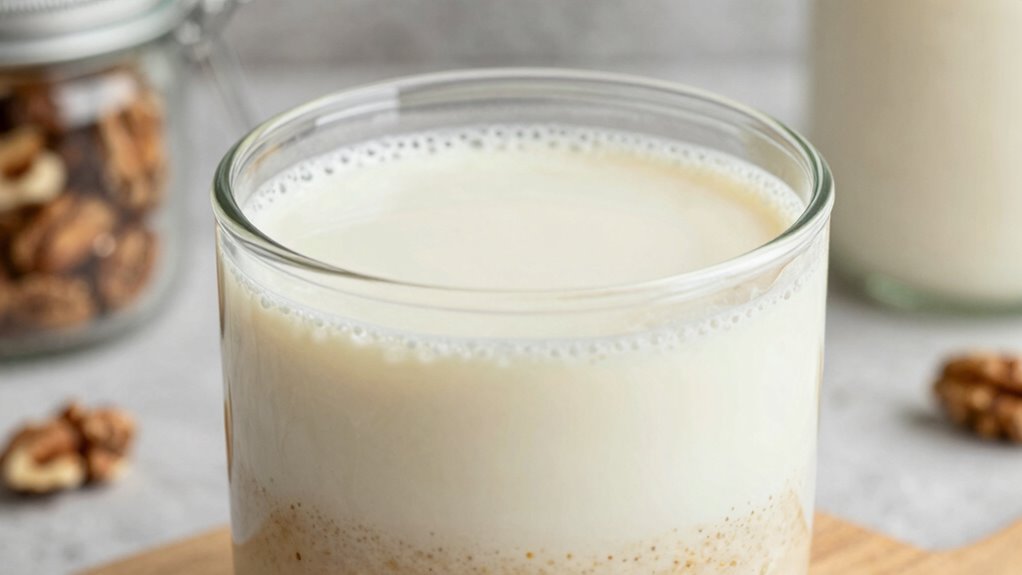
To keep your nut milk creamy and fresh, storing it properly is essential. Proper nut milk storage prevents separation and maintains creamy preservation. Follow these tips:
- Use airtight containers to prevent air exposure, which can cause spoilage.
- Store in the coldest part of your fridge, ideally at or below 40°F (4°C).
- Keep the container upright to minimize agitation and separation. Proper storage practices also help reduce spoilage caused by bacteria and mold growth.
- Consume within 3-4 days to ensure freshness and prevent spoilage.
- Avoid leaving nut milk out at room temperature for extended periods. Always shake or stir before use to redistribute any settling. Temperature control is crucial to maintaining both safety and quality. Additionally, maintaining a consistent storage temperature helps prevent bacteria growth and spoilage. Proper refrigeration techniques, including avoiding frequent temperature fluctuations, further extend the nut milk’s shelf life and quality.
Troubleshooting Gritty Texture and Separation in Nut Milk
Gritty texture and separation are common issues that can ruin your nut milk experience, but they’re often easy to fix with a few simple steps. To improve creaminess and prevent separation, try flavor enhancements like adding a pinch of salt or a splash of vanilla, which can help mask grit. Ingredient substitutions also make a difference; using soaked nuts instead of raw, unsoaked ones can create a smoother consistency. Blending longer ensures a thorough breakdown of nut particles, reducing grit. Straining your milk through a fine nut milk bag or cheesecloth helps remove leftover solids, resulting in a more uniform texture. Additionally, paying attention to your workspace setup—such as organizing your tools and maintaining good lighting—can make the process more efficient and enjoyable. Incorporating proper nut soaking techniques can significantly contribute to achieving a creamier milk, making your homemade nut milk more satisfying. Proper cleaning and maintenance of your equipment also prevent residue buildup that can contribute to grit and separation. These small adjustments can make your nut milk smoother, more flavorful, and less prone to separation.
Tips for Making Homemade Nut Milk That Won’t Turn Gritty
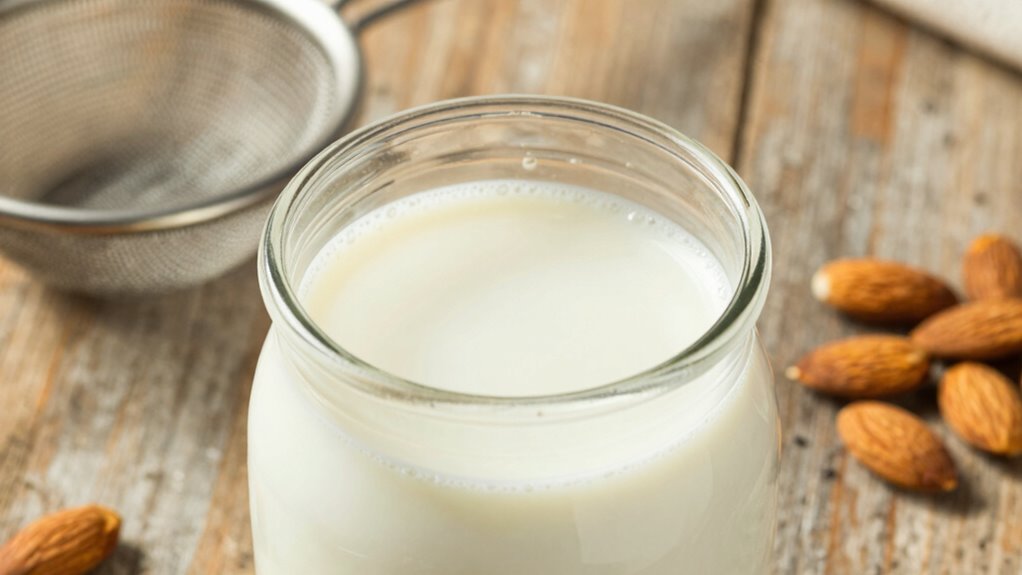
Achieving smooth, non-gritty homemade nut milk starts with selecting quality ingredients and proper preparation. To improve nut milk texture and prevent grit, focus on nut soaking. Here are four tips:
- Soak your nuts for at least 8–12 hours to soften them thoroughly, making blending easier and smoother.
- Drain and rinse the nuts well after soaking to remove any residual enzymes or debris.
- Use fresh, filtered water for soaking and blending to enhance flavor and texture.
- Blend the nuts with ample water—generally a 1:4 ratio—to fully break down the particles and achieve a silky consistency.
Following these steps ensures your nut milk remains creamy and free of grit, thanks to proper nut soaking and handling.
When Should You Use Stabilizers or Additives to Improve Nut Milk?
Sometimes, even with proper soaking and rinsing, homemade nut milk can still separate or feel less stable during storage and use. This is when you should consider using stabilizers or additives. If you’ve added sweeteners, they can help improve the texture and prevent separation. For better consistency, oil emulsification is key; adding a small amount of neutral oil helps keep the mixture smooth and unified. Use stabilizers like lecithin or gums only when you notice persistent separation or gritty texture after blending. These additives create a barrier that maintains a uniform suspension, especially if you plan to store your nut milk for several days. Remember, moderation is essential—overuse can alter flavor and mouthfeel. Use stabilizers judiciously to achieve a creamy, stable nut milk.
Frequently Asked Questions
Can Natural Ingredients Help Prevent Grit in Homemade Nut Milk?
Yes, natural ingredients can help prevent grit in your homemade nut milk. Using ingredients like a pinch of salt or a small amount of natural sweetener, such as honey or dates, can improve the texture and aid in grit prevention. Additionally, soaking nuts thoroughly softens them, making blending smoother. Incorporating these natural ingredients into your process guarantees a creamier, grit-free nut milk every time.
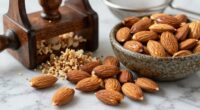
Does the Type of Nut Affect the Likelihood of Gritty Texture?
Sure, some nut varieties are just more prone to grit than others, thanks to their nut oil content and texture. If you pick almonds, you’re more likely to get smooth milk, while walnuts or cashews might leave you with a tiny grit party. So, choose your nut variety wisely—your taste buds and patience will thank you—and remember, even the finest nut oils can’t always prevent that gritty surprise.
Are There Specific Blending Techniques That Reduce Grit?
To reduce grit, you should blend at a high speed for the smoothest texture, ensuring the nuts break down fully. Additionally, soaking your nuts for at least 8-12 hours softens them, making blending easier and creamier. You might also strain your nut milk through a fine mesh or nut milk bag afterward. Combining a proper soaking duration with fast blending helps achieve a silky, grit-free nut milk every time.
How Does Temperature Impact the Smoothness of Nut Milk?
Think of nut milk as a dance—if the nut temperature is just right, the ingredients glide smoothly, creating a silky milk consistency. When you blend with cold nut temperature, the mixture can feel clumpy or gritty, like dancers stumbling. Warming the nuts before blending helps break down fibers, resulting in a more refined, smooth nut milk. So, always pay attention to nut temperature for the best creamy texture.
Can Commercial Nut Milks Be Made Smoother at Home?
Yes, you can make commercial nut milks smoother at home. Start by soaking nuts longer, then blend thoroughly. Adding a pinch of salt and a touch of natural flavor enhancers can boost flavor, making your milk taste richer. Using a fine nut milk bag or cheesecloth guarantees a silky texture, improving shelf stability and preventing grit. This simple step transforms your homemade nut milk into a creamy, flavorful beverage.
Conclusion
With just one simple step, you can transform your nut milk from gritty to silky smooth, like pouring fresh cream into your coffee. Imagine the creamy, inviting pour that coats your mug perfectly, free of unwanted grainy bits. Keep your nut milk stored properly, strain thoroughly, and consider gentle additives if needed. Soon, every sip will feel luxuriously smooth, making your homemade nut milk a delicious, comforting treat that turns everyday moments into indulgent escapes.