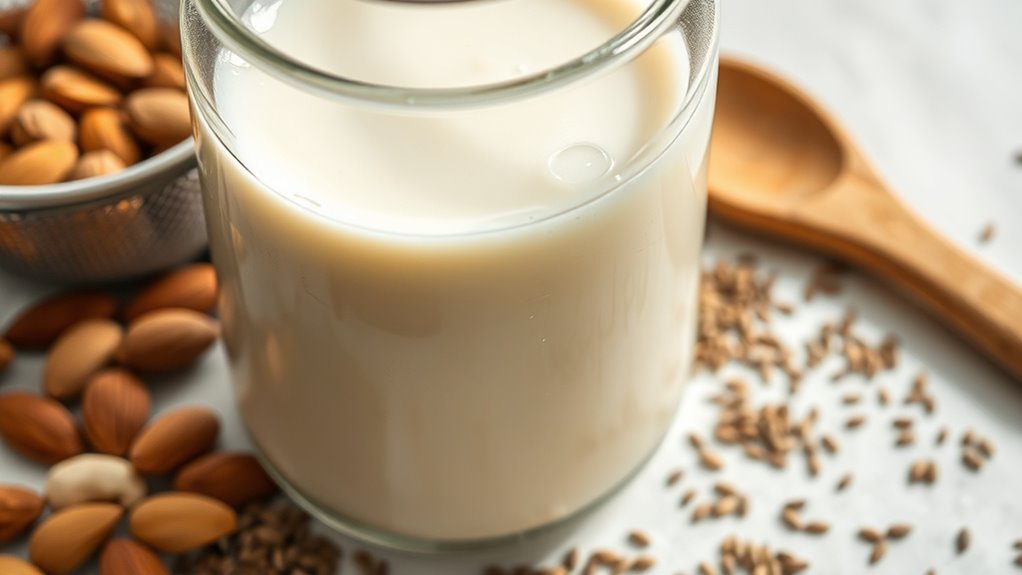

To make ultra-creamy nut and seed milks without grit, start by thoroughly soaking your nuts or seeds in water for at least 8-12 hours or overnight. Drain and rinse them well before blending with fresh water, using high-quality, cold water for a smooth texture. Blend until very creamy, then strain the mixture through a nut milk bag or fine cloth, squeezing gently to remove any remaining pulp. Keep going to discover tips for perfect smoothness and flavor.
Key Takeaways
- Soak nuts and seeds overnight to soften and reduce grit in the milk.
- Blend soaked nuts/seeds with water until very smooth, pulsing thoroughly.
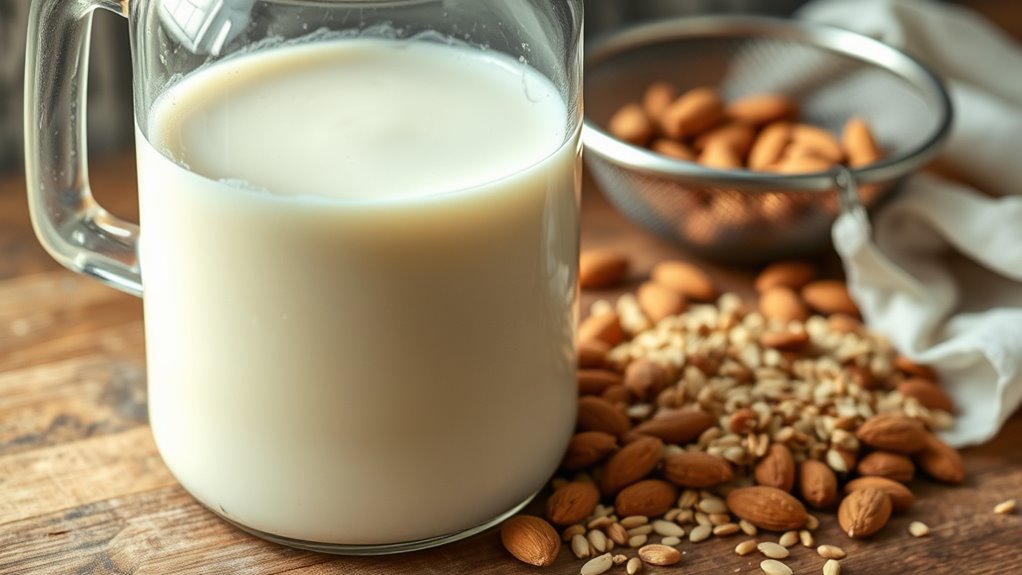
- Strain the mixture through a nut milk bag or fine mesh sieve for a velvety texture.
- Add flavorings gradually, blending well for creamy, customized milk.
- Store in airtight containers, shaking before each use to maintain smoothness.
Nut and seed milks are simple to make at home and offer a delicious, dairy-free alternative to traditional milk. Once you’ve mastered the basic process, you can customize your milks with a variety of flavor variations to suit your taste buds. For example, adding a splash of vanilla extract, a pinch of cinnamon, or a few drops of maple syrup can elevate your homemade milk and make it more appealing for different recipes or beverages. You might also experiment with cocoa powder for a chocolatey twist or blend in dates or dried fruits for natural sweetness. The key is to start with fresh, quality ingredients and adjust the flavors gradually, tasting as you go. This way, you can create a personalized milk that fits your preferences perfectly.
When it comes to storage tips, your homemade nut and seed milks are best kept in airtight containers in the refrigerator. Use a glass jar or a sturdy bottle with a tight-fitting lid to prevent any absorption of odors from other foods. Typically, these milks stay fresh for about three to five days. To extend their shelf life, give the milk a good shake before each use, as natural separation may occur. If you notice any sour smell or if the milk develops a strange taste, discard it to be safe. To reduce waste, consider using the leftover pulp in smoothies, baking, or as a creamy addition to oatmeal. Storing the pulp separately in an airtight container in the fridge helps you keep it fresh for a couple of days, or you can freeze it for longer storage.
It’s also worth noting that some flavor variations, like adding cocoa or spices, can influence shelf life slightly, so keep an eye on your milk’s freshness. If you want to make a larger batch, double the recipe, but remember that fresh is always best for taste and safety. When storing, always label your containers with the date made so you can keep track of freshness. To ensure your nut or seed milk stays creamy and smooth, avoid leaving it out at room temperature for too long, especially if you’ve added fresh ingredients. Proper storage, along with thoughtful flavoring, allows you to enjoy your homemade milk at its best — rich, creamy, and tailored to your liking. Additionally, choosing high-quality, fresh nuts and seeds can significantly improve the final texture and flavor of your milk for optimal results.

Frienhund Automatic Cat Feeder with 2K Camera: 5G WiFi Automatic Dog Feeder with Night Vision,Cat Food Dispenser with 7L Large Food Storage Container for Multiple Pet,Detachable for Easy Clean -29 Cup
Go Out of Town Without Worrying : When you are traveling, attending a party or up too late...
As an affiliate, we earn on qualifying purchases.
Frequently Asked Questions
Can I Use Dried or Roasted Nuts for Creamier Milk?
Yes, you can use dried or roasted nuts for creamier milk. Roasting enhances nut quality and brings out richer flavors, which can make your milk more luxurious. Keep in mind that roasting effects may slightly influence the texture, so soak the nuts well to soften them and ensure smooth blending. Dried, raw nuts also work well, but roasted ones tend to give a creamier, more indulgent result.
How Long Can Homemade Nut Milk Be Stored Safely?
You can typically store homemade nut milk for 3 to 5 days in the refrigerator. Did you know that spoilage can begin as early as the second day? To prevent spoilage, keep it in a sealed container and shake well before each use. Proper storage duration is key to enjoying fresh, safe nut milk while avoiding off flavors or sourness, ensuring you get the most out of your homemade batch.
Is It Necessary to Peel Nuts Before Blending?
You don’t need to peel nuts before blending, as the peeling benefits include added fiber and nutrients from the nut skin. Leaving the skin intact helps boost the milk’s nutritional profile and can enhance flavor. Plus, it saves time and effort. However, if you prefer a smoother texture or dislike the slightly gritty feel, you can peel the nuts beforehand, but it’s not necessary for a creamy, delicious nut milk.
Can Seed Milks Be Flavored or Sweetened During Blending?
Did you know that seed milks can be easily flavored or sweetened during blending? You can add natural flavorings like vanilla, cinnamon, or cocoa powder, plus sweetener options like honey, maple syrup, or dates. Just blend them together until smooth. This way, you customize your seed milk to suit your taste perfectly, making each glass uniquely delicious and naturally sweet without any grit.
What Is the Best Way to Prevent Mold in Homemade Nut Milk?
To prevent mold and guarantee shelf stability, you should store your homemade nut milk in a clean, airtight container and keep it refrigerated. Use fresh ingredients, and consider adding a natural preservative like a small amount of vitamin E or a touch of lemon juice. Always shake well before drinking, and consume within 3-5 days to avoid mold growth. Regularly check for any signs of spoilage to stay safe.

PETLIBRO Automatic Cat Feeder, 5G WiFi Automatic Dog Food Dispenser with Freshness Preservation, 5L Timed Pet Feeder with Low Food Sensor, Up to 10 Meals Per Day, Granary Black
Smart APP Control: Wi-Fi fully automatic dog feeder is 5GHz and 2.4GHz WiFi-enabled allowing you to program your...
As an affiliate, we earn on qualifying purchases.
Conclusion
Now, imagine pouring your freshly blended nut or seed milk into a glass, its silky texture gliding smoothly, whispering promise of creamy comfort. With each sip, you taste the rich, nutty notes, free of grit, as if you’re drinking a cup of pure, velvety goodness. Making your own milk transforms simple ingredients into a luxurious treat, turning everyday moments into indulgent, cozy rituals. Enjoy every creamy drop, knowing you crafted it with care and love.

EUHOMY Countertop Ice Maker Machine with Handle, 26lbs in 24Hrs, 9 Ice Cubes Ready in 6 Mins, Auto-Cleaning Portable Ice Maker with Basket and Scoop, for Home/Kitchen/Camping/RV. (Black)
6 Mins Ice-Making & Ultra Quieter: Our Euhomy ice maker only takes 6mins that will enjoy the first...
As an affiliate, we earn on qualifying purchases.

Ziliny 1 Gallon Kombucha Brewing Jar Kit Continuous Kombucha Brewing Starter Kit, 2 Pack 1 Gallon Glass Jar with Dispenser Tap, 6 Temperature Strips, 2 Elastic Cloth Covers for Home Fermentation
Equipped for Home Brewing: the kombucha starter kit comes with 2 pieces of glass kombucha brewing jars with...
As an affiliate, we earn on qualifying purchases.