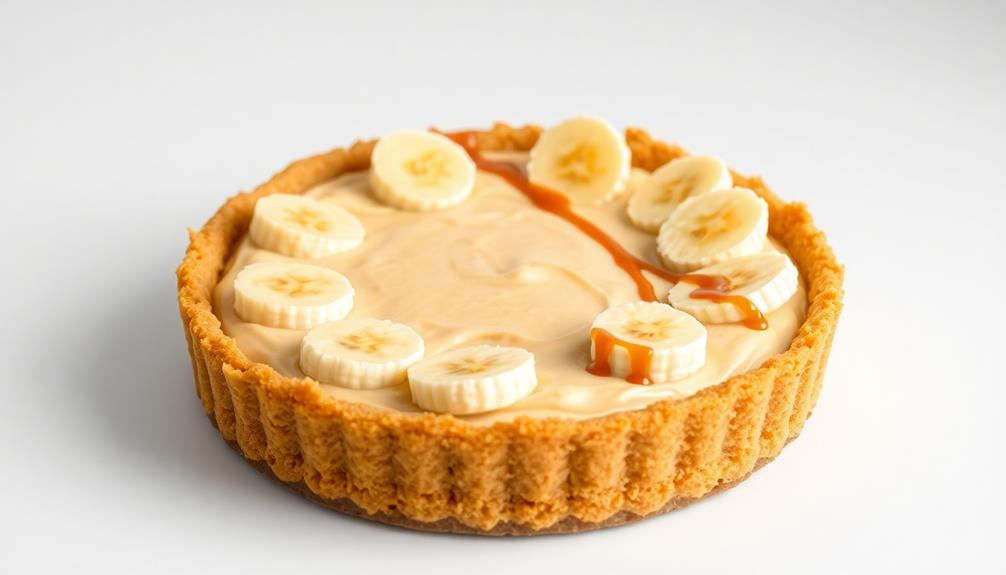
Get ready to tantalize your taste buds with a healthier twist on the classic British dessert – Raw Banoffee Pie! This delightful treat combines a buttery nutty crust, a gooey caramel-like filling, and fresh banana slices for an irresistible flavor explosion. It's a breeze to prepare, making it perfect for casual gatherings. Soak your cashews, blend the ingredients, and chill the pie – that's all there is to it! Top it off with sliced bananas and you've got a dessert that's not only good for you, but downright delicious. Curious to learn more about this irresistible no-bake delight?
Key Takeaways
- Raw Banoffee Pie is a healthier, no-bake version of the classic British dessert that combines a nutty crust, gooey caramel-like filling, and fresh banana slices.
- The recipe uses wholesome ingredients like dates, cashews, and coconut, providing a source of healthy fats, fiber, and nutrients.
- Preparation involves soaking cashews, blending the filling ingredients, and chilling the pie to firm up the texture.
- This dessert is easy to make, can be customized with additional toppings, and is suitable for casual gatherings or impressing guests.
- The taste and texture balance sweetness, creaminess, and crunchiness, appealing to a wide range of preferences and offering a decadent yet healthy indulgence.
History

The origins of the beloved Banoffee pie can be traced back to the creativity of cooks in the United Kingdom during the latter half of the 20th century.
You see, these innovative chefs wanted to create a delicious dessert that combined the rich, buttery flavor of toffee with the subtle sweetness of bananas. This desire for culinary excellence mirrors the pursuit of efficiency in other fields, such as in the development of energy-efficient models in heating systems.
After much experimentation, they landed on the perfect recipe: a crisp, nutty crust, a smooth and gooey toffee filling, and fresh, ripe bananas on top.
The name "Banoffee" is a clever portmanteau of "banana" and "toffee," perfectly encapsulating the two main ingredients.
Since its invention, this beloved pie has become a staple in cafes, bakeries, and households across the UK, delighting taste buds with its irresistible blend of textures and flavors.
Whether you're enjoying a slice on a cozy afternoon or serving it as the grand finale to a special meal, Banoffee pie is sure to leave you with a smile on your face and a satisfied sweet tooth.
Recipe
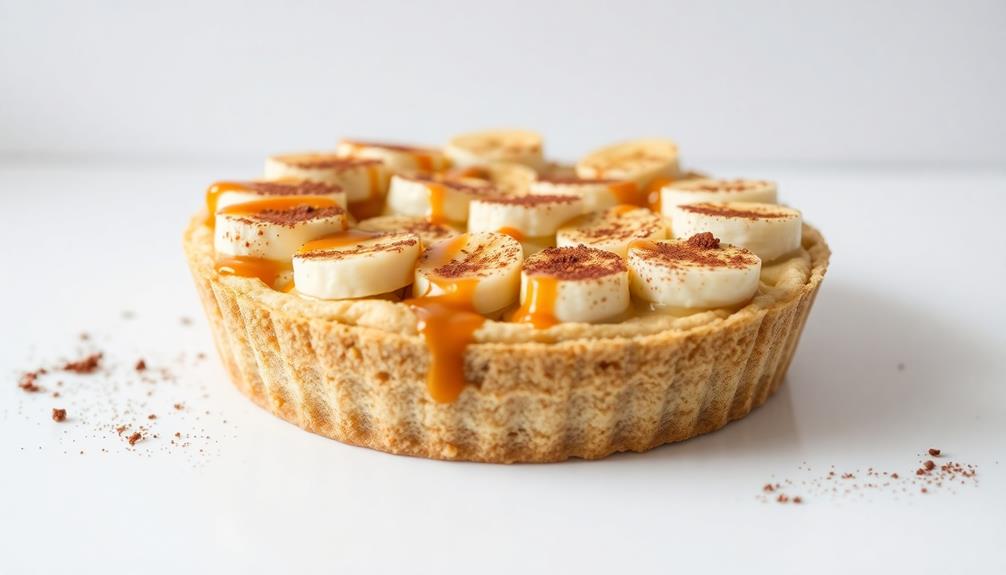
A raw Banoffee pie is a delightful and healthier take on the classic dessert. This no-bake version captures the same rich, creamy, and indulgent flavors without the heavy, baked crust. It's a perfect treat for those looking to satisfy their sweet tooth while maintaining a more wholesome approach, especially when considering health benefits of juices that can enhance overall wellness.
The combination of buttery, nutty crust, gooey caramel-like filling, and fresh banana slices creates a harmonious balance of textures and flavors. This dessert isn't only delicious but also incredibly easy to prepare, making it an excellent choice for casual gatherings or a simple yet impressive dessert.
Ingredients:
- 1 1/2 cups raw cashews, soaked for at least 4 hours or overnight
- 1 cup medjool dates, pitted
- 1/4 cup unsweetened shredded coconut
- 1/4 cup coconut oil, melted
- 1/4 teaspoon sea salt
- 2 ripe bananas, sliced
Instructions:
Drain and rinse the soaked cashews. In a food processor, blend the cashews, dates, shredded coconut, melted coconut oil, and sea salt until a sticky, dough-like mixture forms. Press the mixture evenly into the bottom of a 9-inch pie dish.
Arrange the sliced bananas over the crust. Refrigerate the pie for at least 2 hours to allow the crust to firm up.
Tips:
For a richer caramel flavor, you can make a date caramel by blending soaked dates with a small amount of water or non-dairy milk. Drizzle the date caramel over the banana slices before refrigerating.
Additionally, you can sprinkle a light dusting of cinnamon or cocoa powder over the top of the pie for an extra touch of flavor.
Cooking Steps
First, you'll need to soak your cashews overnight to make them nice and soft. Soaking enhances the creaminess of the cashews, similar to how chia seeds can enrich baking with their unique texture and nutrition.
Next, simply blend the soaked cashews, dates, and a bit of coconut oil until the mixture is smooth and creamy.
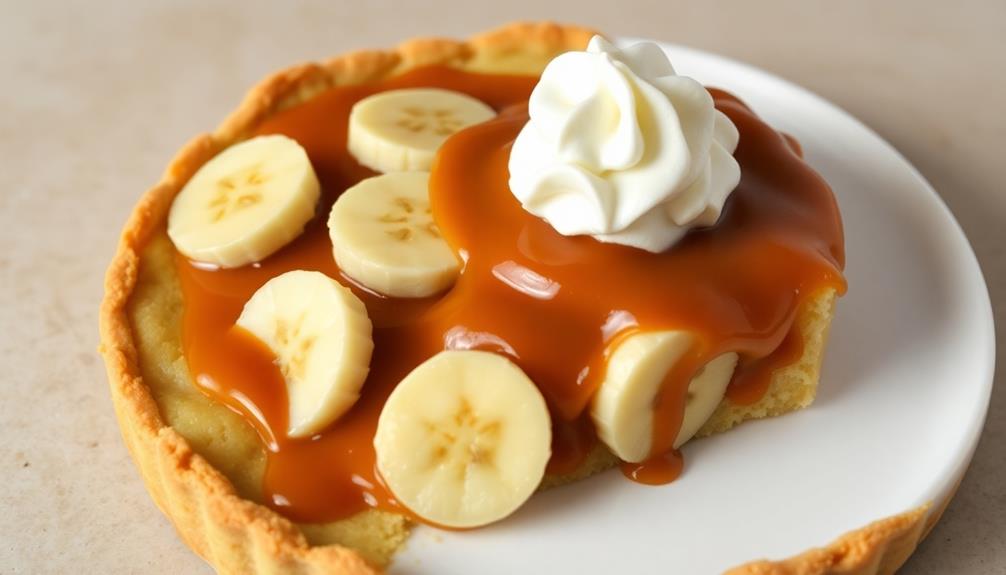
Now, spread this delightful blend into your pie crust and pop it in the fridge to firm up.
Step 1. Soak Cashews Overnight
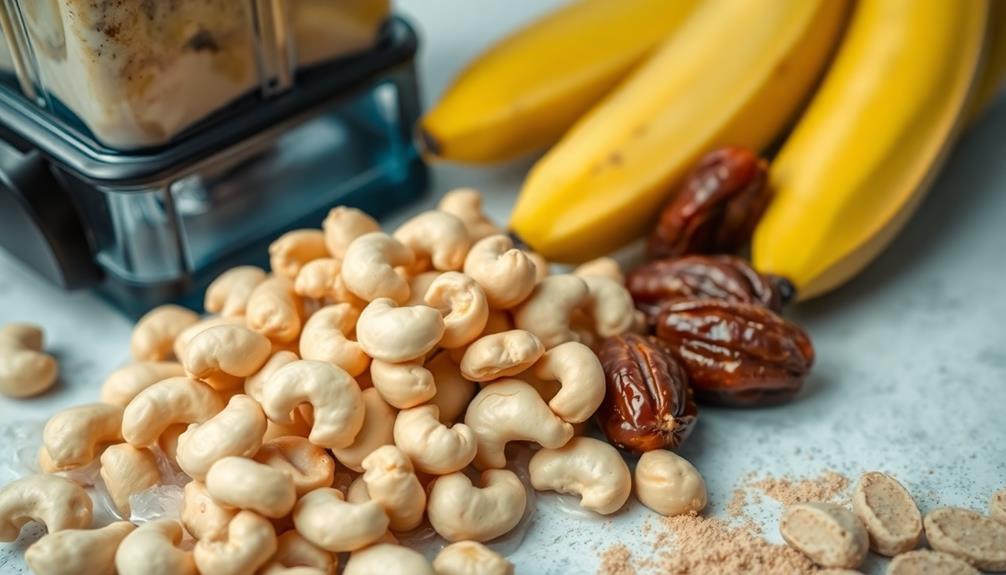
Soak the cashews overnight in a bowl of water. This simple step is crucial for making the filling nice and creamy. The longer the cashews soak, the softer they'll become, which is perfect for blending into a smooth, dreamy texture.
Don't worry if you forget to do this step – just make sure to soak them for at least 4 hours before using. Once they've had a nice long soak, drain and rinse the cashews. They're now ready to be transformed into the delicious banoffee pie filling!
This step might seem small, but it makes a big difference. Soaking the cashews breaks them down, making them easier to blend into a creamy, luscious consistency.
It's like a magic trick – you start with hard, crunchy nuts and end up with a silky-smooth base for your pie. So don't skip this crucial step, and your banoffee pie will turn out absolutely divine.
Step 2. Blend Cashews, Dates, and Coconut Oil
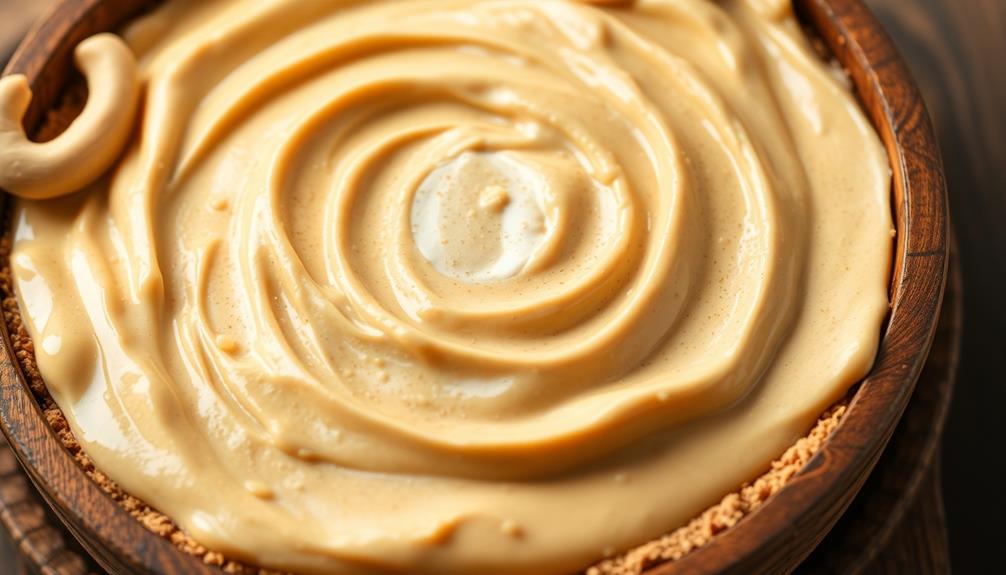
In a high-speed blender, combine the soaked and drained cashews, pitted dates, and melted coconut oil. Whirl these ingredients together until they form a smooth, creamy mixture. Isn't that easy? The cashews provide a rich, buttery texture, while the dates lend natural sweetness. The coconut oil helps everything blend together seamlessly.
Next, you'll need to scrape down the sides of the blender a few times to ensure all the ingredients are evenly incorporated. Keep blending until the mixture is silky-smooth and free of any lumps or chunks. You want it to have a perfectly uniform consistency that'll make your mouth water just looking at it!
Once you've achieved blender bliss, it's time to move on to the next step in creating your delectable raw banoffee pie. Get ready to assemble the crust and filling – this is where the real magic happens!
Step 3. Spread Mixture Into Pie Crust
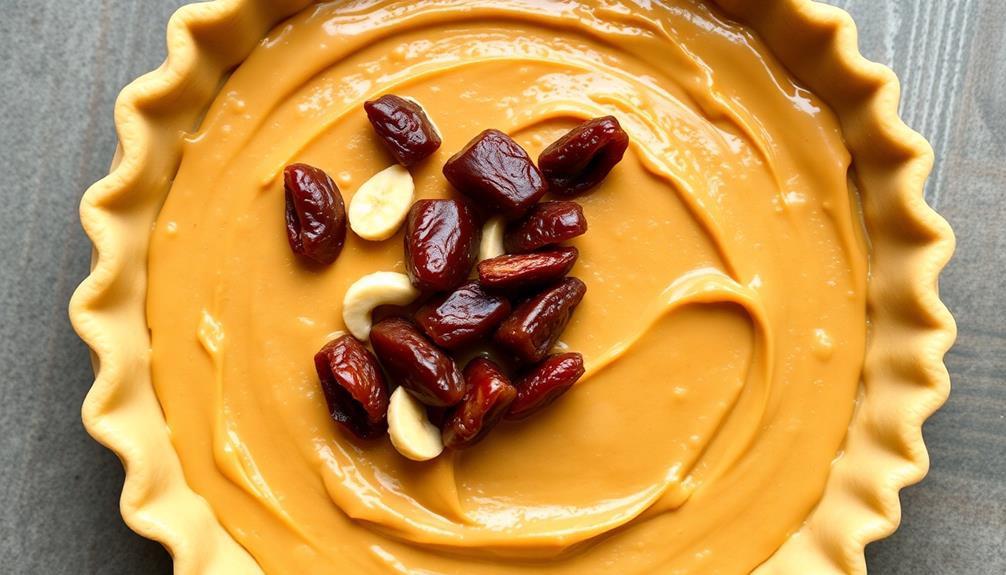
With your silky-smooth cashew-date mixture ready, it's time to get assembling. Grab your prepared pie crust and place it on a flat surface.
Using a spatula or the back of a spoon, gently spread the creamy mixture into the crust, starting from the center and working your way outward. Be sure to press it down firmly to create an even, compact layer. Don't worry if the mixture comes up the sides a bit – that'll just add to the rustic charm!
Now, it's time for the best part: the bananas. Slice them about 1/4-inch thick and arrange them in a circular pattern on top of the cashew-date layer. Overlap the slices slightly for a beautiful presentation.
With your pie now assembled, pop it in the fridge to set for at least 2 hours. This allows the flavors to meld and the crust to firm up, making it easy to slice and serve.
Soon, you'll have a delightfully raw, no-bake treat that's sure to impress!
Step 4. Chill Pie Until Firm
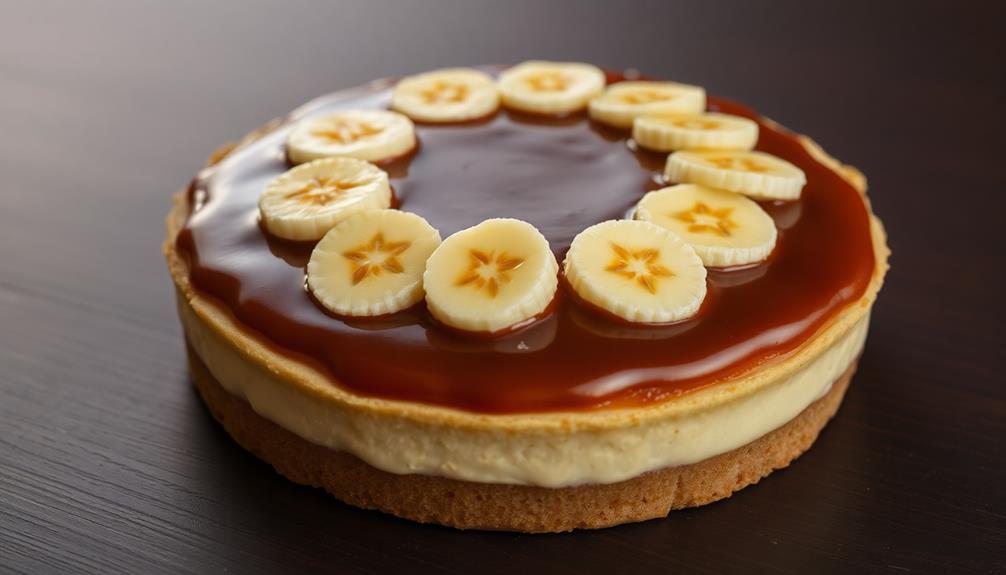
After assembling the pie, pop it into the fridge to set for at least 2 hours. This chilling step is crucial for your raw banoffee pie to firm up and hold its shape when you slice into it.
The cool temperature helps the creamy banana filling and nutty crust solidify, making it easier to serve up perfect, picture-perfect slices.
Once the pie has had enough time to chill, you'll know it's ready when the center no longer jiggles and the edges look set. Feel free to give it a little longer if it still seems a touch soft.
Better to err on the side of extra chilling time than have a messy pie! As the pie firms up, the flavors will also meld together beautifully.
Step 5. Top With Sliced Bananas
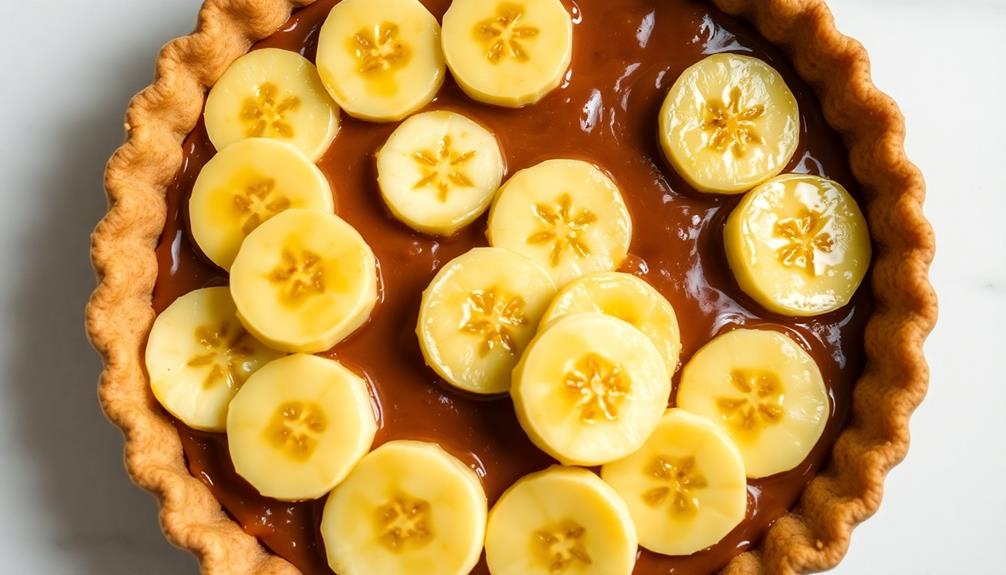
Once the pie has chilled, grab some fresh ripe bananas and slice them into thin, even rounds.
You'll want to gently arrange the banana slices in concentric circles on top of the set pie, starting from the outer edge and working your way inwards.
As you layer the bananas, be sure to overlap the slices slightly to create a beautiful, eye-catching pattern.
Feel free to get creative with the arrangement – you could even try a spiral design or a radial pattern.
The key is to have the banana slices cover the entire surface of the pie, creating a lovely topping that complements the rich, creamy filling below.
Once the bananas are in place, your raw Banoffee pie is ready to serve and enjoy!
The contrast of the sweet, soft bananas with the firm, nutty crust is simply divine.
Final Thoughts
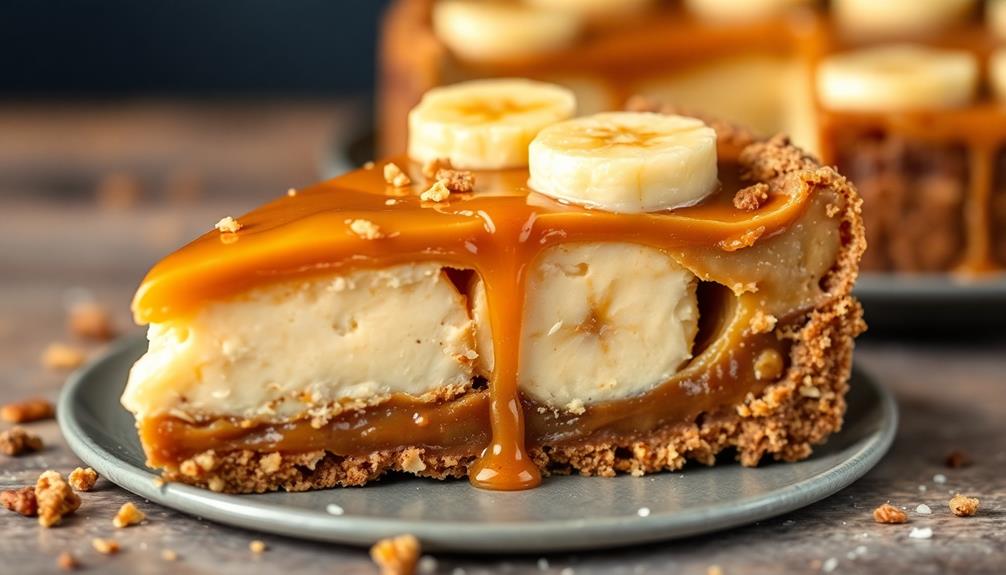
The raw Banoffee Pie is a delightful dessert that's both visually appealing and bursting with flavor. You'll love how the creamy, dreamy banana filling pairs perfectly with the crunchy, nutty crust.
And the best part? It's totally guilt-free! This no-bake treat is packed with wholesome ingredients like dates, cashews, and coconut, so you can indulge without the sugar crash.
Once you've tried this delectable dessert, you'll never want to go back to the heavy, overly sweet version. The raw Banoffee Pie is a healthier, more refreshing take that's sure to satisfy your sweet tooth.
Impress your friends and family by whipping up this easy, make-ahead recipe. They'll be amazed that something so decadent can also be so good for you.
Frequently Asked Questions
How Long Does the Pie Need to Be Refrigerated?
The pie should be refrigerated for at least 2-3 hours to allow the flavors to develop and the crust to firm up. This will ensure the pie holds its shape when served.
Can I Use Other Types of Nuts Instead of Cashews?
You certainly can use other types of nuts instead of cashews. Almonds, walnuts, or pecans would all work well in a dessert like this, providing a different flavor and texture. Feel free to experiment to find your favorite nut pairing.
Is the Pie Suitable for Vegans or Those With Dietary Restrictions?
The pie is suitable for vegans and those with dietary restrictions if you use non-dairy ingredients in place of the traditional recipe's dairy components. You can experiment with various nut butters or coconut cream to achieve a similar creamy texture.
Can I Make the Pie in Advance and Freeze It?
You can absolutely make the pie in advance and freeze it. It'll keep for several months, so you can prepare it ahead of time and enjoy it later. Just be sure to thaw it properly before serving.
How Long Will the Pie Keep After Being Made?
The pie will keep for up to 5 days if stored in the refrigerator. You can also freeze it for up to 3 months, though the texture may change slightly when thawed.
