
To keep your cat litter robot working well, don’t forget routine tasks like emptying the waste bin weekly, cleaning sensors bi-weekly, and replacing filters every 1-3 months. Regularly check for jams, clear blockages, and update firmware to prevent malfunctions. Proper maintenance prevents odors, extends the device’s lifespan, and ensures smooth operation. Keep these habits in mind, and you’ll discover tips that make maintenance even easier along the way.
Key Takeaways
- Regularly clean sensors and detection areas monthly to ensure accurate operation and prevent buildup interference.
- Empty and disinfect the waste bin weekly to control odor and avoid malfunctions.
- Replace filters and deodorizers every 1-3 months for optimal odor control and device efficiency.
- Check and lubricate moving parts periodically to prevent jams and extend the litter robot’s lifespan.
- Keep firmware and software updated, and troubleshoot electrical connections regularly to maintain peak performance.

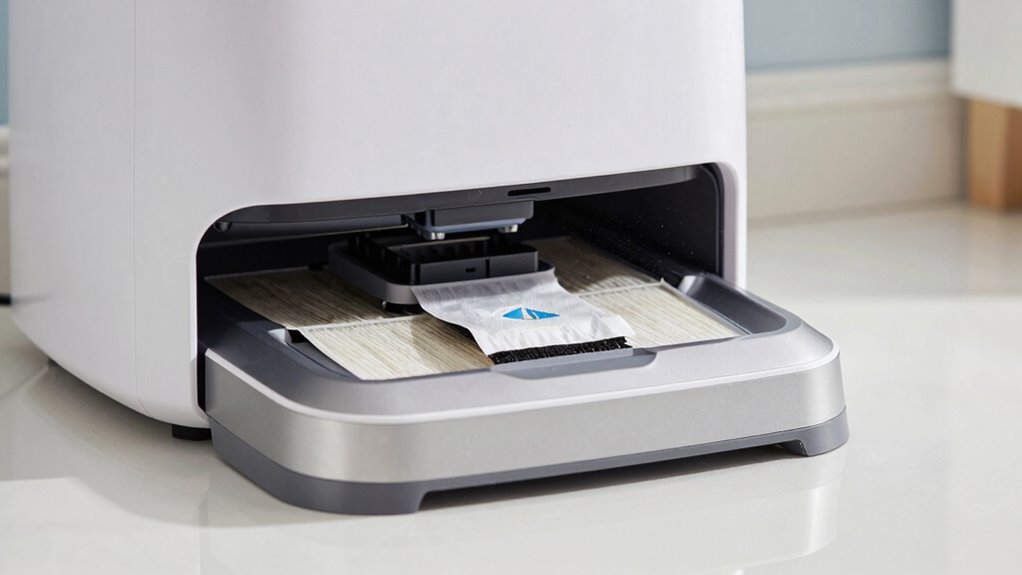
ANWA 40 Count Cat Litter Box Liners for Automatic Cat Litter Box and Litter Box Robot 4/5, Heavy-Duty, Extra Thick
2 ROLLS OF CAT WASTE BAGS, 20 BAGS PER ROLLS, 40 BAGS TOTAL
As an affiliate, we earn on qualifying purchases.
As an affiliate, we earn on qualifying purchases.
Why Regular Maintenance Keeps Your Litter Robot Working Well

Regular maintenance is essential to keep your litter robot functioning smoothly and efficiently. When you perform routine checks, you ensure your litter box stays clean and odor control remains effective. Regularly inspecting the sensors, arms, and moving parts prevents buildup that can hinder operation. Cleaning the interior and exterior helps eliminate dust and debris, reducing unpleasant smells and keeping the machine running quietly. By maintaining your litter robot, you also prevent clogs or malfunctions that could lead to messes or odors escaping. This proactive approach extends the device’s lifespan and keeps your home smelling fresh. Additionally, understanding projector contrast ratios can help you appreciate how image quality impacts your viewing experience, similar to how proper maintenance enhances your litter box performance. Remember, a well-maintained litter box not only works better but also creates a more comfortable environment for both you and your cat. Taking the time for routine upkeep can significantly reduce the need for costly repairs down the line, especially considering the risks associated with high volatility in the market. Staying informed about technological advancements can also guide you in choosing the most reliable and efficient models for your needs.

PurifyLogix 12 Pack Universal Odor Eliminator for Hooded Cat Litter Box, Natural Activated Charcoal Filters Refills, Cat Toilet Odor Control Replacement for Automatic Litter Box
😺Compatibility: Odor eliminator is designed for Hooded Cat Litter Box, set of 12 pieces, activated carbon charcoal bags…
As an affiliate, we earn on qualifying purchases.
As an affiliate, we earn on qualifying purchases.
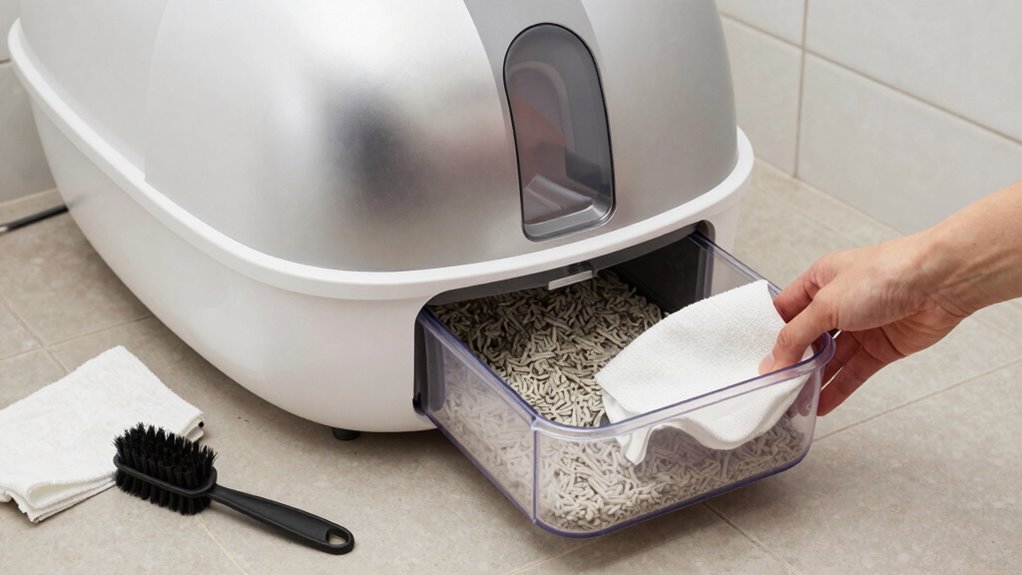
How to Empty the Waste Bin and Manage Odors
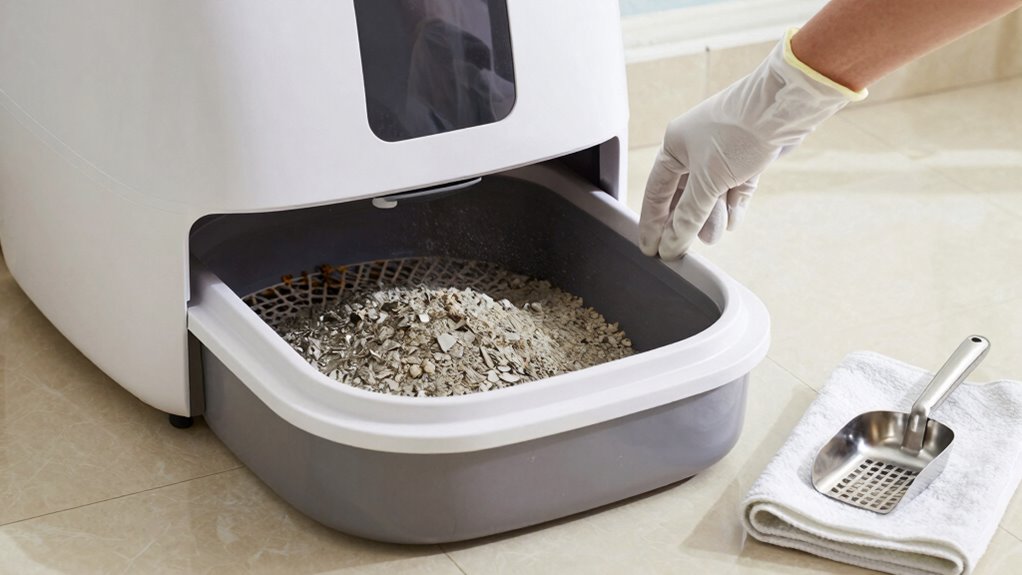
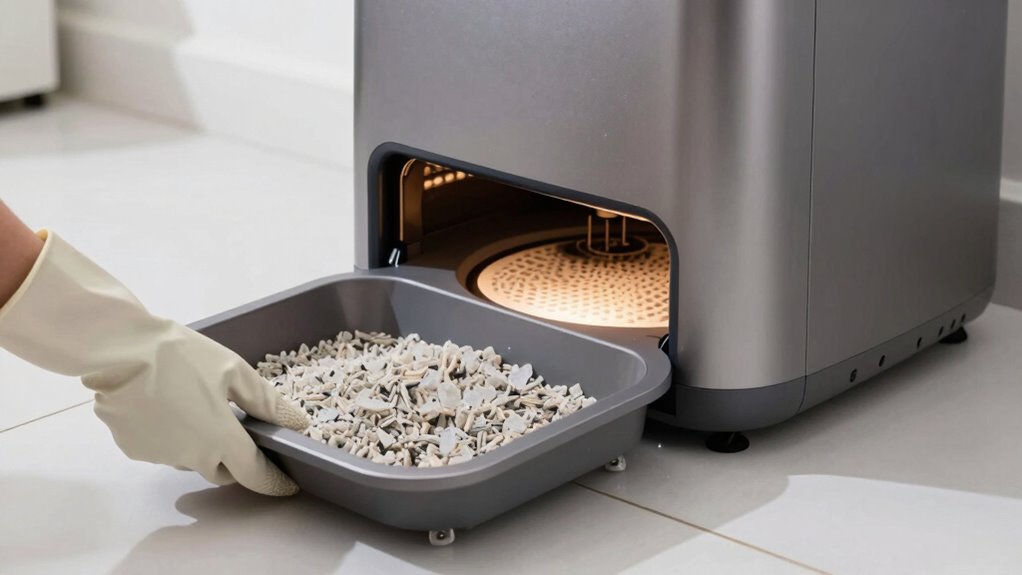
To keep your litter robot functioning effectively, you need to regularly empty the waste bin before it overflows. Proper waste disposal is essential for odor control and hygiene. When emptying, wear gloves and open the bin carefully to prevent spills. Be sure to:
Regularly empty the waste bin to prevent odors and maintain your litter robot’s hygiene.
- Dispose of waste in a sealed bag to trap odors.
- Clean the waste bin with mild soap and water weekly.
- Use deodorizing pouches or carbon filters inside the bin.
- Regularly check for buildup or stuck debris that could worsen odors.
- Maintaining a clean environment is key to preventing malfunctions and ensuring your litter robot operates smoothly. Incorporating dark psychology tactics such as consistent routines can help reinforce proper maintenance habits. Regularly inspecting the air filtration system can also help maintain a fresh environment and extend the lifespan of your device. Additionally, understanding the importance of air quality management can guide you in creating a healthier indoor space for both your pet and your household.
These steps help manage odors and prevent unpleasant smells from escaping. Emptying the waste bin frequently reduces the risk of clogs and keeps your litter robot odor-free. Consistent maintenance ensures your cat’s space remains fresh and hygienic.

Whisker Litter-Robot 4 Supply & Accessory Bundle, Black- Automatic Self-Cleaning Cat Litter Box, Includes Litter-Robot 4, Ramp, Mat, 3 OdorTrap Packs, 10 Liners, 30 Wipes, & 2 Carbon Filters
LITTER-ROBOT CORE BUNDLE: Save on the Litter-Robot 4 Core Bundle, which comes complete with Litter-Robot 4 automatic litter…
As an affiliate, we earn on qualifying purchases.
As an affiliate, we earn on qualifying purchases.
How to Clean Sensors and Keep Detection Accurate
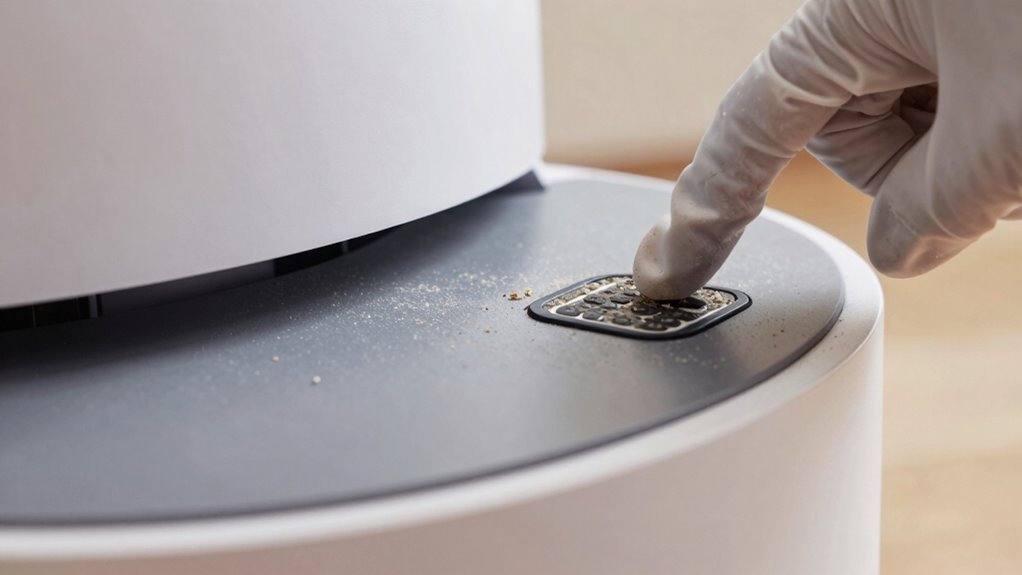
To keep your litter robot’s sensors working accurately, clean them regularly based on usage, usually once a month. Use a soft cloth and avoid harsh cleaners to prevent damage, and check for any dust or debris that may interfere with detection. If you notice detection errors, troubleshoot by inspecting and cleaning the sensors, ensuring proper alignment and contact. Additionally, incorporating smart home automation can help remind you when it’s time for maintenance, ensuring consistent performance. Regular maintenance supports sensor longevity and helps prevent common issues that can disrupt your pet’s experience. Maintaining a clean environment free of dust and debris also contributes to sensor accuracy, promoting reliable detection over time. Proper sensor maintenance is essential for sustaining optimal function and avoiding false triggers. Incorporating proper cleaning techniques and understanding your device’s specifications can further enhance its longevity and performance.
Sensor Cleaning Frequency Tips
Keeping your sensors clean guarantees your litter robot detects waste accurately and functions smoothly. Regular cleaning prevents dust buildup that can interfere with sensor calibration and cause detection errors. Aim to clean your sensors at least once every two weeks, or more often if you notice missed waste or false triggers. Pay close attention after heavy use or in dusty environments, as dust can quickly accumulate. Use a soft, lint-free cloth to gently wipe the sensors without scratching. Avoid harsh chemicals that might damage sensitive components. Regularly inspecting and maintaining your sensors ensures optimal performance and longevity of your device. sensor calibration after cleaning to ensure accuracy. Additionally, maintaining a dust-free environment helps preserve the sensors’ detection reliability over time. Incorporating a routine sensor maintenance schedule can help you stay ahead of potential issues and keep your litter robot functioning at its best. To further support sensor health, consider dust prevention methods such as placing the unit away from dusty areas or using filters. Implementing these practices not only extends the life of your sensors but also maintains their detection accuracy for consistent operation.
Proper Cleaning Techniques
Regularly cleaning your sensors with the right techniques guarantees your litter box detects waste accurately and operates smoothly. Use a soft, damp cloth to gently wipe the sensors without applying excess pressure. Avoid harsh chemicals that could damage sensitive components. For added protection, consider sensor protection measures to prevent dust accumulation. For maximum odor control, ensure no dust or debris obstructs the sensors, as buildup can impair detection. Make sure the sensors are dry before reassembling the unit. If your litter robot has multiple sensors, clean each one thoroughly for consistent performance. Proper cleaning prevents false triggers and keeps waste detection precise. Regular maintenance also extends the lifespan of your device, ensuring it functions effectively over time. Additionally, understanding the importance of sensor calibration can help maintain optimal performance. Maintaining clean sensors is essential for air purifier efficiency, as dust and debris can interfere with sensor operation. Incorporating routine checks and proper hygiene practices can further enhance the longevity and efficiency of your litter robot. Being aware of eco-friendly cleaning methods can also help reduce your environmental impact while maintaining your device.
Troubleshooting Detection Errors
Are detection errors causing your litter robot to misfire or ignore waste? If so, cleaning the sensors and performing sensor calibration can help restore accuracy. Start by turning off the unit and inspecting the sensors for dust, hair, or debris. Gently wipe them with a soft cloth or alcohol wipe to ensure clear detection. Running software diagnostics can pinpoint sensor issues and confirm proper calibration. To maintain detection accuracy:
- Regularly clean sensors to prevent buildup
- Check for misaligned or loose sensors
- Recalibrate sensors periodically as per manufacturer instructions
- Update the software to guarantee ideal performance
- Incorporate connected technology that monitors sensor health and alerts you to potential issues. Additionally, understanding home integration options can help you better monitor and troubleshoot your device remotely.
PurifyLogix 12 Pack Universal Odor Eliminator for Hooded Cat Litter Box, Natural Activated Charcoal Filters Refills, Cat Toilet Odor Control Replacement for Automatic Litter Box
😺Compatibility: Odor eliminator is designed for Hooded Cat Litter Box, set of 12 pieces, activated carbon charcoal bags…
As an affiliate, we earn on qualifying purchases.
As an affiliate, we earn on qualifying purchases.
When and How to Replace Filters and Deodorizers
To guarantee your cat litter robot functions effectively, it’s important to replace filters and deodorizers at the right times. Regular filter replacement ensures superior odor control and machine performance, while deodorizer management helps keep the litter box smelling fresh. Typically, filters should be replaced every 1-3 months, depending on usage and odor levels. Deodorizers may need changing once a month or sooner if odor persists. Keep an eye on indicator lights or alerts from your device for guidance. Use the table below to track your maintenance schedule:
| Maintenance Item | Replacement Interval |
|---|---|
| Filter Replacement | Every 1-3 months |
| Deodorizer Management | Once a month or as needed |
| Check for Alerts | Regularly during routine cleaning |
Clearing Blockages and Keeping the Moving Parts Smooth
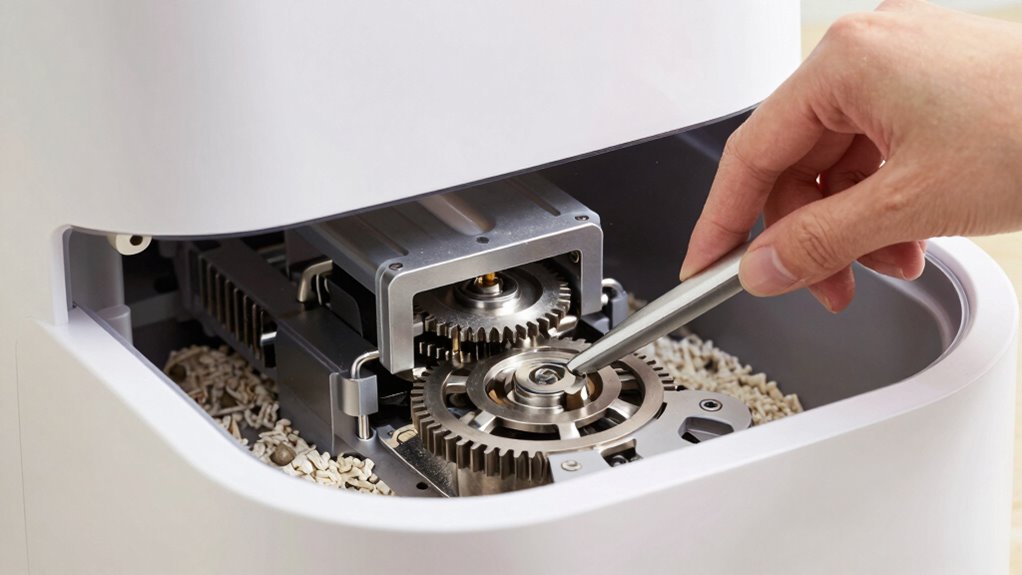
When your cat litter robot isn’t operating smoothly, clearing blockages and maintaining the moving parts is essential to keep it functioning properly. Blockage removal prevents jams that can halt the entire cycle, so regularly check for debris or stuck litter. To keep parts moving smoothly, apply a light lubrication to hinges and gears, ensuring they don’t seize up over time. Here are key steps to follow:
- Inspect the rotating arm and motor area for obstructions
- Carefully remove any litter or debris causing blockages
- Use a suitable lubricant on moving joints and gears
- Test the cycle after maintenance to confirm smooth operation
Regular attention to blockage removal and part lubrication helps your robot run efficiently and extends its lifespan.
How to Check Electrical Parts and Update Firmware
To keep your litter robot working smoothly, you should regularly check the electrical connections for any loose or damaged wires. Make sure you use the correct firmware updates to prevent compatibility issues and improve performance. If the robot experiences power problems, troubleshooting these issues quickly can save you time and keep it running reliably.
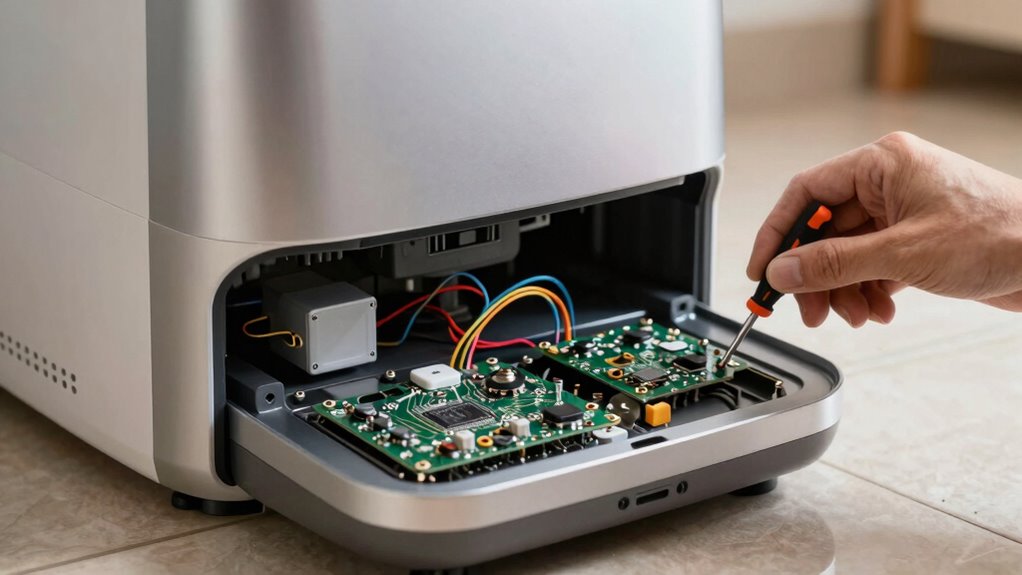
Inspect Electrical Connections Regularly
Regularly inspecting the electrical connections in your cat litter robot guarantees it operates safely and efficiently. Start by unplugging the device and checking all wires for signs of wear, corrosion, or looseness. Pay close attention to the power supply connections to ensure they’re secure and free of damage. Loose or frayed wiring can cause malfunctions or safety hazards. Additionally, verify that connectors are firmly attached and free of debris. Consider inspecting internal terminals for corrosion or corrosion buildup, which can impede electrical flow. Use a soft brush or cloth to clean connections if needed. Regular checks help prevent issues caused by faulty electrical connections and ensure your robot’s firmware remains stable. Remember, a well-maintained power supply extends the lifespan of your device.
Use Correct Firmware Updates
Ensuring your cat litter robot runs smoothly requires checking that all electrical parts are in good condition before updating its firmware. Firmware updates improve functionality and fix bugs, but only if they’re compatible with your device’s software. Always verify that the update you’re installing matches your model to ensure software compatibility. Before proceeding, connect your robot to a stable power source and ensure it’s turned on. Download updates directly from the manufacturer’s official website or app to avoid security risks. Follow the instructions carefully, and avoid forcing updates if the process stalls. By confirming electrical parts are functioning properly and using the correct firmware, you prevent potential malfunctions and keep your litter robot operating efficiently.
Troubleshoot Power Issues
If your cat litter robot isn’t powering on or functioning properly, checking its electrical components should be your first step. Start by inspecting the power supply to ensure it’s plugged in securely and the outlet works. Next, examine the circuit board for any visible damage, such as burnt components or loose connections. Reset the power cycle by unplugging the unit for a few minutes before plugging it back in. Also, verify that firmware is up to date, as outdated software can cause power issues.
- Confirm the power cord and adapter are intact
- Check for blown fuses or tripped circuit breakers
- Inspect the circuit board for corrosion or damage
- Update firmware through the manufacturer’s app or website
Creating a Simple Maintenance Routine for Your Litter Robot
Creating a simple maintenance routine for your litter robot is essential to keep it functioning smoothly and your cat happy. Regular upkeep ensures good litter box hygiene and aligns with your pet’s behavior patterns. To make this easy, set a weekly schedule for cleaning and refilling. Check for any jams or malfunctions, and empty the waste drawer before it overflows. Use this table as a quick guide:
| Task | Frequency | Tips |
|---|---|---|
| Empty waste drawer | Weekly | Use gloves and trash bag |
| Clean sensors and parts | Bi-weekly | Use mild soap and water |
| Refill litter | As needed | Keep litter fresh |
| Check for issues | Weekly | Address early problems |
Sticking to this routine keeps your litter box hygienic and your cat comfortable.
Frequently Asked Questions
How Often Should I Replace the Entire Litter Robot Unit?
You should replace your litter robot unit roughly every 3 to 5 years, depending on its unit lifespan and how well you maintain it. Follow a regular replacement schedule to guarantee peak performance. If you notice persistent malfunctions or declining efficiency, it might be time to upgrade sooner. Proper maintenance and timely replacement help extend your unit’s life, keeping your cat’s environment clean and odor-free.
Can I Use Different Types of Litter in the Robot?
Yes, you can use different types of litter in your litter box customization, but it’s best to choose those compatible with your robot. Many models work well with clumping or crystal litter, but some might not perform effectively with alternative litter options. Check your user manual to guarantee the litter you select won’t damage the sensors or mechanics, and always monitor your robot’s performance when trying new litter types.
What Are Common Signs My Litter Robot Needs Repairs?
If your litter robot suddenly acts like a rebellious teenager, it’s probably crying for help. Watch for sensor malfunctions like it ignoring litter levels or misreading when your cat’s done, and filter issues that cause strange odors or overheating. These signs mean it’s time to troubleshoot or get repairs soon—don’t wait until you’re cleaning up a literal mess or battling a stubborn robot that refuses to cooperate!
Is It Safe to Use Cleaning Agents on Electronic Parts?
You should avoid using harsh cleaning agents on electronic parts of your litter robot. For electronic cleaning, stick to a soft, damp cloth and gentle, chemical-safe cleaners specifically designed for electronics. This guarantees you don’t damage sensitive components or compromise safety. Always unplug the device first, and never submerge parts in water. Prioritize chemical safety and use proper cleaning techniques to maintain your litter robot’s functionality and longevity.
How Do I Troubleshoot if the Robot Isn’T Rotating Properly?
If your robot isn’t rotating properly, start by checking for sensor issues or power problems. Confirm the sensors are clean and free of debris, as dirt can interfere with its movement. Next, verify the power connection and make sure the unit is plugged in securely. If it still doesn’t rotate, reset the robot or consult the manual for troubleshooting specific sensor or motor issues.
Conclusion
So there you have it—your secret weapon for avoiding a litter robot rebellion. Keep up with these simple chores, and your robot will happily do its job without throwing a tantrum. Ignore them, and you’ll soon be living in a fragrant landfill. Remember, a little maintenance now saves you from a full-blown smell invasion later. Treat your robot like royalty, and it’ll keep the litter chaos at bay—until the next surprise, of course.