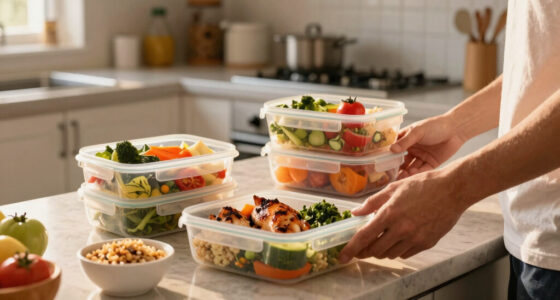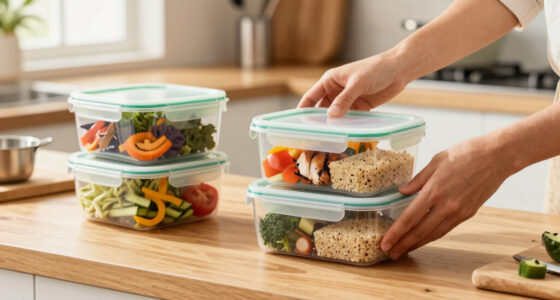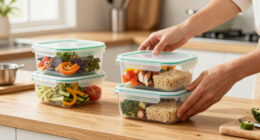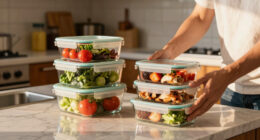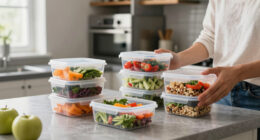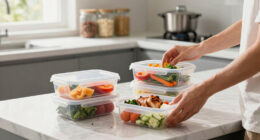
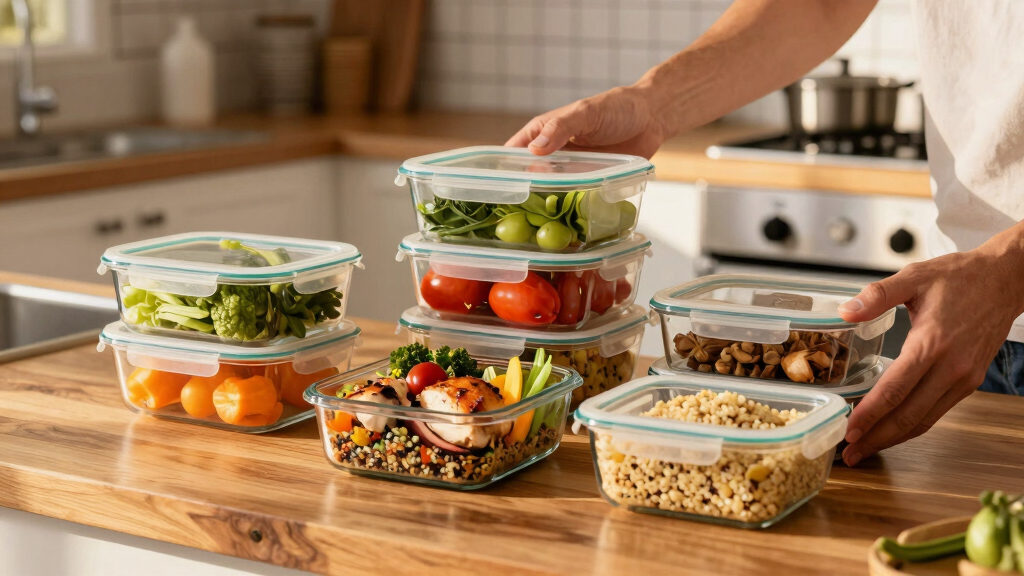
This guide shows how to choose and organize meal prep containers for healthy lunches. It is designed for beginners or anyone looking to streamline their weekly meal planning, ensuring fresh, balanced meals are ready to go. Follow these steps to pack nutritious lunches efficiently and avoid common mistakes.

Bentgo Prep 20-Piece Reusable Meal Prep Containers with Lids, BPA & PFAS Free, Microwave, Freezer & Dishwasher Safe, Mint
- ✔ Capacity: 4 Cups
- ✔ Item Dimensions: 8.7"L x 6"W x 2.3"H
- ✔ Package Quantity: 10 Count

Bentgo Prep 20-Piece 3-Compartment Reusable Meal Prep Containers with Lids, Navy Blue
- ✔ Material: BPA- and PFAS-free plastic
- ✔ Number of Pieces: 20
- ✔ Compartments per Container: 3

FIT Strong & Healthy Glass Meal Prep Containers, 2 & 3 Compartments – 32 oz, Blue, 4 Pack
- ✔ Capacity: 32 oz
- ✔ Number of Containers: 4
- ✔ Compartments: 2 and 3
Difficulty: Beginner | Time: 30-45 minutes
What You’ll Need
Tools & Materials:
- set of meal prep containers with compartments
- sharp knife
- cutting board
- measuring cups/spoons
- refrigerator or cooler
Knowledge:
- basic food safety
- food portioning
- meal planning
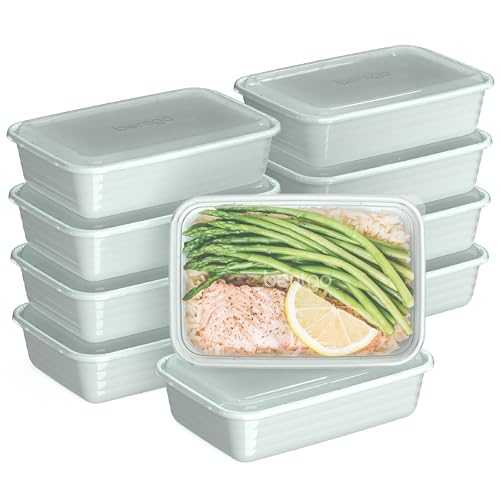
Bentgo Prep - 20-Piece 1-Compartment Reusable Meal Prep Containers with Lids, PFAS & BPA Free Materials, Durable, Microwave, Freezer, & Dishwasher Safe To Go Food Storage (Mint)
- Top Brand for Meal Prep: Popular lightweight, portable set
- Easy Portion Control: 4-cup capacity with embossed measurements
- Durable & Reusable: Made from PFAS and BPA free materials
As an affiliate, we earn on qualifying purchases.
Bentgo Prep 20-Piece Reusable Meal Prep Containers with Lids, BPA & PFAS Free, Microwave, Freezer & Dishwasher Safe, Mint
This set stands out for its straightforward, durable design and ease of cleaning. Made from BPA- and PFAS-free materials, they are safe for everyday use and compatible with microwave, freezer, and dishwasher. However, their single-compartment design limits organization options, making them less ideal if you prefer separate sections for different food groups. Compared with multi-compartment options, these are simpler but may require pairing with other containers for complex meal plans.
Pros:
- Durable and reusable material
- Safe for microwave, freezer, and dishwasher
- Secure, stackable lids for convenience
Cons:
- Lids require hand washing for best longevity
- Limited to 1-compartment design
Best for: Buyers seeking reliable, easy-to-use containers for basic meal prep and portion control
Not ideal for: Those needing multiple compartments or intricate food organization
Bottom line: This pick is best for straightforward, durable meal prep needs with minimal compartments.
“This pick is best for straightforward, durable meal prep needs with minimal compartments.”
Bentgo Prep 20-Piece 3-Compartment Reusable Meal Prep Containers with Lids, Navy Blue
Compared to the single-compartment version, this set offers three compartments per container, making portion control and meal organization easier. Made from BPA- and PFAS-free plastic, these containers are versatile and dishwasher, microwave, and freezer safe. The main tradeoff is that lids need to be hand washed, and microwave heating is limited to the containers, not the lids. This makes them ideal for those who want tidy, compartmentalized meals but don’t mind extra care in cleaning.
Pros:
- Multiple compartments support organized meals
- Reduces reliance on single-use plastics
- Dishwasher, microwave, and freezer safe
Cons:
- Lids require hand washing
- Microwave heating limited to containers, not lids
Best for: Organized eaters who want separate sections for different food groups
Not ideal for: Users seeking microwave-safe lids or minimal cleaning hassle
Bottom line: This set is ideal for those who prioritize organized, multi-section meals but can handle the extra cleaning steps.
“This set is ideal for those who prioritize organized, multi-section meals but can handle the extra cleaning steps.”
FIT Strong & Healthy Glass Meal Prep Containers, 2 & 3 Compartments – 32 oz, Blue, 4 Pack
These borosilicate glass containers excel in versatility, with options for 2- or 3-compartment layouts and airtight lids to prevent leaks. They are oven, microwave, dishwasher, and freezer safe, making them a top choice for sustainable and flexible meal prep. The main tradeoff is that they are heavier and more fragile than plastic options, and the lids are not fully leak-proof between compartments, which can be a concern for liquids or messy foods. They’re best suited for environmentally conscious users with careful handling.
Pros:
- Versatile 2- and 3-compartment options
- Oven, microwave, dishwasher, and freezer safe
- Reusable and environmentally friendly
Cons:
- Lids are not leak-proof between compartments
- Heavier and more fragile than plastic options
Best for: Eco-minded consumers seeking durable, versatile containers for a variety of meals
Not ideal for: Parents or users needing super lightweight, child-proof containers or those who frequently transport liquids in large volumes
Bottom line: Ideal for eco-conscious users who prioritize versatility and durability, with some caution needed around handling and liquids.
“Ideal for eco-conscious users who prioritize versatility and durability, with some caution needed around handling and liquids.”
As an Amazon Associate we earn from qualifying purchases.
Before You Start
Ensure all containers are clean and dry before use. Prepare ingredients in advance; wash and chop vegetables, cook grains and proteins. Plan your weekly menu to match container capacity and portion sizes.
Step-by-Step Instructions
Step 1: Choose appropriate containers
Select meal prep containers that are durable, leak-proof, and have compartments if needed. Opt for sizes that match your typical meal portions, usually 3-4 cup capacity.
Tip: Use containers with secure lids to prevent leaks during transport. Consider clear containers for easy identification of contents.
Check: Containers fit your planned meals and close securely without gaps or leaks.
Step 2: Prepare ingredients for your meals
Cook or portion main ingredients such as grains, proteins, and vegetables. Slice, chop, or measure ingredients to match your meal plan and container sizes.
Tip: Batch cook grains and proteins to save time. Use measuring cups to ensure consistent portions.
Check: Ingredients are prepped, portioned, and ready to pack into containers without excess or shortage.
Step 3: Distribute ingredients into containers
Fill each container with the pre-measured ingredients, maintaining even portions. Use separate compartments or layers if needed.
Tip: Place wetter ingredients at the bottom to prevent sogginess. Fill containers to the top but leave some space for lids to close properly.
Check: All containers are filled with the correct ingredients and close tightly, showing no spillage or overfilling.
Step 4: Add fresh toppings or sides
Include fresh vegetables, herbs, or small sides like nuts or fruit in designated compartments or on top of main ingredients.
Tip: Keep delicate items separate until mealtime to prevent sogginess or spoilage.
Check: Additions are neatly placed, and containers close securely without crushing or spilling.
Step 5: Label and store the containers
Label each container with the meal type or date using masking tape or food-safe labels. Store in the refrigerator or cooler.
Tip: Use color-coding or labels for easy identification. Store in a way that allows air circulation for freshness.
Check: Containers are labeled, organized, and stored properly, ready for grab-and-go lunches.
Common Mistakes to Avoid
- Overfilling containers, causing spillage. — Fill containers to just below the rim, leaving space for lids to close easily.
- Using non-microwave-safe containers for reheating. — Choose containers labeled microwave-safe for easy reheating.
- Not letting cooked ingredients cool before sealing and storing. — Allow hot foods to cool to room temperature before sealing to prevent condensation and spoilage.
- Ignoring portion sizes, leading to waste or insufficient nutrition. — Use measuring tools and plan portions based on dietary needs.
Troubleshooting
Problem: Containers leak during transport.
Solution: Check lids for proper sealing and replace damaged containers or lids.
Problem: Food spoils quickly or smells bad.
Solution: Ensure proper refrigeration, pack foods that stay fresh longer, and consume within safe timeframes.
Problem: Food gets soggy or dries out.
Solution: Add moisture-proof layers or separate wet and dry ingredients until mealtime.
What Success Looks Like
All containers are filled with appropriately portioned, fresh ingredients, sealed tightly, labeled, and stored properly. They are easy to transport and keep the food fresh until mealtime.
Next Steps
Reheat meals as needed, rotate different recipes for variety, and clean containers promptly after use. Consider preparing meals for the upcoming week every Sunday or whenever convenient.
Frequently Asked Questions
How long can I store prepped lunches in the refrigerator?
Most prepared lunches stay fresh for 3-4 days when stored properly. Use within this time to ensure freshness and safety.
Can I freeze meal prep containers for later use?
Yes, use freezer-safe containers and leave space for expansion. Thaw meals in the refrigerator overnight before reheating.
What materials should I avoid for meal prep containers?
Avoid containers made with BPA, non-microwave-safe plastics, or those prone to cracking and leaks. Choose high-quality, food-safe, dishwasher-safe options.
How can I keep meals fresh and prevent sogginess?
Use separate compartments for wet and dry ingredients, and add fresh toppings just before eating.