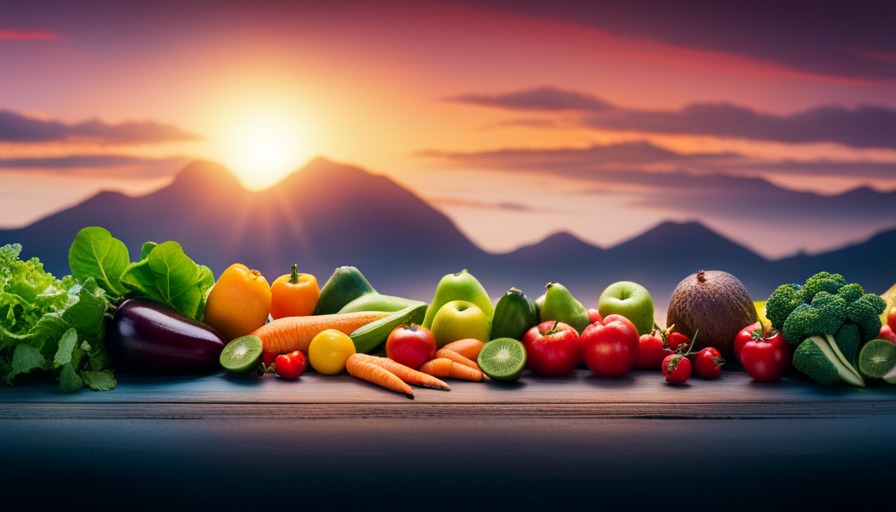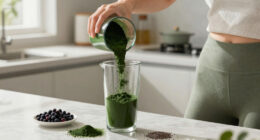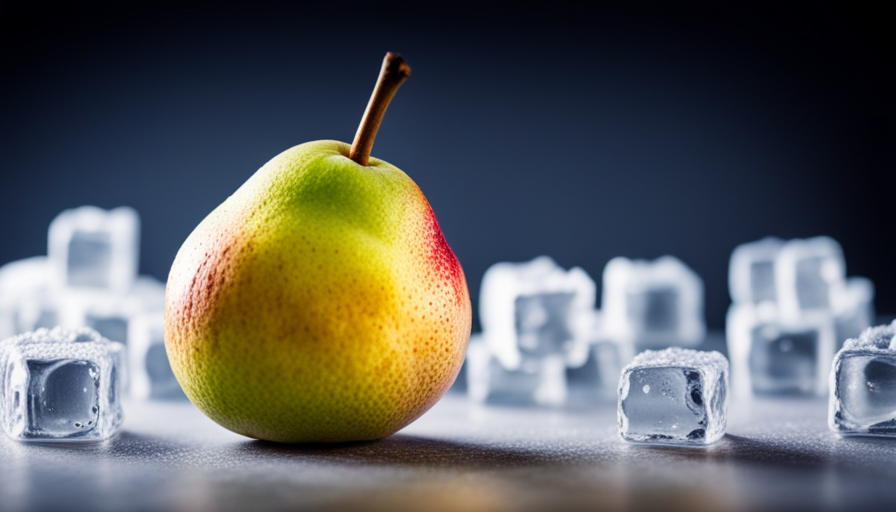
Are you looking for a simple and nutritious way to feed your baby? Your search ends here! Choosing to freeze homemade pear baby food is a great option, providing all the goodness of fresh pears and ensuring they are always on hand.
This method not only preserves the natural flavors and nutrients of the pears but also allows you to easily portion and store the puree for future meals. By following a few simple steps, you can ensure your baby receives the best quality food.
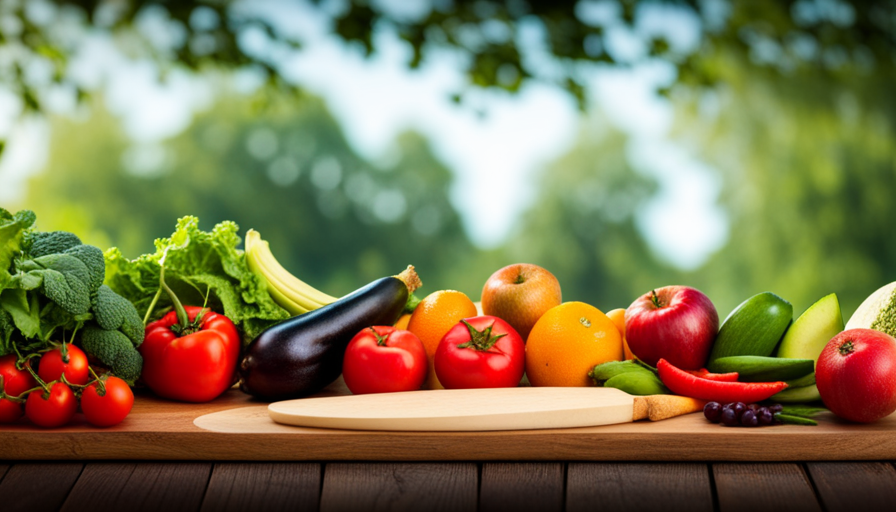
First, select ripe and fresh pears, as they will yield the sweetest and most flavorful puree. Then, wash, peel, and remove the core and seeds from the pears. Cut them into small pieces and steam or boil until tender.
Once cooked, puree the pears and portion the mixture into ice cube trays. Cover and freeze until solid, then transfer the frozen pear cubes into airtight containers for storage. Thaw and serve as needed, and watch as your little one enjoys the delicious taste of homemade pear baby food!
Key Takeaways
- Freezing raw pear baby food is a convenient and nutritious option.
- Ripe and fresh pears should be selected for the sweetest puree.
- Pears should be washed, peeled, and the core and seeds removed before cooking.
- Frozen pear cubes can be transferred to airtight containers for long-term storage.

pumpkii Cat Camera Robot Treat Dispenser with Laser, Moving Pet Robot Camera for Dogs and Cats, App Remote Control, Auto Recharge, Night Vision, Two-Way Audio, Pet Laser Toy, 2.4G WiFi
- Interactive Treat Dispenser: Reward pets remotely via app
- Movable Camera with App Control: Navigate room-to-room to monitor pets
- Auto-Recharge with Dock: Automatically return and charge when low
As an affiliate, we earn on qualifying purchases.
Selecting Ripe and Fresh Pears
When selecting ripe and fresh pears, make sure they’re plump, fragrant, and free from any blemishes. The key to freezing raw pear baby food starts with choosing the best variety of pears. Bartlett, Anjou, or Bosc pears are great options as they’re sweet and have a smooth texture, perfect for baby food.
These varieties are easily available in most grocery stores and are known for their juicy and flavorful flesh.
To add more variety and nutrients to your baby’s diet, you can also incorporate other fruits into pear puree. Fruits like apples, bananas, and peaches can be mixed with pears to create a delicious blend of flavors. Simply peel, core, and chop the additional fruits before pureeing them together with the pears. This combination not only adds different tastes but also increases the nutritional value of the baby food.
To freeze the raw pear baby food, make sure it’s at room temperature before transferring it to freezer-safe containers. Fill the containers leaving about half an inch of headspace to allow for expansion during freezing. Label the containers with the date and contents for easy identification.
Place the containers in the freezer and freeze for up to three months.
By selecting the ripest and freshest pears and incorporating other fruits into pear puree, you can provide your baby with a range of flavors and essential nutrients. Freezing the raw pear baby food ensures that you always have a convenient and healthy option on hand for your little one.
Washing and Peeling the Pears
After giving the pears a thorough wash and a quick peel, you’ll be ready to proceed with the next step. Here are some peeling techniques to help you get the most out of your pear baby food:
-
Use a vegetable peeler: Hold the pear firmly and glide the peeler over the skin, removing the outer layer in thin strips. This method is quick and efficient.
-
Try the blanching method: Score the bottom of the pear with a small ‘X’ and place it in boiling water for about 30 seconds. Remove it with a slotted spoon and transfer it to a bowl of ice water. The skin will easily slide off after this process.
-
Opt for a paring knife: Hold the pear steady with one hand and gently slide the knife under the skin, following the contour of the fruit. This technique requires a bit more precision and patience.
Now, let’s talk about the benefits of leaving the skin on. The skin of pears contains a high concentration of dietary fiber, antioxidants, and vitamins. By leaving the skin on, you can maximize the nutritional value of your baby’s food. Just make sure to choose organic pears or wash them thoroughly to remove any potential pesticide residue. Keeping the skin intact also adds texture and flavor to the final puree.
Removing the Core and Seeds
To remove the core and seeds, simply cut the pear into quarters and then use a small knife to carefully remove the center. This method works for any pear variety you choose to use for your baby food.
Pears are a great choice for homemade baby food because they’re packed with nutritional benefits. They’re a good source of dietary fiber, which can help with digestion and promote healthy bowel movements for your little one. They also contain important vitamins and minerals, such as vitamin C and potassium. Vitamin C is essential for a strong immune system, while potassium is important for maintaining proper heart function.
When making baby food from pears, it’s important to choose ripe and firm pears that are free from any bruises or blemishes. This ensures that your baby gets the maximum nutritional benefits from the fruit.
After removing the core and seeds, you can choose to cook the pear before freezing it or leave it raw. Cooking can help soften the fruit and make it easier for your baby to digest. However, if you prefer to leave the pear raw, you can simply puree it and then freeze it in ice cube trays for easy portioning.
By following these simple steps, you can easily remove the core and seeds from a pear and prepare it for freezing, ensuring that your baby gets all the nutritional benefits from this delicious fruit.
Cutting the Pears into Small Pieces
Contrary to what you might think, slicing the pears into small pieces is not as challenging as it may seem. When preparing raw pear baby food, it is important to cut the pears into small, manageable pieces. This not only makes it easier for your baby to eat but also ensures that the pears freeze properly.
To begin, wash the pears thoroughly and remove any dirt or debris. Then, using a sharp knife, carefully slice off the top and bottom of the pear. Stand the pear upright on one of its flat ends and slice down the sides, removing the skin. Once the pear is peeled, cut it in half lengthwise and use a spoon or melon baller to scoop out the core and seeds.
Now comes the important part – cutting the pears into small pieces. Take each half of the pear and slice it into thin strips. Then, turn the strips and cut them into small squares. Repeat this process for all the pear halves.
To help you visualize the process, here is a handy table:
| Step 1: Slice off top and bottom | | Step 2: Remove skin | | Step 3: Cut in half lengthwise | | Step 4: Scoop out core and seeds | | Step 5: Slice into thin strips and cut into small squares |
When it comes to cooking techniques, you can also try steaming or baking the pears before freezing them. Steaming helps retain the nutrients in the pears, while baking gives them a slightly caramelized flavor.
If you’re looking for alternative fruit options, consider using apples or peaches. Both fruits are similar in texture and taste to pears and can be prepared in the same way. Just remember to adjust the cooking time accordingly, as different fruits may require different cooking times.
Cutting pears into small pieces for freezing raw pear baby food is a simple and straightforward process. By following these steps and exploring different cooking techniques and fruit options, you can create a variety of delicious and nutritious meals for your little one.
Steaming or Boiling the Pear Pieces
For a wholesome and flavorful twist, try steaming or boiling those tender pear pieces. When it comes to preparing fruits for baby food, both steaming and boiling are viable options. However, steaming has some advantages over boiling when it comes to preserving the nutrients and flavor of the pears.
Steaming the pear pieces is a gentle cooking method that helps to retain their natural sweetness. By using steam, you can cook the pears without losing their essential vitamins and minerals. This method also helps to preserve the vibrant color and texture of the fruit, making it more visually appealing for your little one.
On the other hand, boiling can cause some nutrient loss due to the exposure of the pears to high heat and water. While boiling is a quicker cooking method, it may result in a slightly softer texture and a less intense flavor. However, if your baby prefers a softer texture, boiling can be a suitable option.
Regardless of the cooking method you choose, freezing baby food has numerous benefits. Freezing locks in the nutrients and flavors, ensuring that your baby gets the best out of the pears. It also allows you to prepare larger batches of baby food in advance, saving you time and effort in the long run.
Both steaming and boiling are valid options for cooking pear pieces for baby food. Steaming, however, offers the advantage of preserving more nutrients and flavor. Freezing the baby food, regardless of the cooking method, is a practical way to ensure your baby gets a nutritious and delicious meal.
Blending the Pear Puree
Once you’ve steamed or boiled the tender pear pieces, it’s time to blend them into a smooth and creamy puree for your little one. Blending techniques can vary depending on the texture you want to achieve.
For a silky consistency, use a high-speed blender or food processor. These appliances can easily break down the soft pear pieces into a velvety puree. If you prefer a chunkier texture, use a hand blender or mash the pears with a fork for a more textured puree.
When blending the pear puree, you can also experiment with adding spices or flavors to enhance the taste. Cinnamon is a popular choice as it adds a warm and comforting flavor to the puree. Nutmeg and ginger can also add a subtle kick to the pear puree. Just remember to introduce new flavors one at a time and in small amounts to ensure your baby’s tolerance and preference.
To create a rhythm and flow in your blending process, follow these steps:
- Start by adding a small amount of pear pieces to the blender.nn2. Blend on low speed, gradually increasing to high speed until the puree reaches your desired consistency.
- Avoid over-blending to prevent the puree from becoming too watery.
- Pause and scrape down the sides of the blender to ensure all the pear pieces are fully blended.
By following these blending techniques and adding spices or flavors, you can create a delicious and nutritious pear puree for your little one to enjoy.
Portioning the Puree into Ice Cube Trays
When it’s time to portion your velvety pear puree, grab your trusty ice cube trays and get ready to fill them with the creamy goodness. Freezing your homemade baby food is a great way to preserve its freshness and nutrients for future use.
Ice cube trays are an excellent tool for this task because they allow you to create conveniently sized portions that can easily be thawed when needed. To begin, simply spoon the pear puree into each compartment of the ice cube tray, filling them about three-quarters full. Be sure to leave a little space at the top to allow for expansion during freezing. Smooth out the tops of the puree with the back of a spoon to ensure even freezing.
Once your ice cube tray is filled, carefully transfer it to the freezer. Allow the pear puree to freeze completely, which typically takes about 4-6 hours. Once frozen, remove the tray from the freezer and pop out the individual pear puree cubes. Transfer the cubes into a freezer-safe storage container or a resealable bag for longer-term storage.
While ice cube trays are a popular method for freezing baby food, there are alternative storage options you can consider. For example, you can use silicone baby food freezer trays or small airtight containers. These options provide the same convenience and portion control as ice cube trays, allowing you to easily thaw and serve your little one’s frozen pear puree whenever hunger strikes.
Covering and Freezing the Pear Puree
To keep your delicious, homemade pear puree fresh and ready for future use, all you need to do is cover it tightly and pop it in the freezer. Properly covering the puree is essential to prevent freezer burn and maintain its taste and texture.
There are several covering techniques you can use to ensure your baby’s pear puree stays in perfect condition. One effective method is to transfer the puree into ice cube trays and cover each compartment with plastic wrap. This creates individual portions that can easily be thawed when needed.
Another option is to use silicone baby food storage containers with lids. These containers are specifically designed for freezing baby food and provide an airtight seal to protect the puree from freezer burn.
When covering the pear puree, make sure to press the plastic wrap or lid directly onto the surface of the puree. This minimizes the contact with air, which can cause freezer burn. Additionally, you can place the ice cube trays or containers inside a resealable freezer bag for an extra layer of protection.
Remember to label each covered container with the date you prepared the puree. This will help you keep track of its freshness and ensure you use it within the recommended timeframe.
By following these covering techniques, you can freeze your raw pear baby food without worrying about freezer burn, allowing you to conveniently serve nutritious meals to your little one whenever needed.
Storing the Frozen Pear Cubes
Keep your little one’s meals fresh and ready by properly storing these icy treasures. Here are some storing techniques to help you avoid freezer burn:
-
Use airtight containers: Transfer the frozen pear cubes into airtight containers or freezer bags. This will prevent air from reaching the puree and causing freezer burn.
-
Label and date: Remember to label each container with the date and contents. This’ll help you keep track of freshness and avoid confusion when reaching for a specific batch.
-
Stackable storage: Opt for stackable containers or freezer bags to maximize space in your freezer. This’ll allow you to store more puree cubes without taking up too much room.
-
FIFO method: When adding new puree cubes to the freezer, follow the ‘first in, first out’ method. This means using the oldest cubes first to ensure freshness and avoid wastage.
By following these storing techniques, you can maintain the quality of your frozen pear baby food and ensure that each meal remains delicious and nutritious for your little one. Remember to periodically check the freezer for any signs of freezer burn and discard any affected puree cubes. Happy freezing!
Thawing and Serving the Frozen Pear Baby Food
Now that you’ve successfully stored your frozen pear cubes, it’s time to learn how to thaw and serve them to your little one. Thawing baby food properly is crucial to ensure its safety and preserve its nutritional value.
There are a few different methods you can use to thaw frozen pear baby food. One simple and convenient way is to transfer a frozen cube or two to a small bowl and place it in the refrigerator overnight. This slow thawing method allows the pear cubes to defrost gradually without compromising their texture and taste. Once thawed, you can serve the pear baby food directly to your baby, making sure it’s at room temperature or slightly warmed.
If you’re short on time, you can also thaw frozen pear cubes by placing them in a microwave-safe dish and using the defrost setting on your microwave. Be sure to stir the pear baby food thoroughly after each defrost cycle to ensure even heating. Always test the temperature of the thawed pear baby food before serving it to your little one to avoid any burns.
Remember, never refreeze thawed baby food, as it can lead to the growth of harmful bacteria. By following these simple thawing methods and reheating instructions, you can confidently serve your little one their delicious homemade pear baby food.
Frequently Asked Questions
Can I use canned pears instead of fresh pears for making baby food?
Yes, you can use canned pears instead of fresh pears for making baby food. Canned pears are a convenient alternative and can be a good option if fresh pears aren’t available. However, it’s important to note that fresh pears offer more nutritional benefits for babies. Fresh pears are packed with vitamins, fiber, and antioxidants, which can support your baby’s growth and development. If possible, try to include fresh pears in your baby’s diet whenever you can.
How long can I store the frozen pear cubes before they go bad?
To ensure the safety of your baby, it’s important to know how long you can store frozen pear cubes before they go bad. When stored properly in an airtight container, frozen pear cubes can last up to 3 months.
To defrost the frozen pear baby food, simply place it in the refrigerator overnight or use the defrost function on your microwave.
Get creative with your baby’s meals by adding the thawed pear cubes to oatmeal, yogurt, or even homemade popsicles. Enjoy exploring new flavors and textures!
Can I add any spices or seasonings to the pear puree?
Yes, you can add spices and seasonings to your homemade pear puree. However, it’s important to introduce new flavors gradually to your baby’s diet to avoid any potential allergies or digestive issues.
When adding spices, opt for mild options like cinnamon, nutmeg, or vanilla. These spices not only enhance the taste but also provide added health benefits.
Homemade baby food allows you to control the ingredients, ensuring your baby gets the most nutritious and flavorful meals.
Can I use a blender or food processor to cut the pears into small pieces instead of doing it by hand?
Blending or using a food processor to cut pears into small pieces is a convenient option when making baby food. According to a study by the Journal of Food Science, blending fruits helps retain their nutrients better than traditional cutting methods.
However, there are pros and cons to consider. While using a blender or food processor saves time and effort, it may result in a smoother texture compared to hand cutting. Additionally, using fresh pears instead of canned ones ensures a higher level of nutrients and avoids added sugars or preservatives.
Can I freeze the pear puree in other containers instead of ice cube trays?
Yes, you can use alternative freezing methods for your pear puree. However, using ice cube trays has several benefits.
Firstly, the small portions are perfect for portion control and easy thawing. Secondly, the individual cubes can be easily stored in a freezer bag, saving space. Lastly, the cubes thaw quickly, allowing for quick and convenient meal preparations.
So while other containers may work, using ice cube trays is a practical and efficient option for freezing pear puree.
Can I Use Frozen Raw Pear Baby Food in Winter?
Yes, getting raw food in winter can be a challenge, but using frozen raw pear baby food can be a convenient and healthy option. It retains the nutrients and natural sweetness of fresh pears, making it a great choice for nutritious meals during the winter months.
Conclusion
Congratulations on successfully freezing your raw pear baby food! By following these simple steps, you’ve ensured that your little one will have a nutritious and tasty treat ready whenever they need it.
Did you know that freezing homemade baby food can help retain more nutrients compared to store-bought options? According to a study published in the Journal of Food Science, freezing helps preserve the vitamins and minerals in fruits and vegetables, making them an excellent choice for your baby’s development.
Keep up the great work in providing healthy and homemade meals for your little one!